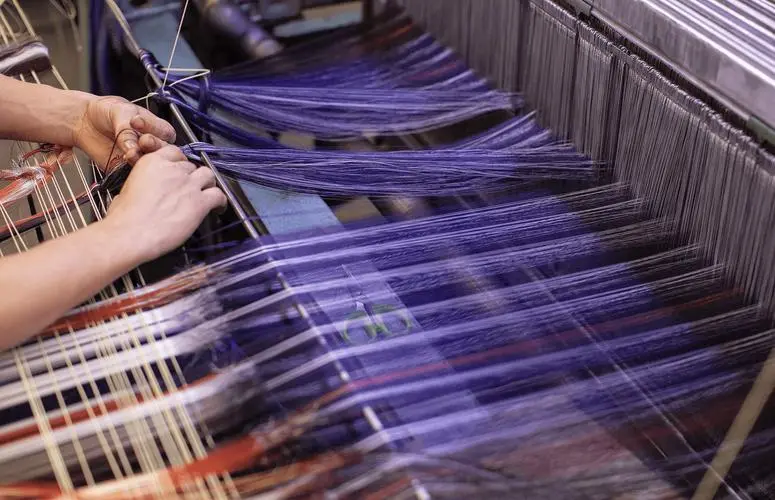
Many things affect the color accuracy of polyester in factories. The accuracy of laboratory proofing is the most important of these factors. Continuous improvement is key. It will make lab sampling in printing and dyeing factories more accurate. This is crucial for colour accuracy. This paper uses disperse dyestuff dyeing of polyester as an example. It explains this issue from four angles. The tasks include: sampling equipment, weighing dyes, preparing fabrics, and lab management.
Equipment
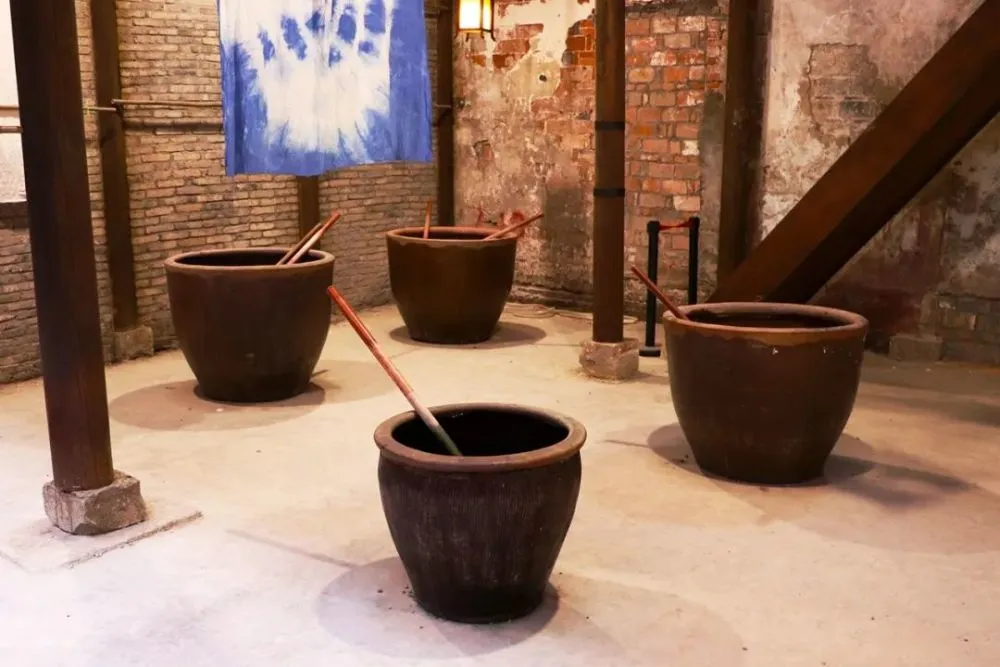
Commonly used polyester sampling equipment are high temperature and high pressure sampling machines. There are also glycerin and infrared sampling machines. Each of the three kinds of equipment has its own characteristics.
1. High temperature and high pressure proofing machine
This type of proofing machine has a maximum temperature of 130 ℃. You can adjust the heating speed. It uses two electric heaters as a heat source. Up to 12 dyeing cups can fit. A linkage device with a small hook drives them. The hook moves up and down to finish the proofing process. The cups hold 300ml at most. The fabric’s weight sets the bath ratio’s size.
The amount of dyeing liquid added during proofing is set by the dyeing formula. Add water until the cup reaches two-thirds full, which is about 200ml. If the liquid level is too high, the ratio difference will be big. This will affect the color’s accuracy. If the liquid level is too low, the samples may not be fully submerged by the liquid when rising with the hook. This will cause the samples’ color to bloom.
Commonly used dye cups are glass dye cups and stainless steel dye cups. Before using new dyeing cups, examine their diameter size. A large diameter is likely to cause card cup phenomenon after the end of dyeing. If you take the cup with too much force, the glass dyeing cup is easy to break. Small broken glass not only hurts the sampler’s hand. It also cuts the sampler’s hemispherical gland and the seal on the sampler platform. This affects the next sampling.
Glass dyeing cups are easy to observe. You can see the dyeing liquid and water in them. This is handy for checking new batches of dyestuffs. To test a new batch of dyestuff, use a stainless steel cup. Pour the hot water into the beaker to see the dyestuff. Stainless steel cups are not easy to break. But, if the surface is not smooth, it will reduce cleaning efficiency.
You must clean the sampler once a week. Also, when the dye cup breaks, clean up the glass that falls into the bottom. If not, it can hurt the sampler’s hands during regular cleaning.
When cleaning, drain all the water, check and clean the surface of the heater. The scale on the surface of the electric heating pipe is not cleaned for a long time. This not only hurts heating efficiency but also causes the pipe to burst.
Clean up if you find the surface of the heating tube bulging. We should replace it soon. This is to avoid slowing the heating. Each time, water flows from the bottom of the proofer. Then, add water to see if you have closed the bottom valve. If the bottom valve is not closed tightly, water can leak. This can rust the bottom of the small sample machine or cause it to leak, leading to safety accidents. Fix each sample as needed after hanging it on the hook. This prevents the color from fading after unhooking. If the fixation is too tight, it will easily cause the breakage of the glass dye cup. If the samples have too many folds and are not round and smooth when hung, they will form a color flower when lit. This is because the proofing holding time is short.
2.Infrared proofing machine
The infrared dyeing machine has 12, 24, and 36 cup models. It is generally more automated than the glycerine proofing machine. A number of programmes can be pre-programmed for different types of dye proofing. Speed of heating, maximum temperature, and holding time are the main considerations. Special dyeing processes are available. Numbering mature processes is possible. The sequence matches the control room numbers.
Check the liquid level in the reference cup of the infrared proofing machine every day. If the liquid level is too low, it can cause the fluctuation of instant temperature detection. In fact, you can fix the quick temperature changes by filling the reference cup with water. If the dyeing cup’s temperature keeps changing for a long time, it will break the thermometer. This will harm the whole sampler’s life.
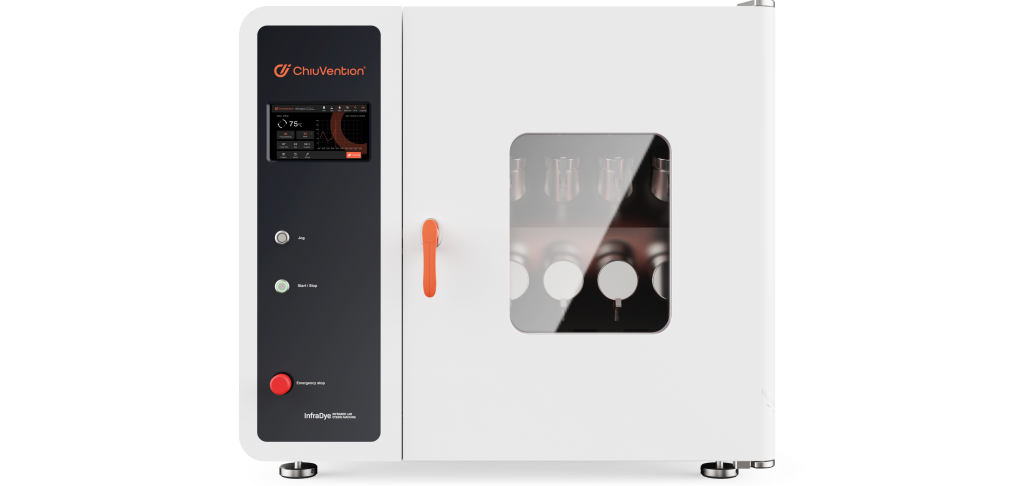
The infrared dyeing machine is the costliest of the three types. Proper temperature and humidity in the proofing room help protect high-grade proofing equipment. High-pressure at high temperatures causes dyeing sample machine discharge pressure. It will make the room too humid. This will affect the life of the infrared proofing machine in the long run.
Businesses can put the machine in a separate room. This is if it needs high heat and pressure. The infrared proofer’s cup has a similar volume to the high-temperature proofer’s cup. The cup rotates. This makes the dye mix better with the samples. It helps the dye to dye evenly. Small samples of moderate size, flat along the inner wall of the dyeing cup is also conducive to even dyeing. When proofing, the lid and the cup match one-to-one. This ensures that the dye will not leak out. The infrared proofing machine is safe, clean, and efficient. It is worth promoting. It is proofing equipment.
The sealing ring of glycerin and infrared sampler dye cup is key. It ensures that the dye liquid does not leak when sampling. Check if the lid number matches the cup number. Do this before adding the lid to the dye cup when using the infrared sample machine. This is key to protect the lid opening thread. After damaging the threads of the lid of the dye cup, it is easy to cause the dye liquid to leak. All sampling machines need timely cleaning. This is true for the dyeing cup. It’s needed after sampling to ensure color accuracy.
3.Glycerin Proofing Machine
Glycerin’s main feature is that it can get very hot when heated at normal pressure. The glycerine proofing machine heats using the same principle as high pressure machines.
Glycerin proofing machine has 12 dye cups and 24 dye cups. The cup capacity of glycerine proofer is larger than that of autoclave proofer. The adjustment of the liquid level directly affects the bath ratio. The glycerine proofing machine is more automated than the autoclave one.
If the liquid level in the dyeing cup is too high, the dye bath ratio is too large. This causes a big difference between small sample proofing. And, the actual large sample production. As a result, it affects the color accuracy.
If the bath ratio during sampling matches that of the production, the cup’s bath ratio will be too small. This will lower the liquid level. The dyeing cup is like a rotating wheel. It may not fully soak the small samples with the dye inside. This can make the small samples less even and proofing less efficient.
Glycerine evaporates after its moisture. The moisture in the glycerin comes mainly from the dyeing cup. It happens during proofing. The lid of the dyeing cup and the body of the cup are one-to-one correspondence. Wrong lid or insufficient force when putting on the lid is the main reason for the leakage of water from the cup.
After putting on the lid, invert the container for a few moments to ensure that the dye solution does not leak out. Leaking dye affects the sample’s color accuracy. It also causes lots of glycerine to evaporate. This fills the lab with the smell of glycerine and makes some samplers uncomfortable. When placing the dye cup into the cup holder, you must check if it is securely in place. If it is not tightly stuck, it will lead to cup jamming accident, which will cause great damage to the sampler. The motor of the sampler may burn out or the gearbox may become damaged in serious cases.
The glycerine sampler has a heating unit. Its maintenance is the same as for the electric heater. It heats the high temperature and high pressure sampler. After proofing, put the dye cup in a homemade glycerine recovery device. Leave it there for hours to let the glycerine on the cup’s surface drip into the recycler. Conscious recovery of glycerine is an effective way to save glycerine. The glycerin evaporates. The level of the glycerin inside the proofer will gradually drop. Regularly check the interface height. Replenish the glycerin at any time. This helps improve the proofer’s heating efficiency and speeds up proofing. Attach the small machine’s cooler to the glycerine proofing machine. Use a hose. This setup helps move and maintain the equipment easily. If necessary, you can raise the bottom of the glycerin proofing machine. This will help glycerin to flow out.
Bath Ratio
Take an infrared sampling machine as an example. The sample has 5g of fabric. You can change the volume of the dyeing solution to 100ml by adding water and acetic acid solution. The bath ratio is 1:20 at this time.
In the actual production, let’s take an example: the domestic J-type cylinder. It operates at high temperature and high pressure. The fabric it produces weighs about 320kg under normal conditions. By replacing the small nozzle, you can dye spring and summer fabrics. This ensures that the dye circulates quickly in light fabrics. Take adding 4t of water in the dyeing tank as an example, the bath ratio is about 1:12 at this time.
In the real situation, a 1:20 bath ratio in the infrared proofing machine is enough for production. When sampling small fabric samples that weigh 2g, such as liquid is too high. It is likely to make the sampling bath ratio 1:100. The lab and production workshop use light colors for dyeing. The bath ratio is 10 times higher in the lab. But, after actual production, darker colors often occur. Darker fabric is easier to damage. If you strip the color to repair it, this will happen.
Dyestuff weighing, compounding and use
If the weights are accurate, even a basic pallet balance can weigh dyestuffs for lab samples. It is sufficient to wrap the dye in white paper when taking it.
The left and right trays of the balance lined with white paper should not have any water droplets. After adjusting the balance, you can weigh the dye. If the fabric weighs 5g, weigh 5g of dye. This will help convert the dyeing formula. Use a 1000 ml flask with 1000 ml of water. Slowly pour in 5 g of dyestuff and dissolve it. After that, pour the dissolved dye into a 1000ml wide-mouth flask and set it aside.
To use the dye in the flask, you must invert and shake it well before each use. You can only use it after you dissolve all the dye deposited at the bottom. The wide-mouth bottle is convenient for removing the dye. The inside and outside of the pipette must be dry and clean before pipetting the dye.
There must be a dedicated pipette in each dye bottle when proofing. If you use only one pipette to draw different dyes when sampling, you cannot keep the pipette clean. Many times, rinse it with water through the suction bulb.
Before using another dye, some chemists shook off water from the pipette. Over time, many dots of the shaken out dye appeared on the back wall of the bench. Dye and water on the pipette can harm other dye bottles’ purity.
So, each dye bottle must have a dedicated pipette. This will maximize the purity and concentration stability of each bottle. After proofing, we clean all pipettes and place them in the oven for further use tomorrow. Even so, to ensure color accuracy, you must reconstitute each vial. After using two-thirds of the vial, do this. Color errors come from aspiration during proofing. Using an automated dripping system can reduce them.
An automatic colour measurement system can do this. It works with the Auto Drip System. Together, they can lift colour management in a dyeing plant to a new level. The magnet stirrer is part of the auto-drip system. It can reduce the strength of chemicals.
pH value
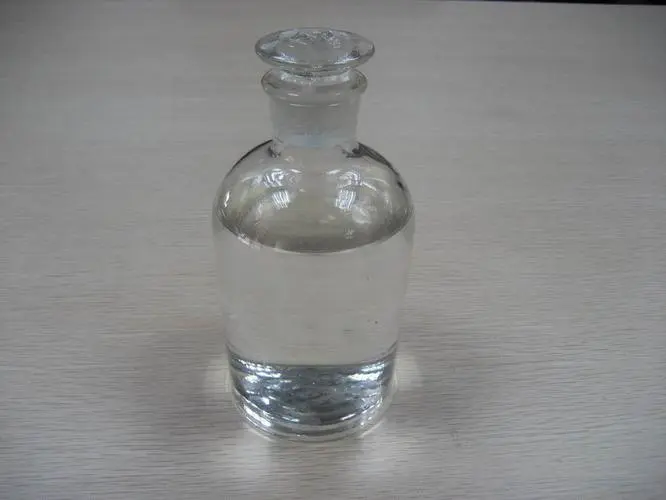
The pH value of disperse dyes for dyeing polyester is between 4-6. Take the domestic high-temperature and high-pressure jet overflow J-type vat as an example. The water in the vat is 4t when dyeing. You can adjust the pH of the dyeing liquid to between 4-6 by adding 1000ml of glacial acetic acid. The lab uses acetic acid for sampling. You can dilute it with 10ml of glacial acetic acid in 1000ml of water. Add 10ml of diluted acetic acid to the dye cup. This keeps the dye solution’s pH between 4 and 6.
Fabrics
1、Weighing of fabrics
Polyester fabrics have low moisture. So, when weighing small samples, you don’t have to worry much about the moisture of the dry fabrics. This is for color accuracy. When weighing fabrics in summer, turn off the electric fan. Enterprises with conditions can install air-conditioning in the laboratory. The weight of small fabric samples should match the dye concentration.
2、Acquisition of fabric
The lab technician cuts ordinary polyester fabrics before sampling. They cut them to the white blank warehouse. When cutting blanks, note the batch number. Keep the head of blanks flush. This makes it easy to prep the cloth for sewing.
You can pre-treat light-coloured sampling blanks in the laboratory. Put some washing powder in hot water. Then, pass the fabric samples through the washing machine to finish the pre-treatment.
After washing, dry the sample fabric in a clean oven before use. The oven must be at 100℃ or less. Fabrics made of polyester that require alkali reduction must undergo reduction before sampling. At the same time, the sample fabric for reduction must be pre-set.
The sample box for alkali reduction helps control fabric feel. It also completes the reduction of the sample fabric for testing.
The shift supervisor controls the sample fabric’s feel. The elastic fabric’s sample is only available after a set date. After the fabric has been pre-shrunk and pre-shaped, the fibers are more uniform. This affects the dyeing depth of the fabric. After the reduction, the fibers’ surface area increases. This improves the fabric’s dyeing depth. Stretch fabrics are pre-shrunk and pre-typed. This improves fabric’s dimensions. Reduction fabrics need both pre-typing and alkali reduction. So, the color of these fabrics is only accurate when checked with their sample fabrics. You must do this after pre-sizing or reduction.
Colour management
Vat dyeing alone is far from enough to ensure the color’s accuracy. After the sample, we must dye it to ensure the color is right. Most of the samples received from customers are shaped by finished products.
Disperse dyestuffs mainly move and vanish due to heat in the fixing process. This will further affect the color accuracy. Each shift manager in the setting process has the same job. They must control color accuracy, just like the dyeing shift manager. The head of production technology should have more responsibility for color accuracy. This is more responsibility than the head of dyeing and the head of setting have.
There should be a customer colour record keeper in the laboratory. The Heads of Lab and Dyeing and Finishing Duty must give the Colour Manager the material. It is for the customer color file.
Establish a customer color file. Keep customer samples and color samples in the color file. The lab dyed large samples in the dyeing tank. After testing, keep the color stereotypes for the customer. The upcoming sample is the foundation. The dyeing formula and process should change. They should change based on the color from the workshop vat. The fixing process should change according to the colour after fixing. This is to truly guarantee the accuracy of the colour.
For more information on textile testing methods/standards
or textile testing machines, contact us:
What’s App: +86 180 2511 4082
Tel: +86 769 2329 4842
Fax: +86 769 2329 4860
Email: medium@chiuvention.com