Application of Pilling Tester
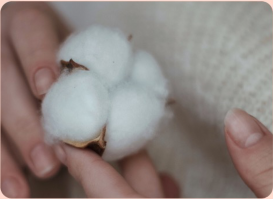
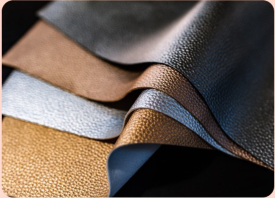
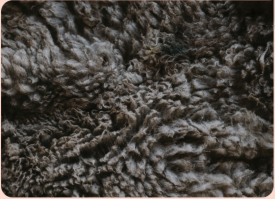
The materials that this Pilling Tester can test are cotton, hemp, silk woven fabrics and other textiles, membrane materials, knitted fabrics, woolen textiles, artificial leather, synthetic leather, gloves, labor protection materials, etc.

Smart instrument
This Pilling Tester can be connected through Wi-Fi with the SmarTexLab App installed in the smartphones, then you can set parameters, monitor the test status, and receive equipment warning reminders, replenishment reminders, etc., and share the Martindale test results with one click.
Stable running, reliable testing
The fixture rotates flexibly and the height of the grinding table and specimen fixture is parallel. The machine and the surface of the grinding table have a small jump (less than 0.05mm), all above are more conducive to achieving reliable Martindale test results.
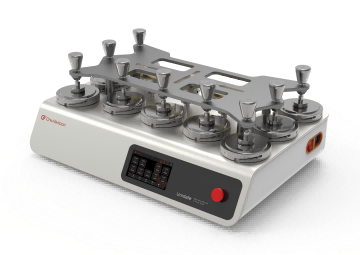
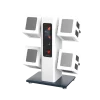
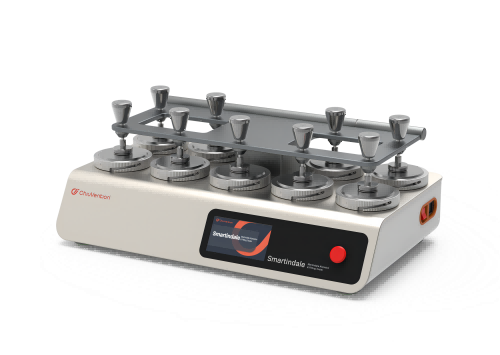
The Appearance of CV210-9
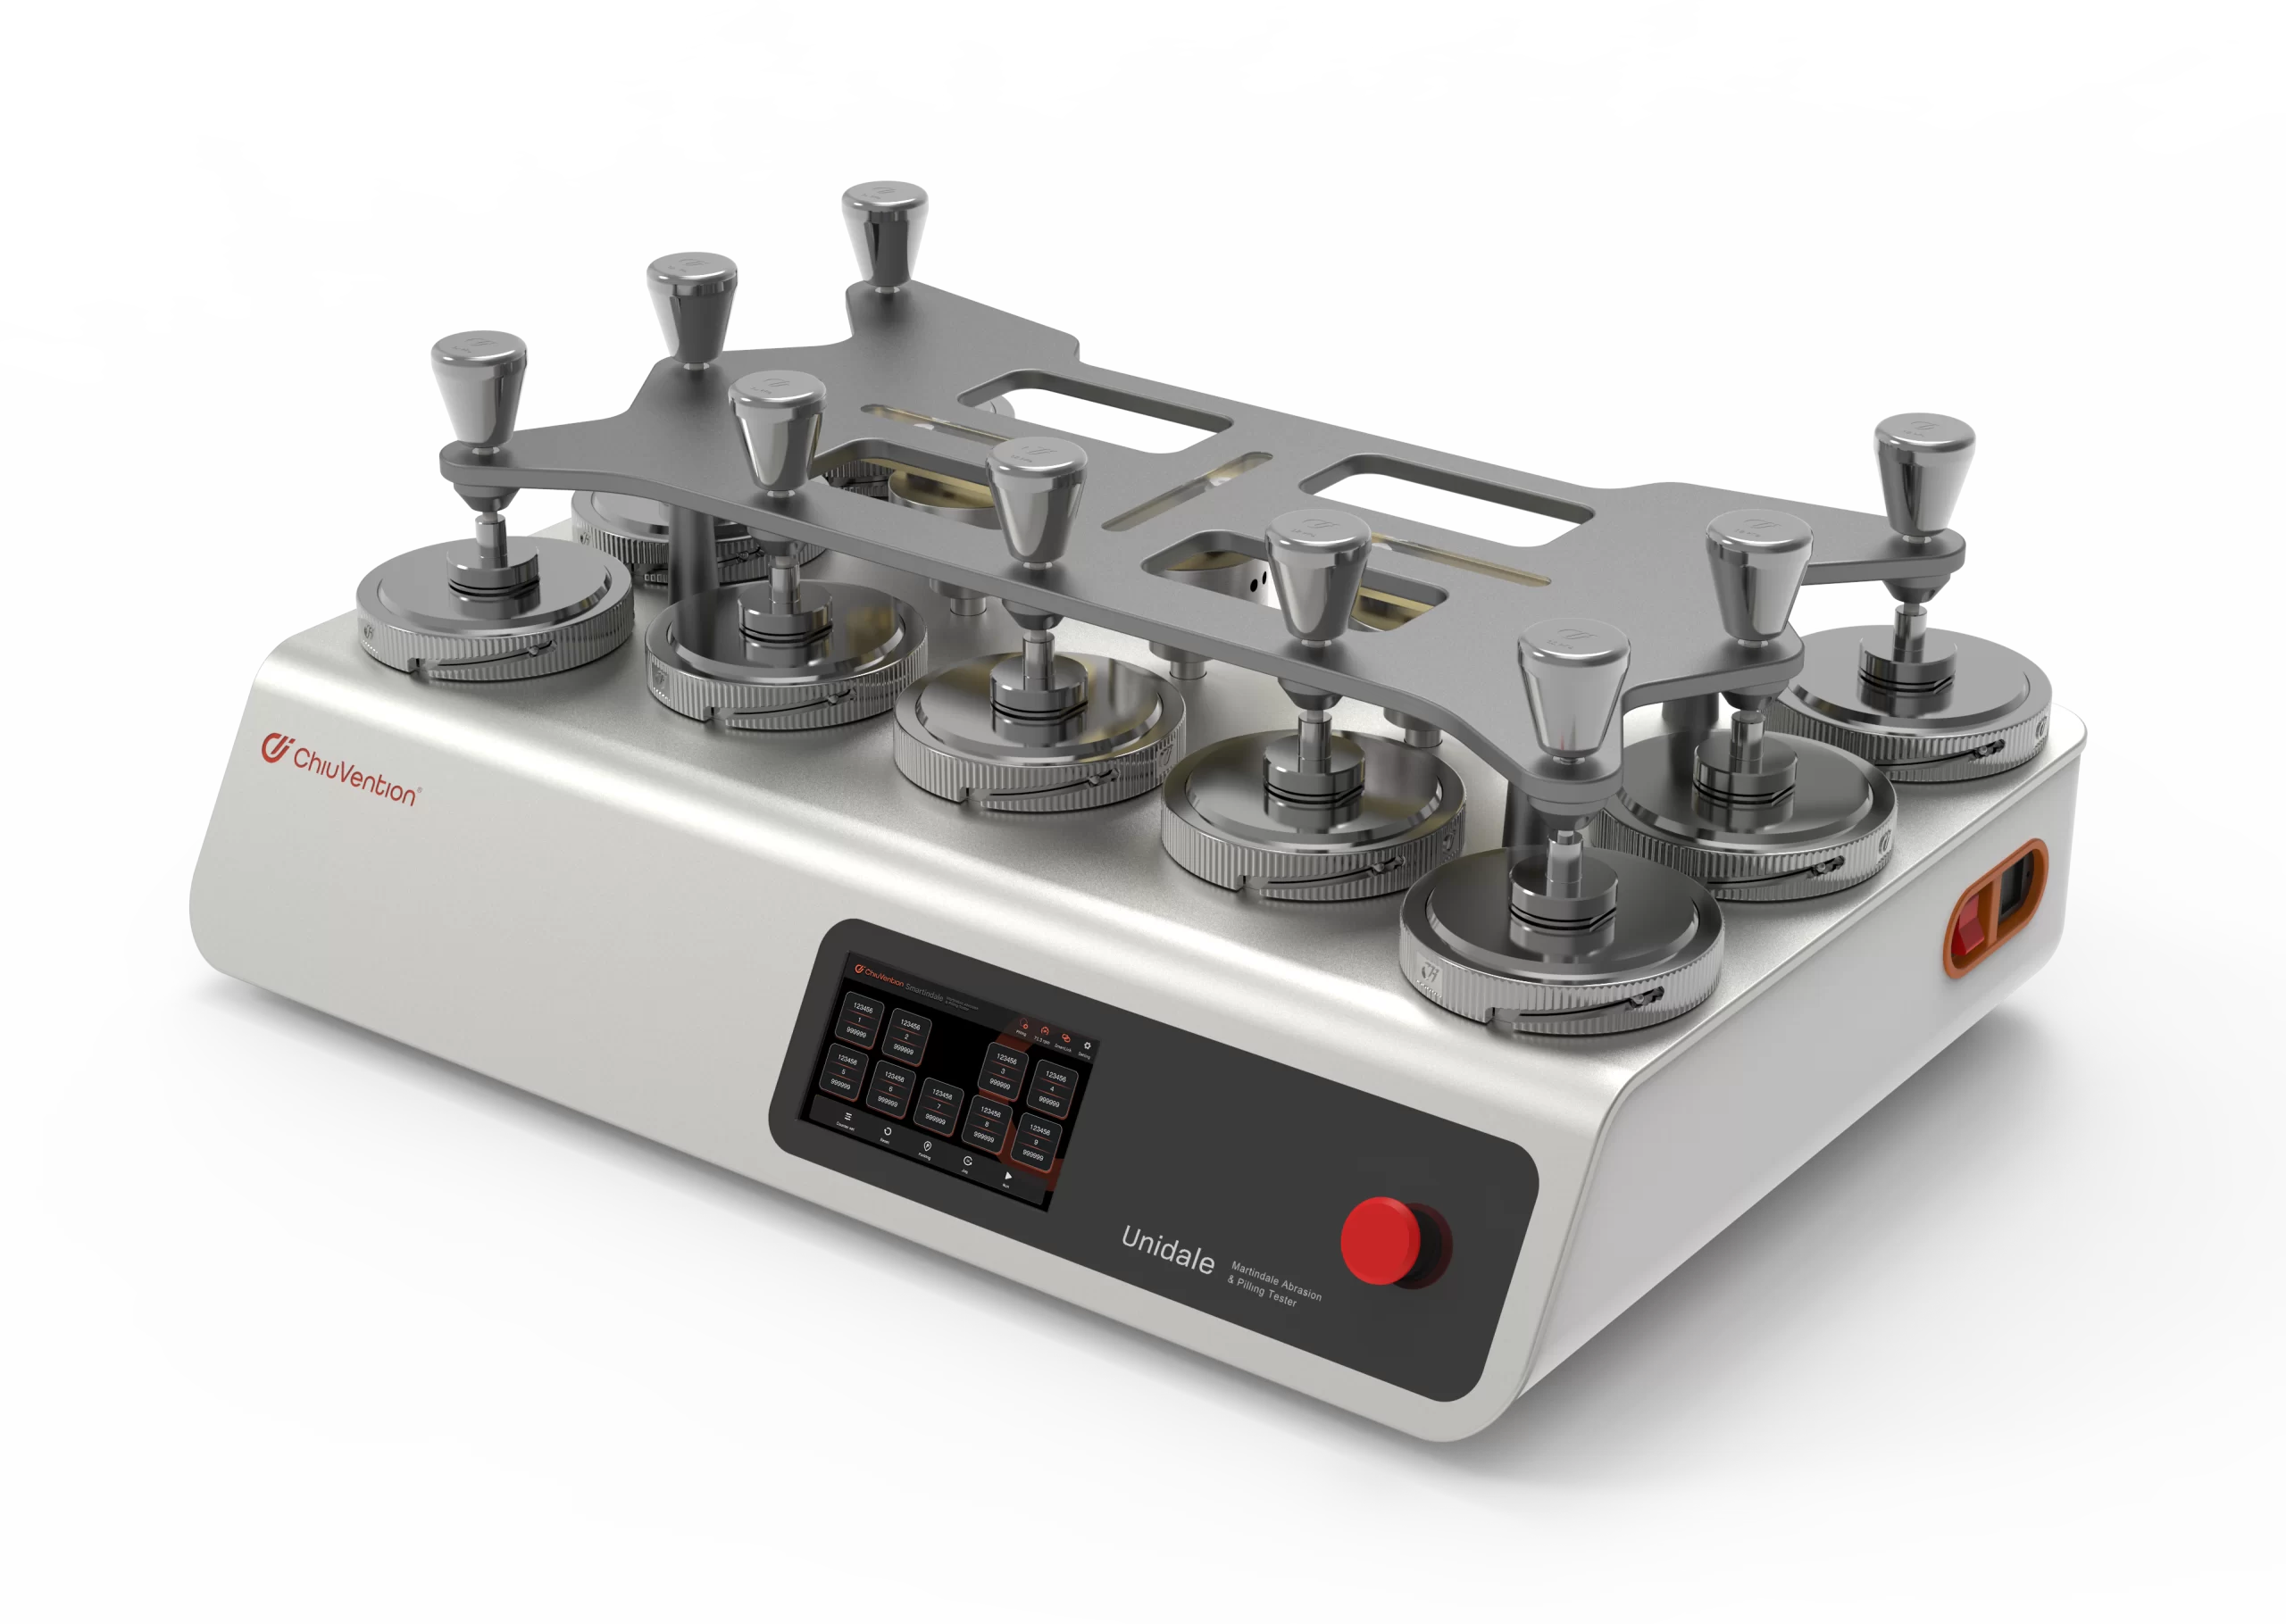
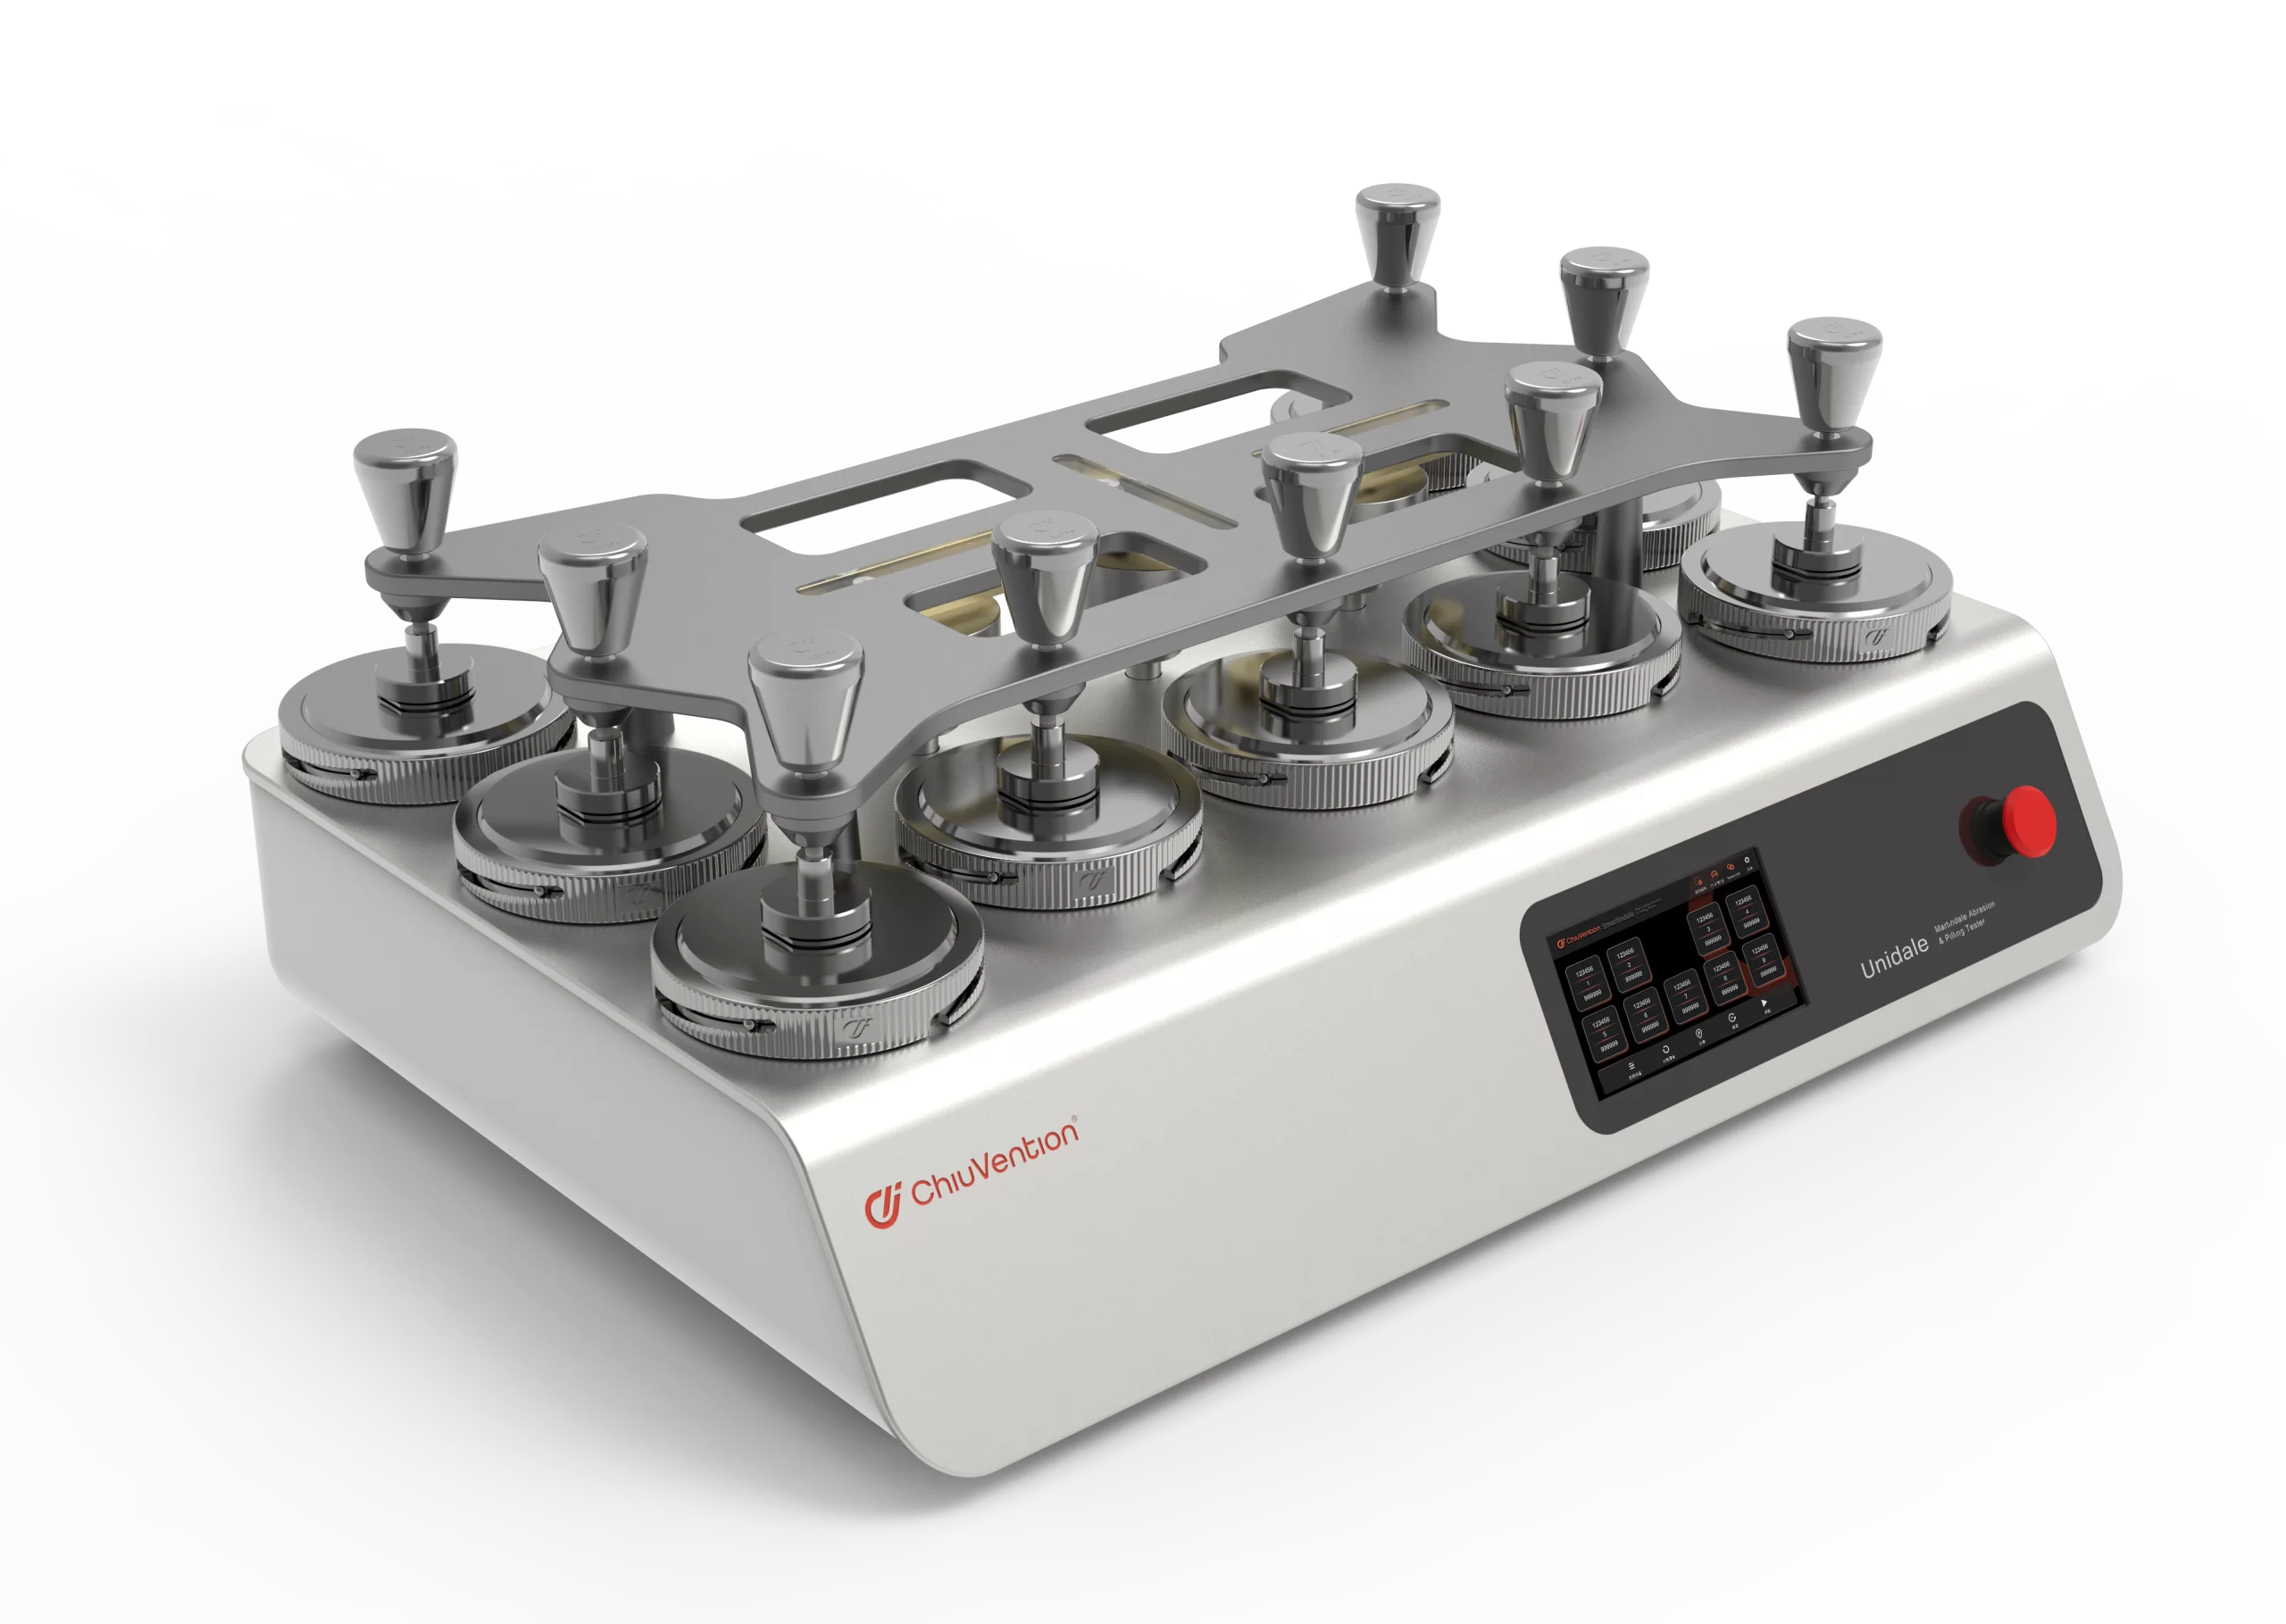
Various test stations and speeds, to meet a variety of requirements.
This Martindale Abrasion and Pilling Tester is equipped with 3 kinds of trajectories, one is a straight line trajectory, the other two are Lissajous curve, 24mmx24mm (pilling test), 60.5mmx60.5mm (abrasion test), and has a wide selection of test stations: CV210-9 type for 9, 6, 4 stations, CV210-6 and CV210-4 for 6 and 4 test stations separately. All of them can run with 3 speeds, slow (24rpm), normal (47.5rpm), and fast (75rpm), which can be adapted to a wide range of test methods and standards.
Light design, easy to use
Unique designed guide plate, lightweight and space-saving, easy to change accessories and observe the test status.
In addition, the Martindale Abrasion and Pilling Tester is durable with a precise appearance design and aluminum alloy hard oxidation surface; the trapezoidal chassis is more stable, a seven-inch color touch screen is easy to use.
Designed in Germany, quality is our life.
All our textile testing instruments are developed in-house and in cooperation with a team of renowned German industrial designers, which makes our instruments of outstanding quality. 100% source factory and factory price.
OUR BROCHURE
Martindale Test Standards
ISO 12945-2-2020 ISO12947-1-1998 ISO12947-2-2016
ISO12947-3-1998 ISO12947-4-1998
GB/T 21196.1-2007 GB/T 21196.2-2007
GB/T 21196.3-2007 GB/T 21196.4-2007
GB/T 4802.2-2008
ASTM D4970/4970M-22
ASTM D4966-22
BS EN 530-2010
Optional standards
BS EN 388-2016+A1-2018 Protective gloves for mechanical hazards;
SATRATM31 A/B Abrasion Resistance Test for Leather;
PUMA; BS EN 16094-2012 Laminated wood flooring,
Test method for the determination of micro-scratches;
ISO 20344-2021 Item 6.12 Personal protective equipment,
Test methods for footwear and boots;
BS EN 13520-2002 Test methods for footwear, uppers,
linings and insoles, abrasion resistance;
ISO 5470-2-2021 Rubber or plastic-coated fabrics,
determination of abrasion resistance
ISO 17076-2-2011 GB/T 39507-2020
TECHNICAL DATA
Abrasion test
(198±2)g
Weight of the holder and the spindle
60.5±0.5mm Max stroke of movement
Pilling test
(155±1)g
Weight of the holder and the spindle
24±0.5mm
Max stroke of movement
INSTALLATION
220V 50/60Hz Other voltages require an external transformer
Power Supply
| CV210-4 |
65kg |
650*510*280mm |
| CV210-6 |
75kg |
710*530*340mm |
| CV210-9 |
90kg |
850*600*340mm |
Climatic Environment
The unit is intended to operate within the following conditions
|
25+/-5 deg Celsius Temperature |
30-65 RH % Humidity |
|
<2000m above sea level Altitude |
-25-+ deg Celsius.Storage |
For more information, please check the Download Brochure
Accessories of Pilling Tester
Accessories
Fuse tube 2pcs
Foam wool CV210-9: 9 pcs Φ38 mm
CV210-6: 6 pcs Φ38 mm
Wool felt CV210-9: 18 pcs Φ90 mm,Φ140 mm
CV210-6: 12 pcs Φ90 mm,Φ140 mm
Wool abrasive CV210-9: 9 pcs Φ140 mm
CV210-6: 6 pcs Φ140 mm
Sampling plate 3 pcs Φ38 mm,Φ90 mm,Φ140 mm
Sampler 1 pc for pilling test
Sampler 1 pc for abrasion test
Press 1 pc Φ126mm,2.5kg
Fixture1 CV210-9: 9 sets for pilling test
CV210-6: 6 sets for pilling test
Fixture 2 CV210-9: 9 sets for abrasion test
CV210-6: 6 sets for abrasion test
Weight 1 CV210-9: 9 sets 12Kpa
CV210-6: 6 sets 12Kpa
Weight 2 CV210-9: 9 sets 9Kpa
CV210-6: 6 sets 9Kpa
Rubber ring CV210-9: 9 pcs
CV210-6: 6 pcs
Test pen 1pc
Connection shaft CV210-9: 9 pcs for pilling test
CV210-6: 6 pcs for pilling test
Connection shaft CV210-9: 9 pcs for abrasion test
CV210-6: 6 pcs for abrasion test
Stainless steel ring CV210-9: 9 pcs 260g
CV210-6: 6 pcs 260g
Optional Accessories
EMPA990 rating chart card 1 set Knitted + Woven
SM50 rating chart card 1 set IWS + ASTM
SM25 abrasion-resistant wool cloth 1 pack 1.6 X 5m/pack
SM26 woven wool felt 1 box 24 pcs/box Φ140mm
SM26 woven wool felt 1 box 24 pcs/box Φ90 mm
SM28 polyurethane ether foam 1box 250 X 200mm/pc, 25pcs/box
Ball Plate Φ120mm
We also provide another kind of Smarter Pilling Tester that is calibration-free and you can switch the test modes on the operation screen.
If you want to know more about the Martindale Test, welcome to contact us.
Following the Martindale abrasion tester working principle, the test involves placing a fabric specimen in the clamp of the machine. The specimen will then be abraded in a standard Lissajous figure against an abradant, such as leather. As the tester operates on this rubbing motion, it simulates real-world abrasive forces like fabric contacting other surfaces through daily use and cleaning. Once the required abrasion cycles are reached according to test standards or the Martindale abrasion tester protocol, the specimen will be evaluated. If breakage occurs, the cycle number is recorded to calculate the abrasion resistance index. Alternatively, a visual assessment of the fabric pilling and wear rate can be made to determine its durability performance rating.
- Test piece preparation
- Test piece selection
- Test placement
- Placement of wool felt and abrasive
- Pressing the abradant on the pressure head
Before calibration, it is necessary to confirm that there are no defects in appearance and electromechanical functions that affect the calibration measurement characteristics……
- Must be regular external cleaning of the instrument, as well as cleaning, to ensure the cleanliness of the test instrument
- Regular inspection of the test instrument to see if there are any abnormalities;
- The use of personnel in the process should be used by the correct method of use, not illegal use, so as not to damage the instrument, resulting in shortening the life of the instrument;
- After the test instrument is finished, the personnel should put the instrument away and clean it accordingly to ensure the cleanliness of the instrument.
- In the case of not using the instrument, the power of the instrument should be turned off, and continue to keep the instrument clean.
Frequently Asked Questions
A fabric textile tensile tester is a machine. It measures the strength and stretchiness of fabrics. It works by gripping a strip of cloth or other materials, such as leather, paper, or yarn, on both ends. Then, you pull it until it breaks. Advanced sensors measure the force needed to remove the fabric. They also measure how far it stretches before breaking. This gives quantitative data on the fabric’s tensile properties.
The most common testing machine used for tensile testing is the universal testing machine(UTM). It features two crossheads: one is adjusted to accommodate the length of the specimen, while the other is driven to apply tension to the test specimen. These testing machines can be either electromechanical or hydraulic.
For accurate testing, the machine must have appropriate capabilities for the test specimen, including sufficient force capacity, speed, precision, and accuracy. Various accessories, such as grips, extensometers, and temperature chambers, are used to adapt the machine for different materials and testing conditions.
The SmartPull Fabric Textile Tensile Tester software is easy to use. It presents detailed tensile test results. These include elongation, time, greatest force, and modulus. They also include breaking force and more. It allows you to compare past results. You can also export data and create custom tensile strength test reports.
Preparation
Check the equipment: Before starting the calibration, make sure that there is no physical damage to the Tensile Strength Tester itself, and that the sensors, fixtures, display, and other parts are working properly.
Ensure leveling: The Tensile Strength Tester must be placed on a level workbench to avoid tilting the machine resulting in inaccurate testing. Use a level or the leveling function that comes with the machine to check.
Calibrate the load cell (force transducer)
Selection of standard weights: Select standard weights of known accurate quality. It is usually necessary to use calibration weights that comply with national or international standards. The range of the weights should cover the operating range of the Tensile Strength Tester.
Hanging weights: Hang the weights on the transducer according to the operating manual of the Tensile Strength Tester. Make sure the weights are hung at the correct position and angle to prevent deviations in the test force values.
Record display readings: After loading the weights, observe and record the force values displayed by the Tensile Strength Tester and compare them with the actual force values of the weights.
Adjust the calibration coefficient: If the force value displayed by the Tensile Strength Tester does not match the actual force value of the standard weights, use the calibration function that comes with the machine or adjust the calibration coefficient through the software until the displayed force value is consistent with the weights.
Displacement sensor calibration
Check the zero point of the displacement sensor: without loading any force, check whether the displacement displayed by the Tensile Strength Tester is zero. If there is deviation, reset the zero point of the displacement transducer.
Measure standard displacement: Using a standard calibration fixture, set the tensioner to move a certain distance (e.g., 10 mm, 50 mm, etc.) and then record the displacement reading displayed by the tensioner.
Adjusting Displacement Calibration: Compare the actual displacement with the displacement displayed by the Tensile Strength Tester. If there is a deviation, adjust accordingly according to the equipment manual.
Speed calibration
Set Speed: Set the tensioner to a known travel speed (e.g. 10 mm/min) and start the tensioner.
Use a stopwatch or other measuring tool: Use a stopwatch to measure the actual distance and time traveled by the fixture or fixture beam and calculate the actual speed.
Adjust the speed parameters: If the actual speed does not match the set speed, make adjustments according to the calibration method of the device to ensure the accuracy of the speed setting.
Verify the calibration
After completing the calibration of the load cell, displacement sensor, and speed, perform the following verification steps:
Repeat the calibration process: Load the weights and measure the displacement and velocity again to verify that the calibration is accurate and stable.
Compare reference equipment: If possible, compare tensile test results with other calibrated reference Tensile Strength Testers to ensure consistency.
Adjustment of environmental conditions
When calibrating, make sure that the environmental conditions are consistent with actual use, including temperature and humidity. These conditions can affect the tensile test results, so ensuring the stability of the environment in which the Tensile Strength Tester is located is a critical part of calibration.
The SmartPull Fabric Textile Tensile Tester weighs 90 kilograms. This is due to its optimized design. So, it’s easier to move and use. This tensile machine uses the latest technology. This includes AC servo motors and precision ball screws. They make force accuracy better. It’s improved hardware and software make the testing 20% more reliable.
It has an emergency stop button and an overload protection system. It also has travel range limits and warns about abnormal torque or issues. Its ergonomic design reduces injury risks.
Before using our tensile testing equipment, check the installation guide for environmental needs and machine securing. Connect electricals according to source rating specifications. Initialize when empty and tare the tester. Next, calibrate in ascending and descending order. Use deadweights certified for 20% to 100% of the capacity range. Save calibration results for further use.
elect matching international test standards based on fabric type. Set suitable grips, jaws, or fixtures. Input the recommended test speed, pre-tension rate, and gauge length as per standard. Specify the allowed elongation percentage without damage. Check if the data recording rate meets the standard. Zero the balance force sensor. Verify the alignment and centering of loaded fabric samples. Start the auto-return on the sample break.
Use pneumatic grips with rubber coating to hold dense, woven fabrics. Use smooth, lightweight mechanical clamps for light, sheer fabrics to avoid damage. Inspect across the width to check the center while loading. Observe the tensioning display to check for slackness or issues. Start a pre-tension cycle to correct minor orientation deviations.
If you see variability, recheck the grip pressure settings. Also, replace worn-out jaws. Recalibrate the load cell if accuracy declines beyond the permissible limit. Confirm that you have pre-conditioned the specimen. Verify that mounted gauge length dimensions are accurate. Increase the sample size or test repeats for more statistical confidence. Compare against certified reference equipment. The room temperature and humidity were stable throughout the entire test duration.
People replace consumable parts. These parts include grips, jaws, load cell mounts, couplings, pulleys, and drive belts. They wear out over time. Calibrated spare sensors and load cells can cut potential downtime. Other recommended spares are fuses, cords, and pneumatic component kits. Their typical replacement frequency varies. The frequency of use determines their usage.
