The test results are more accurate and reliable.
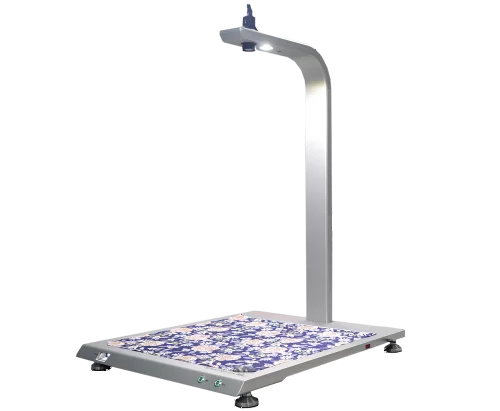
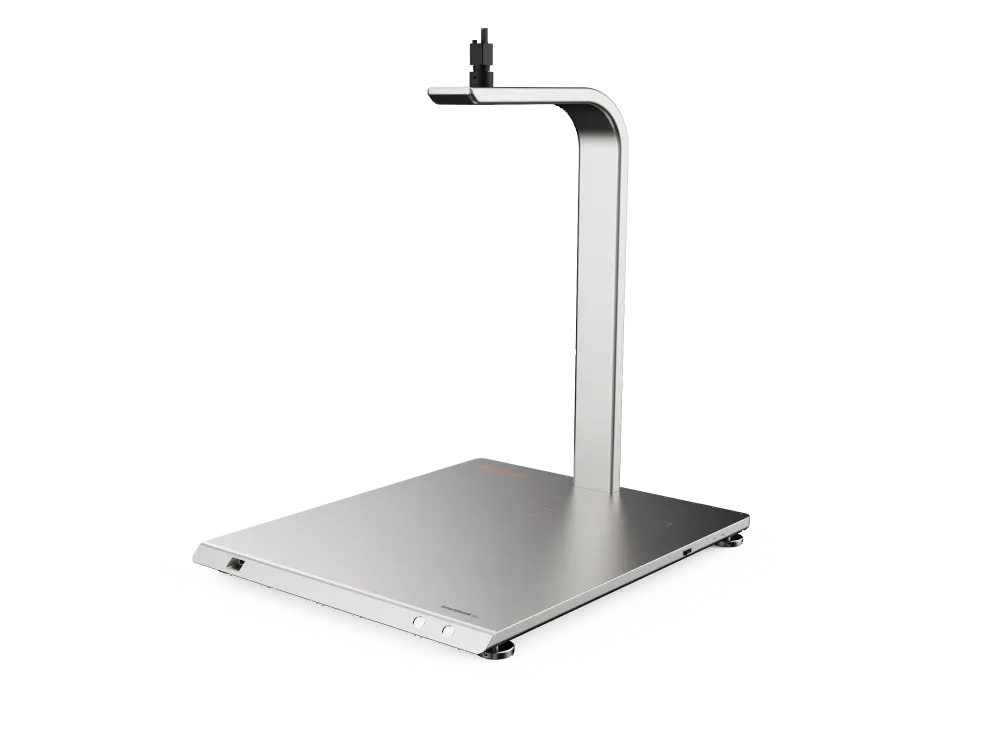
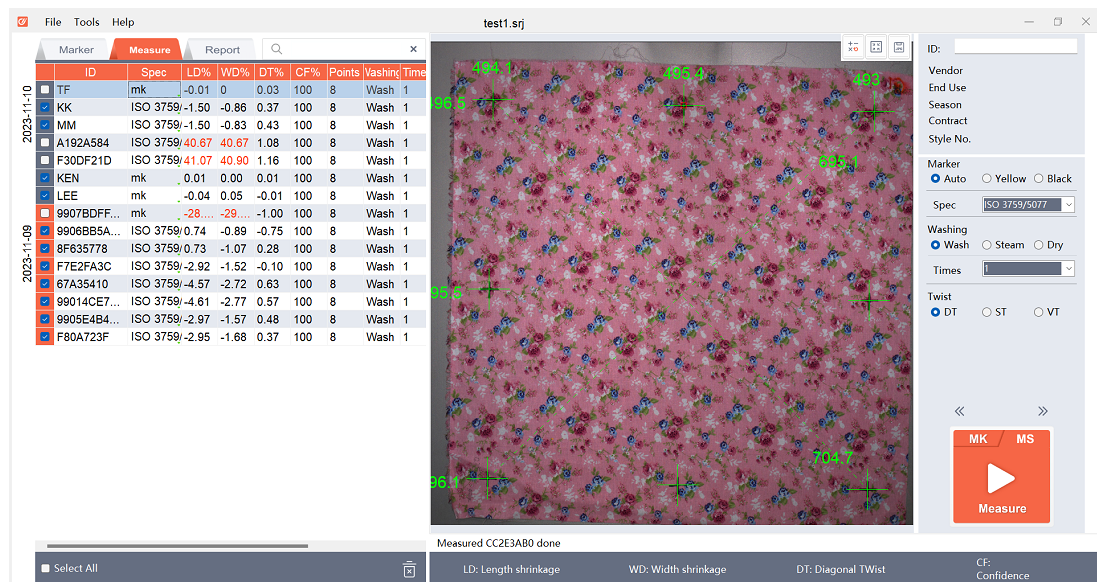
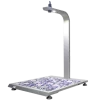
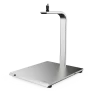
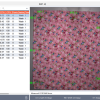
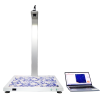
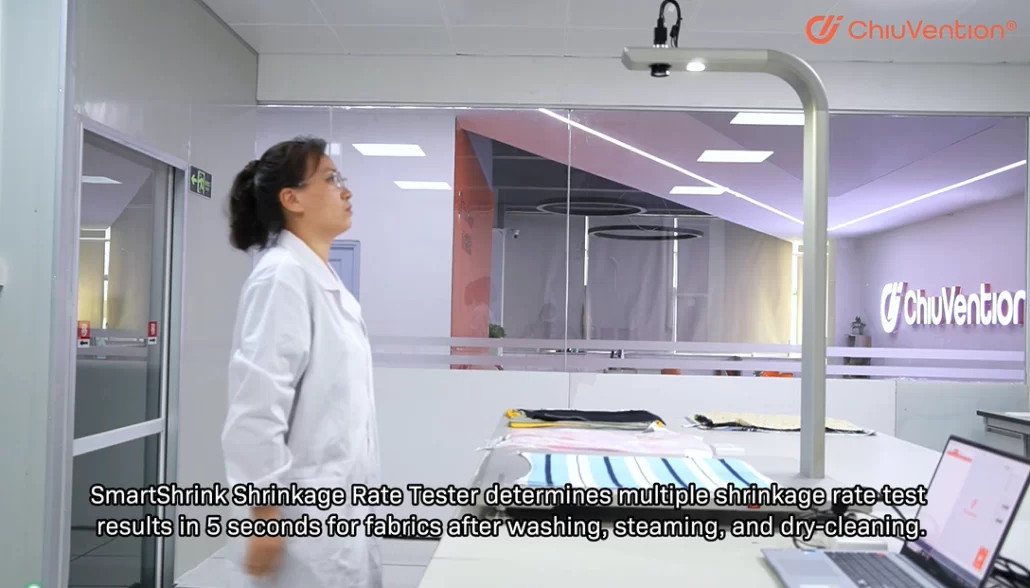
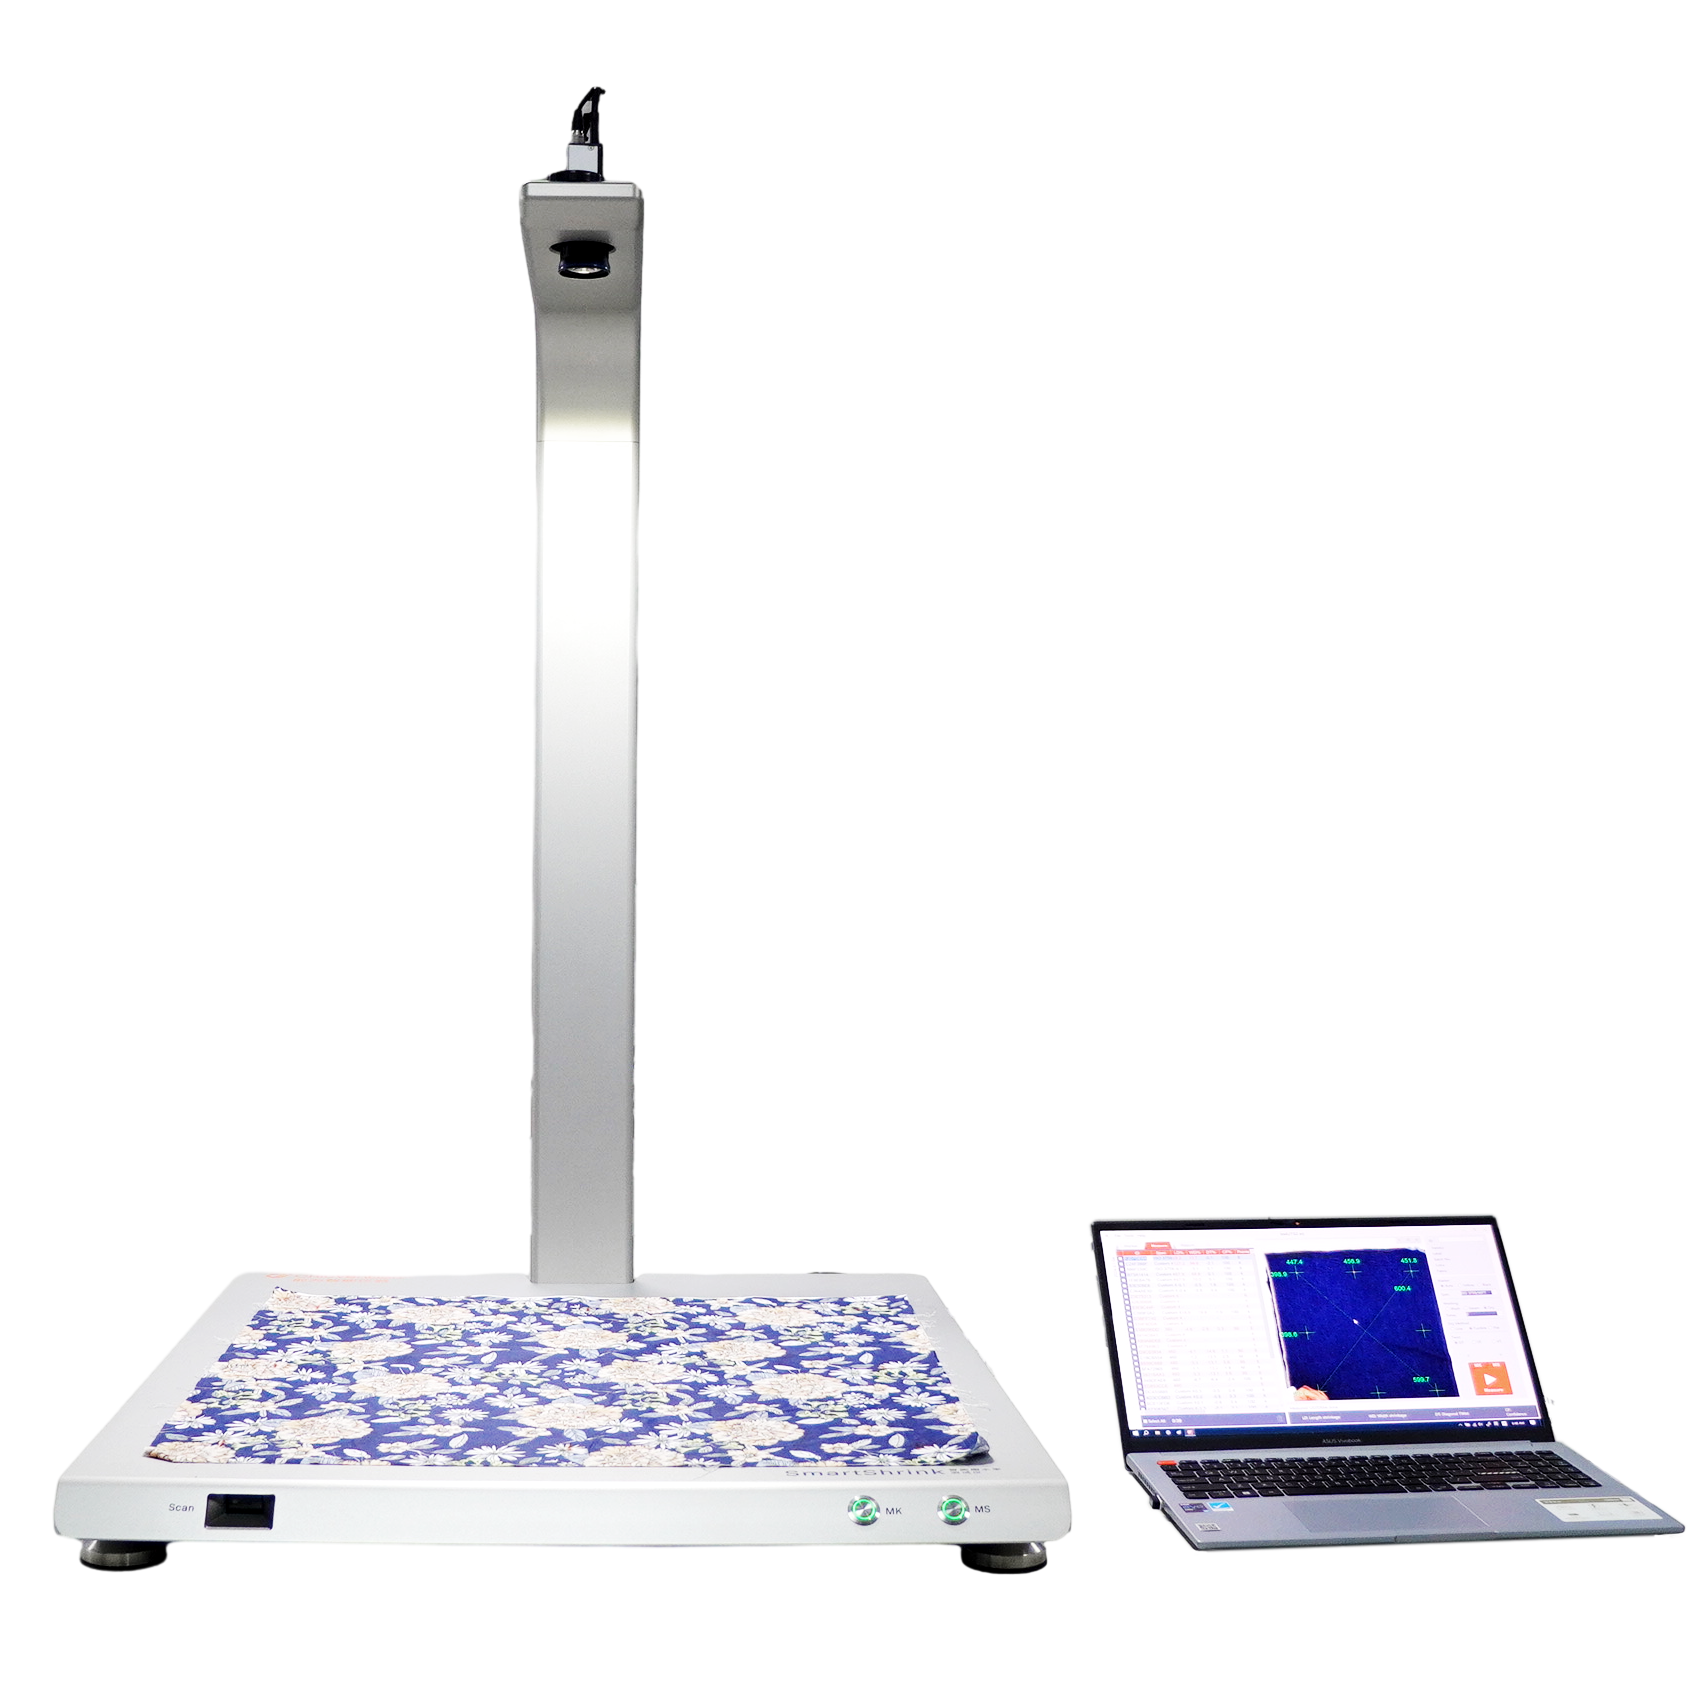
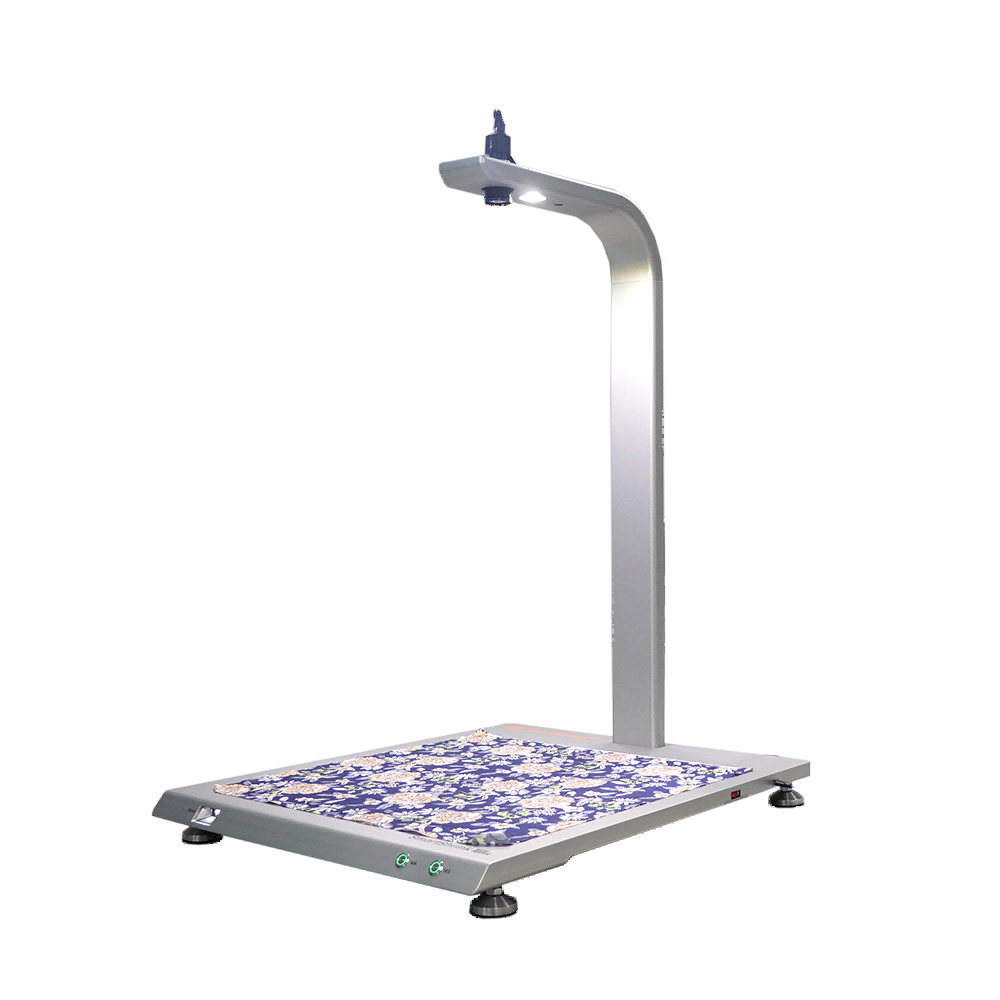
The Fabric Shrink Tester photographs the test sample with a high-definition camera. It then measures the distances between the marked dots. It uses a unique algorithm to calculate the shrinkage rate. It gives all test results in real-time.
Compatible with various shrinkage testing standards
Whether it is AATCC, ASTM, ISO, JIS, GB, etc., it can be applied. Multiple dimensions of shrinkage data can be measured at once.
Save $30,000/year for textile testing labs.
The conventional process of testing fabric shrinkage rate takes 6 minutes for each sample. It involves measuring and recording before and after washing. Then, calculating, typing, and printing. SmartShrink does all this in just 5 seconds.
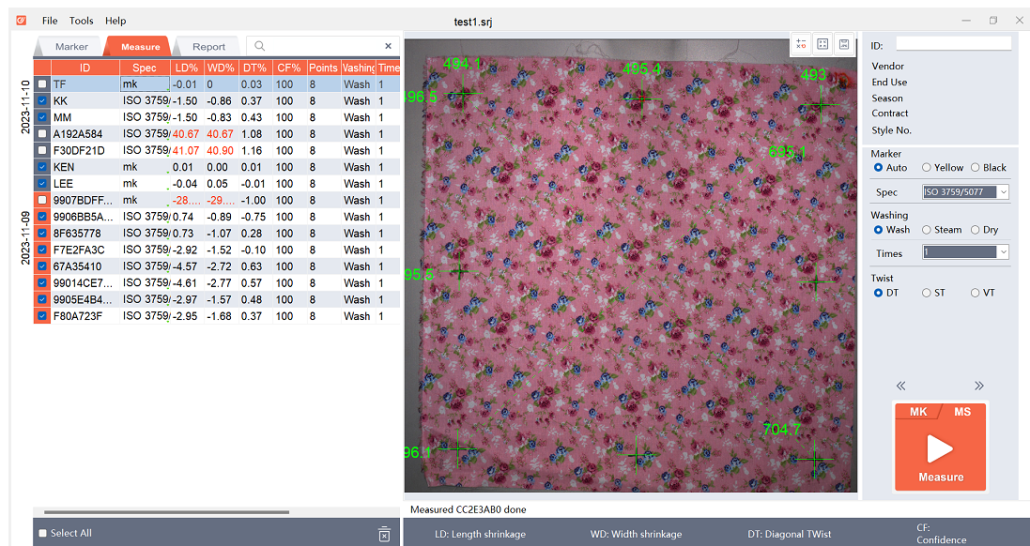
It outputs data at once. This data shows fabric quality fully and fairly.
The Shrinkage Rate Tester can output warp and weft shrinkage. It also outputs seam twist rates and vertical and diagonal twist rates. It also rates the credibility of the test results. It can check the quality of the fabric more.
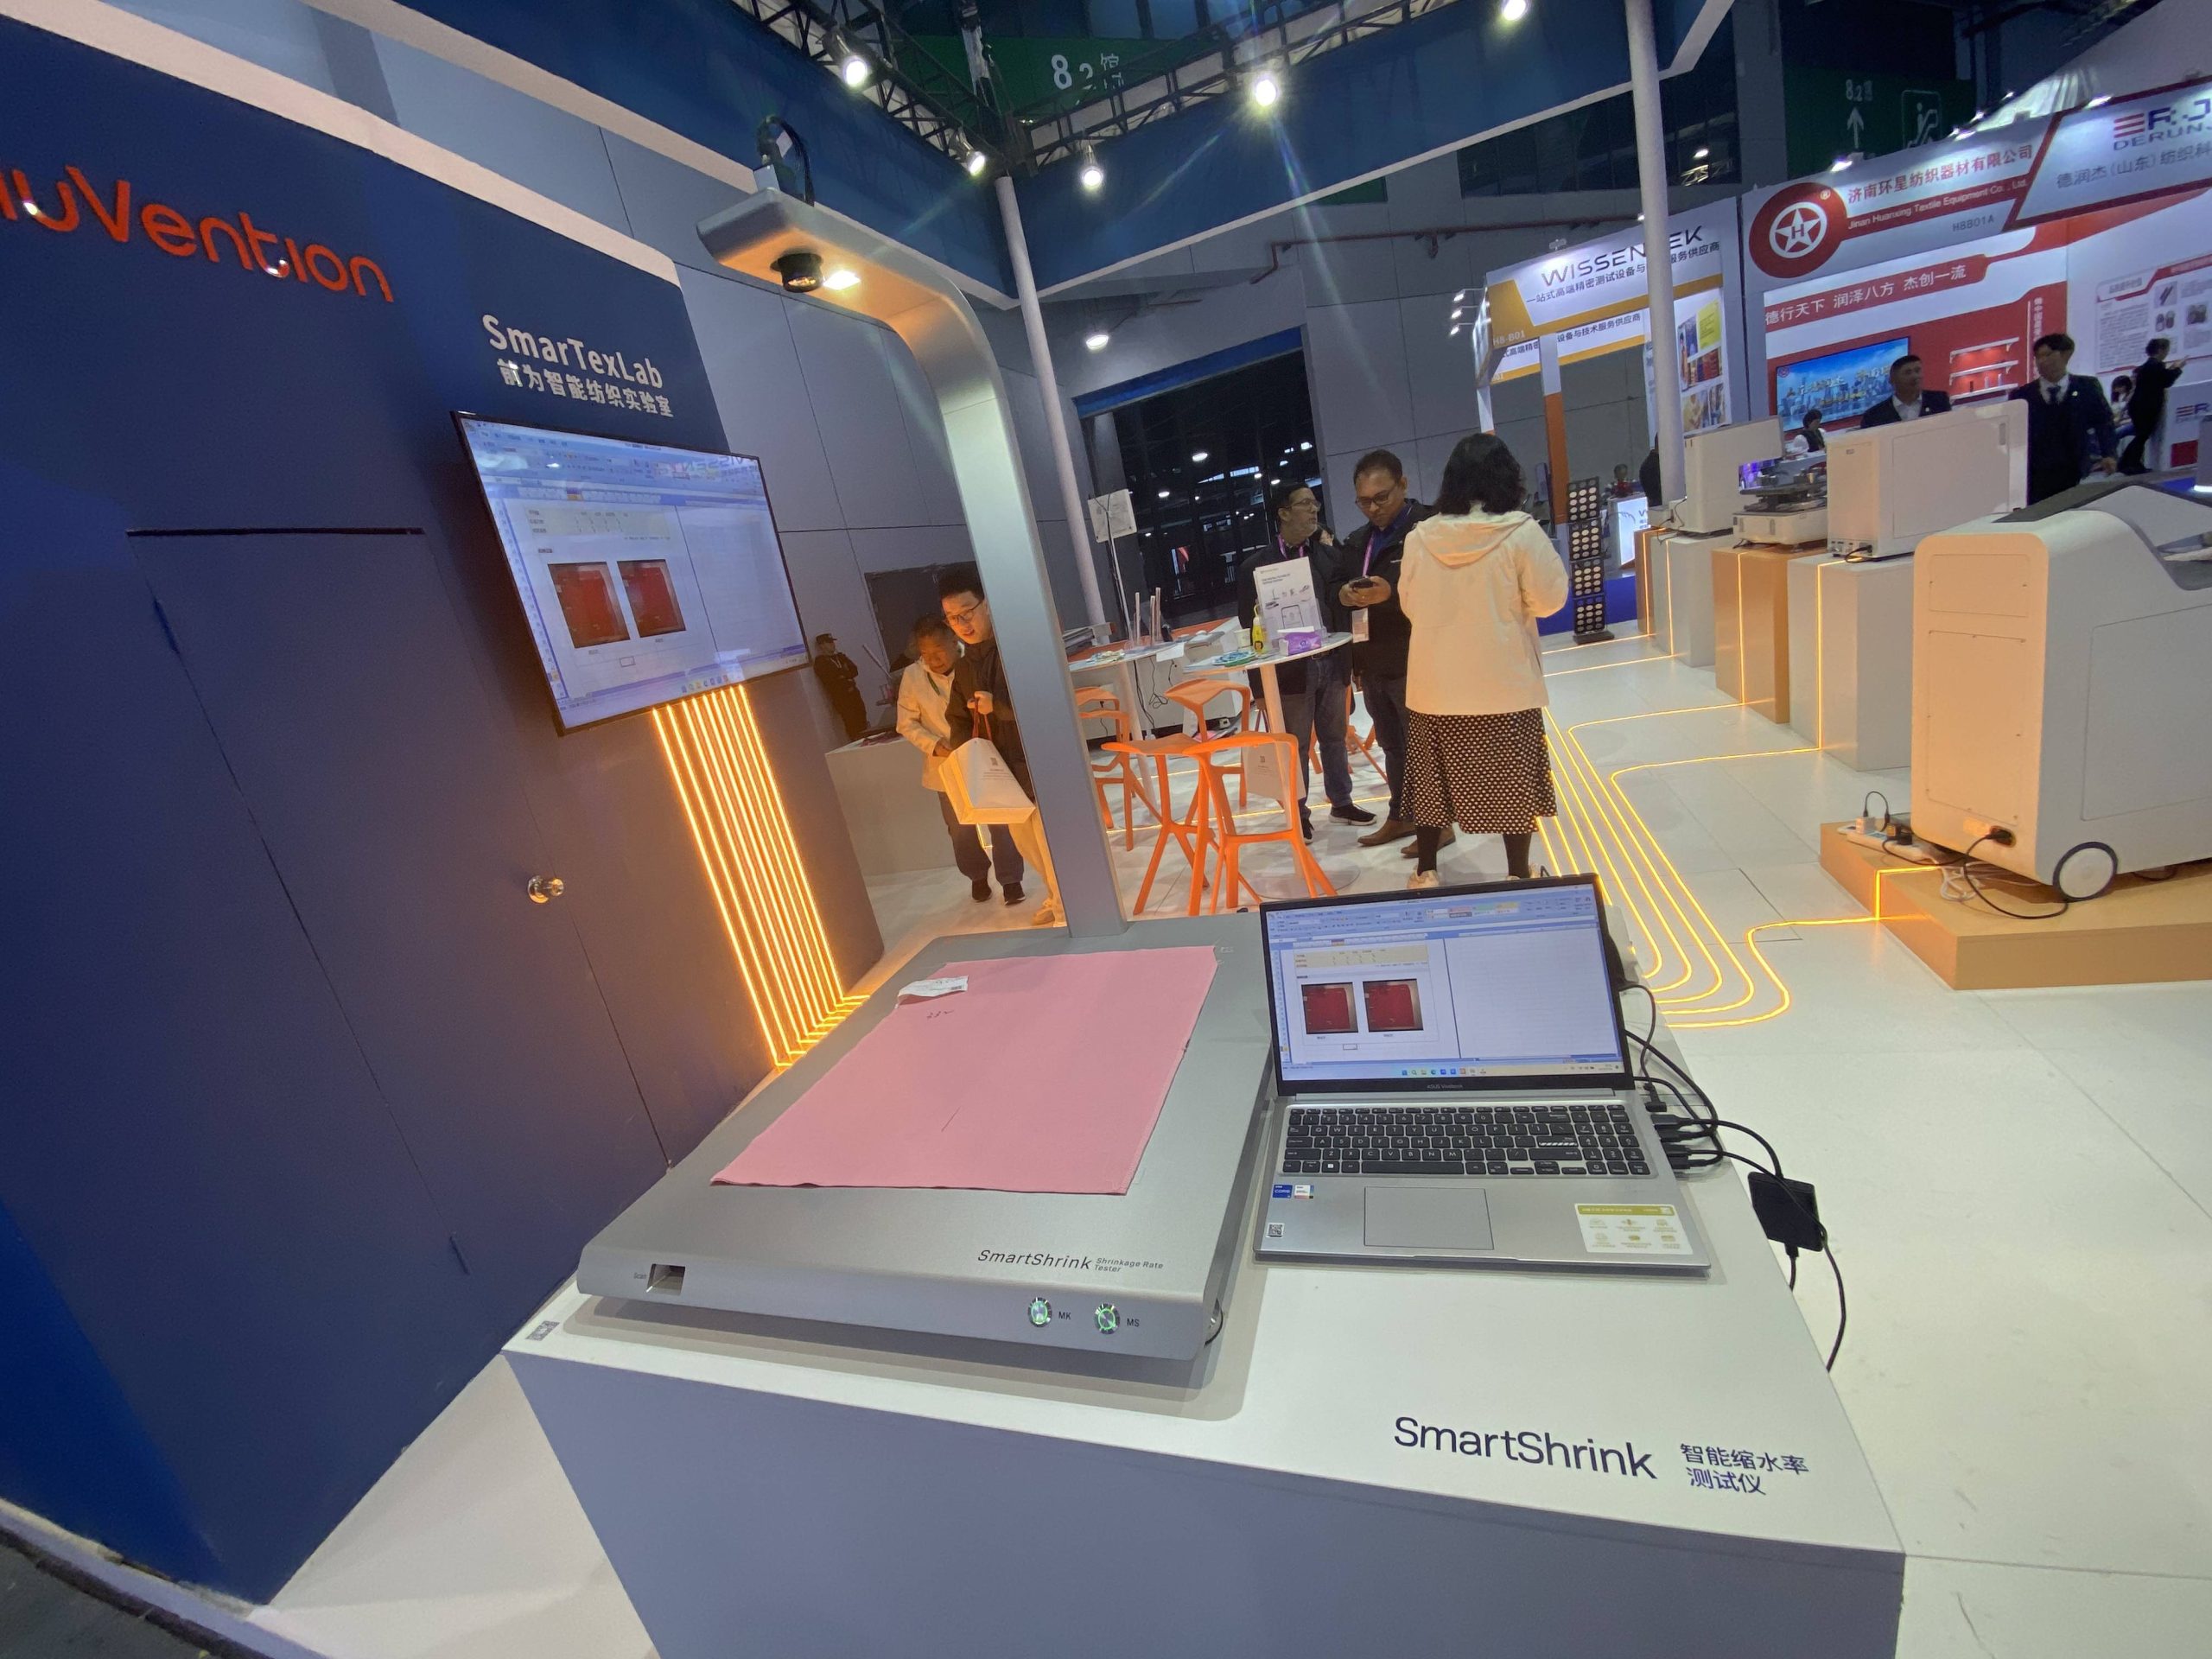
Well-known brands and laboratories are using the instrument.
adidas Germany, AEO Supply Chain, Anta Supply Chain, Bureau Veritas, Intertek, the China Textile Association, and Texwinca Textile Group.
You can upload the shrink test results to the factory’s ERP or the lab’s LIMS system. The Fabric Shrinkage Machine can help you manage fabric shrinkage test data.
Designed in Germany, quality is our life.
All our textile testing instruments are developed in-house and in cooperation with a team of renowned German industrial designers, which makes our instruments of outstanding quality. 100% source factory and factory price.

Application Examples of SmartShrink Shrinkage Testing Machine
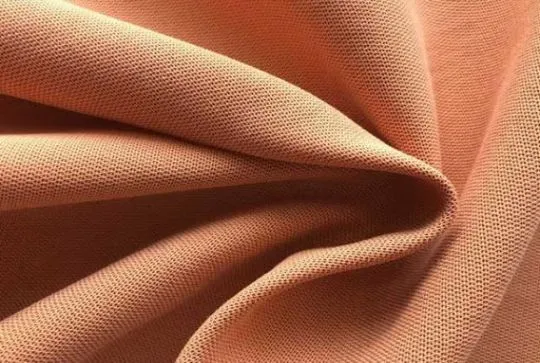
Blended Fabric

Cotton Fabric

Linen Fabric
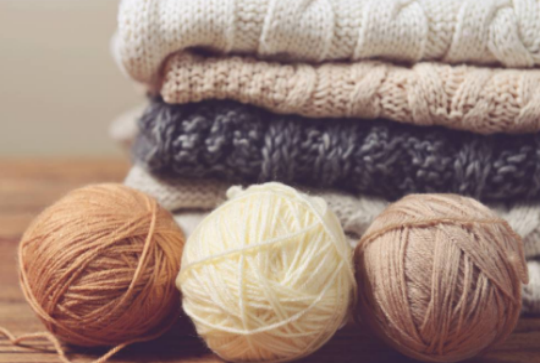
Wool Fabric
Customer Feedback
“We are a supplier to American Eagle Outfitters and purchased the Fabric Shrinkage Rate Tester on the recommendation of AEO. It is an innovative machine on the market that can quickly measure fabric shrinkage, helping us to make quicker fabric quality judgments, which greatly improves our economic efficiency. “
“I knew this Shrinkage Rate Tester at 2023 ITMA Asia in Shanghai, and asked a lot of questions on the spot, and this instrument is really valuable to us. We have already purchased 2 units this year, and it greatly improved the efficiency and the measured shrinkage data is also very accurate”.
Why SmartShrink?
Conventional Fabric Shrinkage Rate Testing Process
| SmartShrink Fabric Shrinkage Rate Testing Process
|
| 1. Mark the dots and wash the sample; 2. Place the fabric sample flat on the working table; and measure the distances between the dots by Shrinkage Template Scale; 3. Calculate the shrinkage rate manually based on the Fabric Shrinkage Formula and record it on the label; 4. Summarize the Fabric Shrinkage Rate data and fill in the form; 5. Type the fabric shrink data into the computer. | 1. Before washing, mark the dots and use this machine to scan the code of the fabric sample to identify the sample information; 2. After the washing, place the sample flat on the platform of SmartShrink Fabric Shrinkage Rate Tester, and the camera above automatically collects the distances between the dots on the warp and weft directions of the fabric; 3. The Fabric Shrinkage Rate Tester will calculate the shrinkage rate automatically in real-time by the computer software and save the shrinkage rate test results to form a report. |
| Time – Consuming of Conventional Testing Process: Over 6 minutes! Time – Consuming of SmartShrink Testing Process: Only 5 seconds! | |
| According to the conventional process, for a lab that tests 200 samples per day, it takes 20 hours to complete the whole work, and more than 2 people are required; while using this new Fabric Shrinkage Test Method and machine, it only takes 16 minutes. Therefore, the Fabric Shrinkage Rate Tester can save more than 2 labor costs for the lab. | |
| Conventional Fabric Shrinkage Rate Testing Manual operation, the greater the workload, the higher the error rate! SmartShrink Fabric Shrinkage Rate Testing Smart and Auto measurement, more accurate and faster, with a lower error rate! | |
The Specification of Fabric Shrinkage Tester
Test mode: automatic test
Sample test size:
200*200mm, 250*250mm, 350*350mm,
450*450mm, 460*460mm, 500*500mm,
10*10in. 15*15in. 18*18in.
The sample test size also can be customized.
A computer is required (optional)
Operating system: Windows 10/11
Power
220/V 50/60Hz Other voltages require an extemal transformer
Weight
40kg
Dimension
810*690*1170mm (L*W*H)
Controlling fabric shrinkage is vital for textile factories. It ensures that the fabric meets the buyer’s needs and is of high quality. So, this Fabric Shrinkage Test Machine is a wise choice. For more information, such as the test method and formula, do not hesitate to contact us! We also provide color fastness to washing machines.
OUR BROCHURE
FLYER
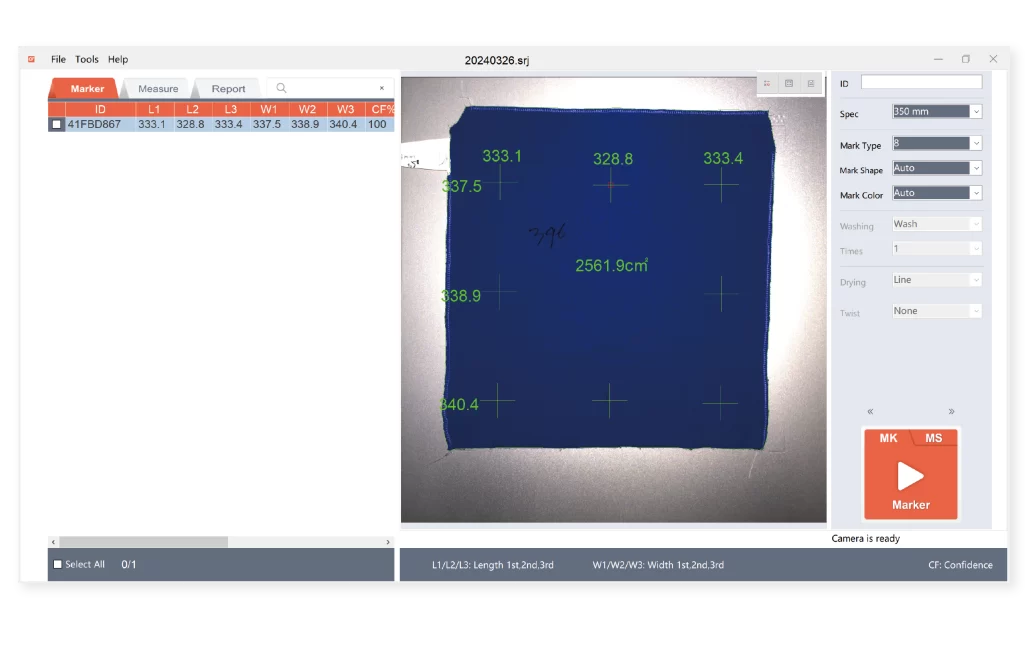
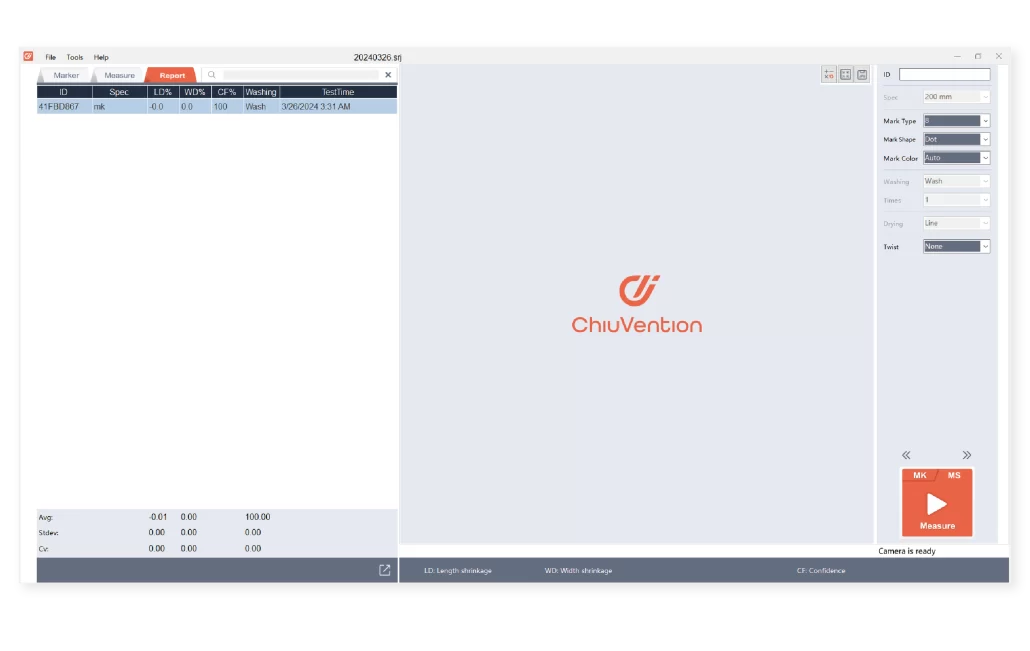
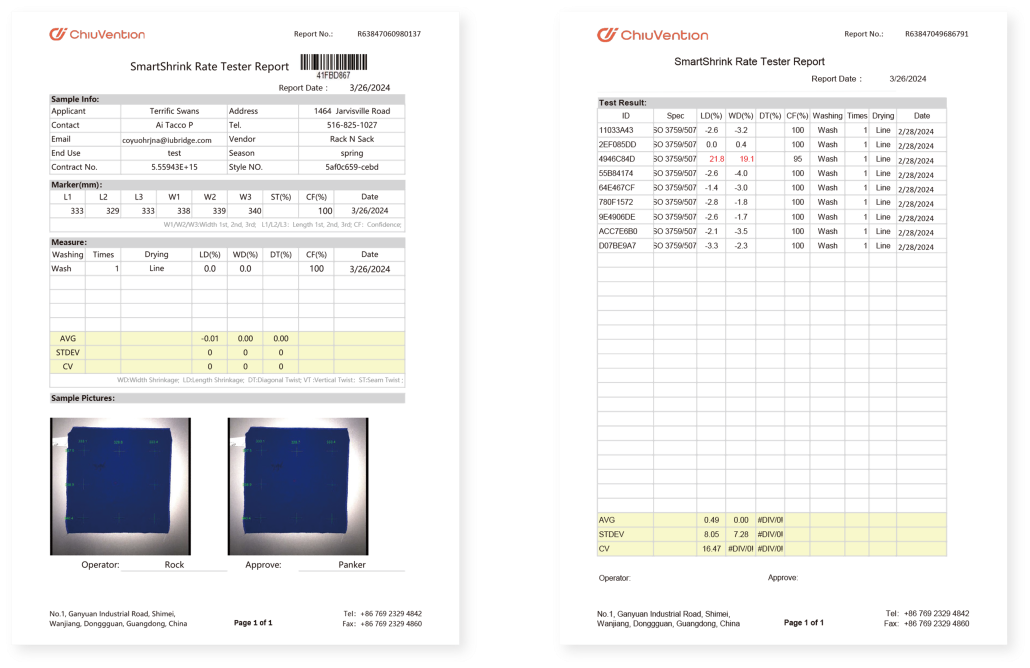
The Fabric Shrinkage Tester captures photos before and after the textile shrinkage test. It uses its self-developed visual detection algorithm and advanced system. This system collects data on warp and weft threads. Then the software will calculate the shrinkage rate and present them on the computer. It will be a report and you can save it or print it, besides, it can be connected to the ERP or LIMS system. So it will be a perfect machine for textile factories or labs.
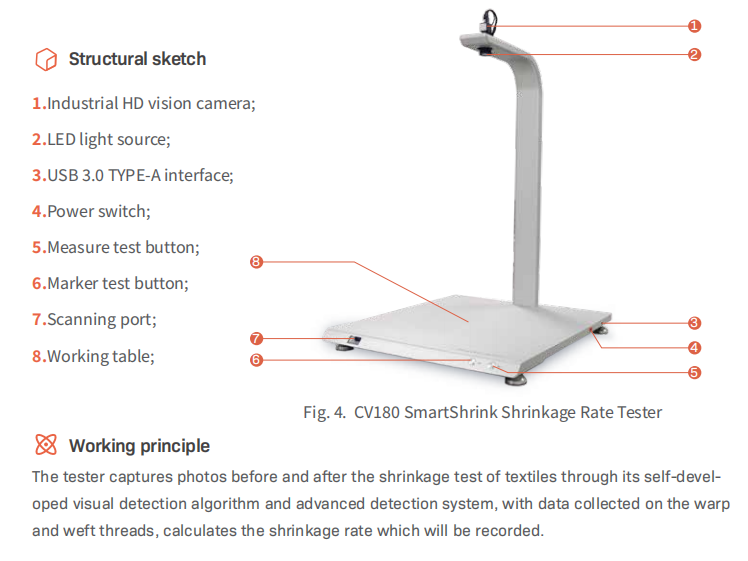
Test Operation Procedure
Here is a brief introduction of test method, if you want to know the detailed operation procedures (step by step, including the software installation), contact us and we will tell you.
Make the samples according to standards. Mark the samples with reference points. Also, give the sample’s barcode numbers.
Open the software, then align the barcode of the sample with the scanner port. The software will enter the sample number.
Place the sample flat on the testing surface. Align it to the ruler on the surface.
Then press the MK test button. The instrument takes photos of the sample. It calculates the distance between the marked points and saves the data.
Measure, wash, and dry the sample in a “shrinkage test wash machine”. Next, repeat steps 1-3.Next, press the MS button to measure the dimensions of the marked points after washing.
Test Report Export
After completing the steps, click on “Report” to enter the test report and export it.
We have optional calibration boards (Acrylic Shrinkage Test Boards). The boards are verified by the third-party calibration company. We used this board to calibrate the SmartShrink Fabric Shrinkage Tester.
The calibration data has been uploaded to the cloud before the machine leaves the factory. Use the software’s cloud import function to view it.
And about how to use this board to calibrate this shrinkage rate testing machine, you can contact us and we will guide you step by step.
Q1: What is the value of the SmartShrink Fabric Shrinkage Rate Tester for fabric mills?
A1: The SmartShrink Fabric Shrinkage Rate Tester is able to quickly measure the dimensional changes of fabrics under washing, soaking or high temperature conditions accurately, helping factories to quickly get the shrinkage performance of fabrics in use. With the fabric shrinkage data, factories can adjust their production processes to ensure fabric stability, resulting in improved product quality, fewer customer complaints and more orders.
Q2: What other values of SmartShrink Fabric Shrinkage Rate Tester?
A2: Taking as little as 5 seconds to measure a piece of fabric, saves laboratories a great deal of time in fabric shrinkage testing. The shrinkage test results are much more reliable.
The fabric shrinkage rate test reports can be generated automatically, which is convenient for fabric factories or laboratories to select qualified fabrics.
Q3: What are the applications of SmartShrink Fabric Shrinkage Rate Tester?
A3: The SmartShrink Fabric Shrinkage Rate Tester can be applied to various types of fabrics, such as cotton, polyester, blended, and knitted fabrics.
Q4: How to calibrate the SmartShrink Fabric Shrinkage Rate Tester?
A4:
1. Preparation
Environmental requirements: Ensure that the temperature and humidity of the test environment meet the standard conditions for textile testing (typically 20°C to 25°C and 65% ± 5% humidity).
Calibration samples: Use standard calibration samples of known dimensions, usually of accurately calibrated textile material, for comparison of test results.
Measuring tools check: Ensure that the tools used for measurement (e.g., straightedge, tape measure, etc.) have been calibrated regularly to provide accurate dimensional data.
2. Calibration steps
Pre-calibration check: Ensure that the fabric shrinkage rate tester’s sensors, optics, electronics, and display system are in good working order and free from external damage or malfunction.
Pre-measurement marking: Place the calibration sample (usually a standard-sized textile) flat on the measurement area and mark multiple fixed points (e.g., corners and center points) on the sample as required for measuring dimensions in different directions.
Initial measurements: The initial length and width of the sample are measured by using the fabric shrinkage tester and the dimensional data are recorded.
Perform Standard Tests: Shrinkage tests are performed according to standard operating procedures (usually including washing, drying, or other environmental simulations) and experimental data are recorded.
Final Measurement: Measure the final length and width of the sample using the shrinkage tester again to ensure that the tester’s measurements match the actual dimensional changes of the sample.
3. Data Comparison
Compare the initial and final dimensional data measured by the tester with the known shrinkage data of the standard sample. If the test results deviate within the allowable range, the calibration is complete; if outside the allowable range, further adjustments are required.
4. Software and firmware updates
Software calibration: Some Smart Shrinkage Testers are equipped with calibration software or firmware updates (You can contact us for ChiuVention Shrinkage Rate Tester Cloud Calibration.) During the calibration process, use the instrument’s dedicated software to automatically adjust the device’s internal settings according to the values of standard samples to ensure its accuracy.
Firmware update: Check regularly with the manufacturer for device firmware updates, upgrades may correct potential measurement bias issues.
5. Verifying Calibration
After completing the calibration, test the tester using a series of samples of different sizes and materials to ensure that the shrinkage measurements of different samples are within the standard range and to validate the calibration of the tester.
6. Periodic Maintenance and Recalibration
It is recommended to carry out regular maintenance and recalibration according to the frequency of use, especially after a long period of use, or after the equipment has been moved or repaired, in order to ensure the measurement accuracy and stability of the instrument.
7. Record keeping
Retain the data, deviation correction values, and calibration dates from each calibration process for subsequent inspection or audit. This is part of the quality control of the assurance equipment.
