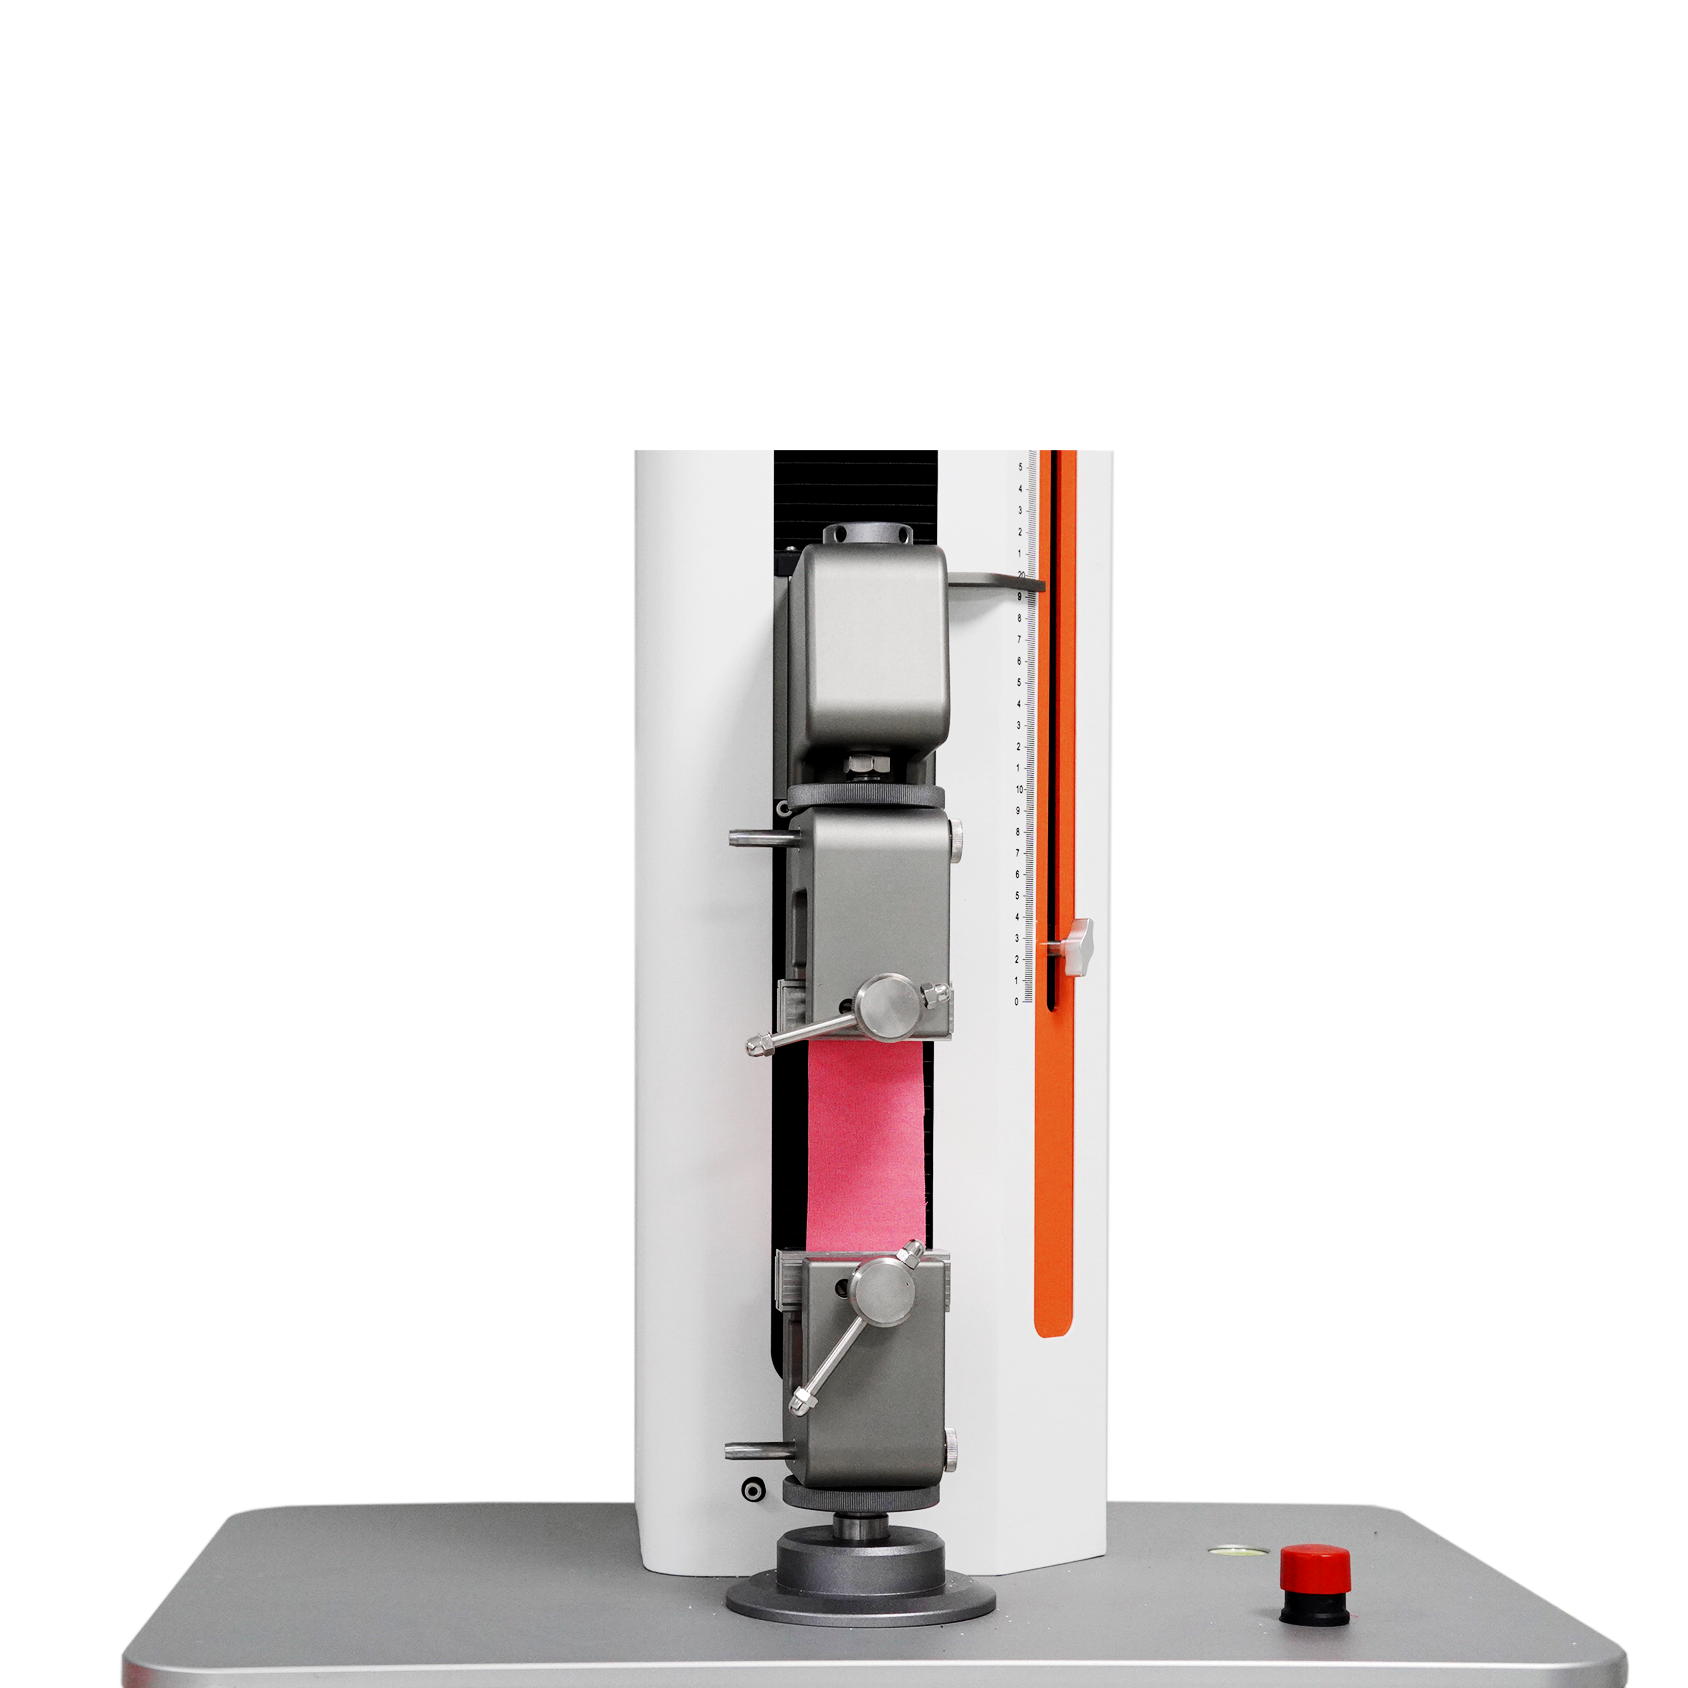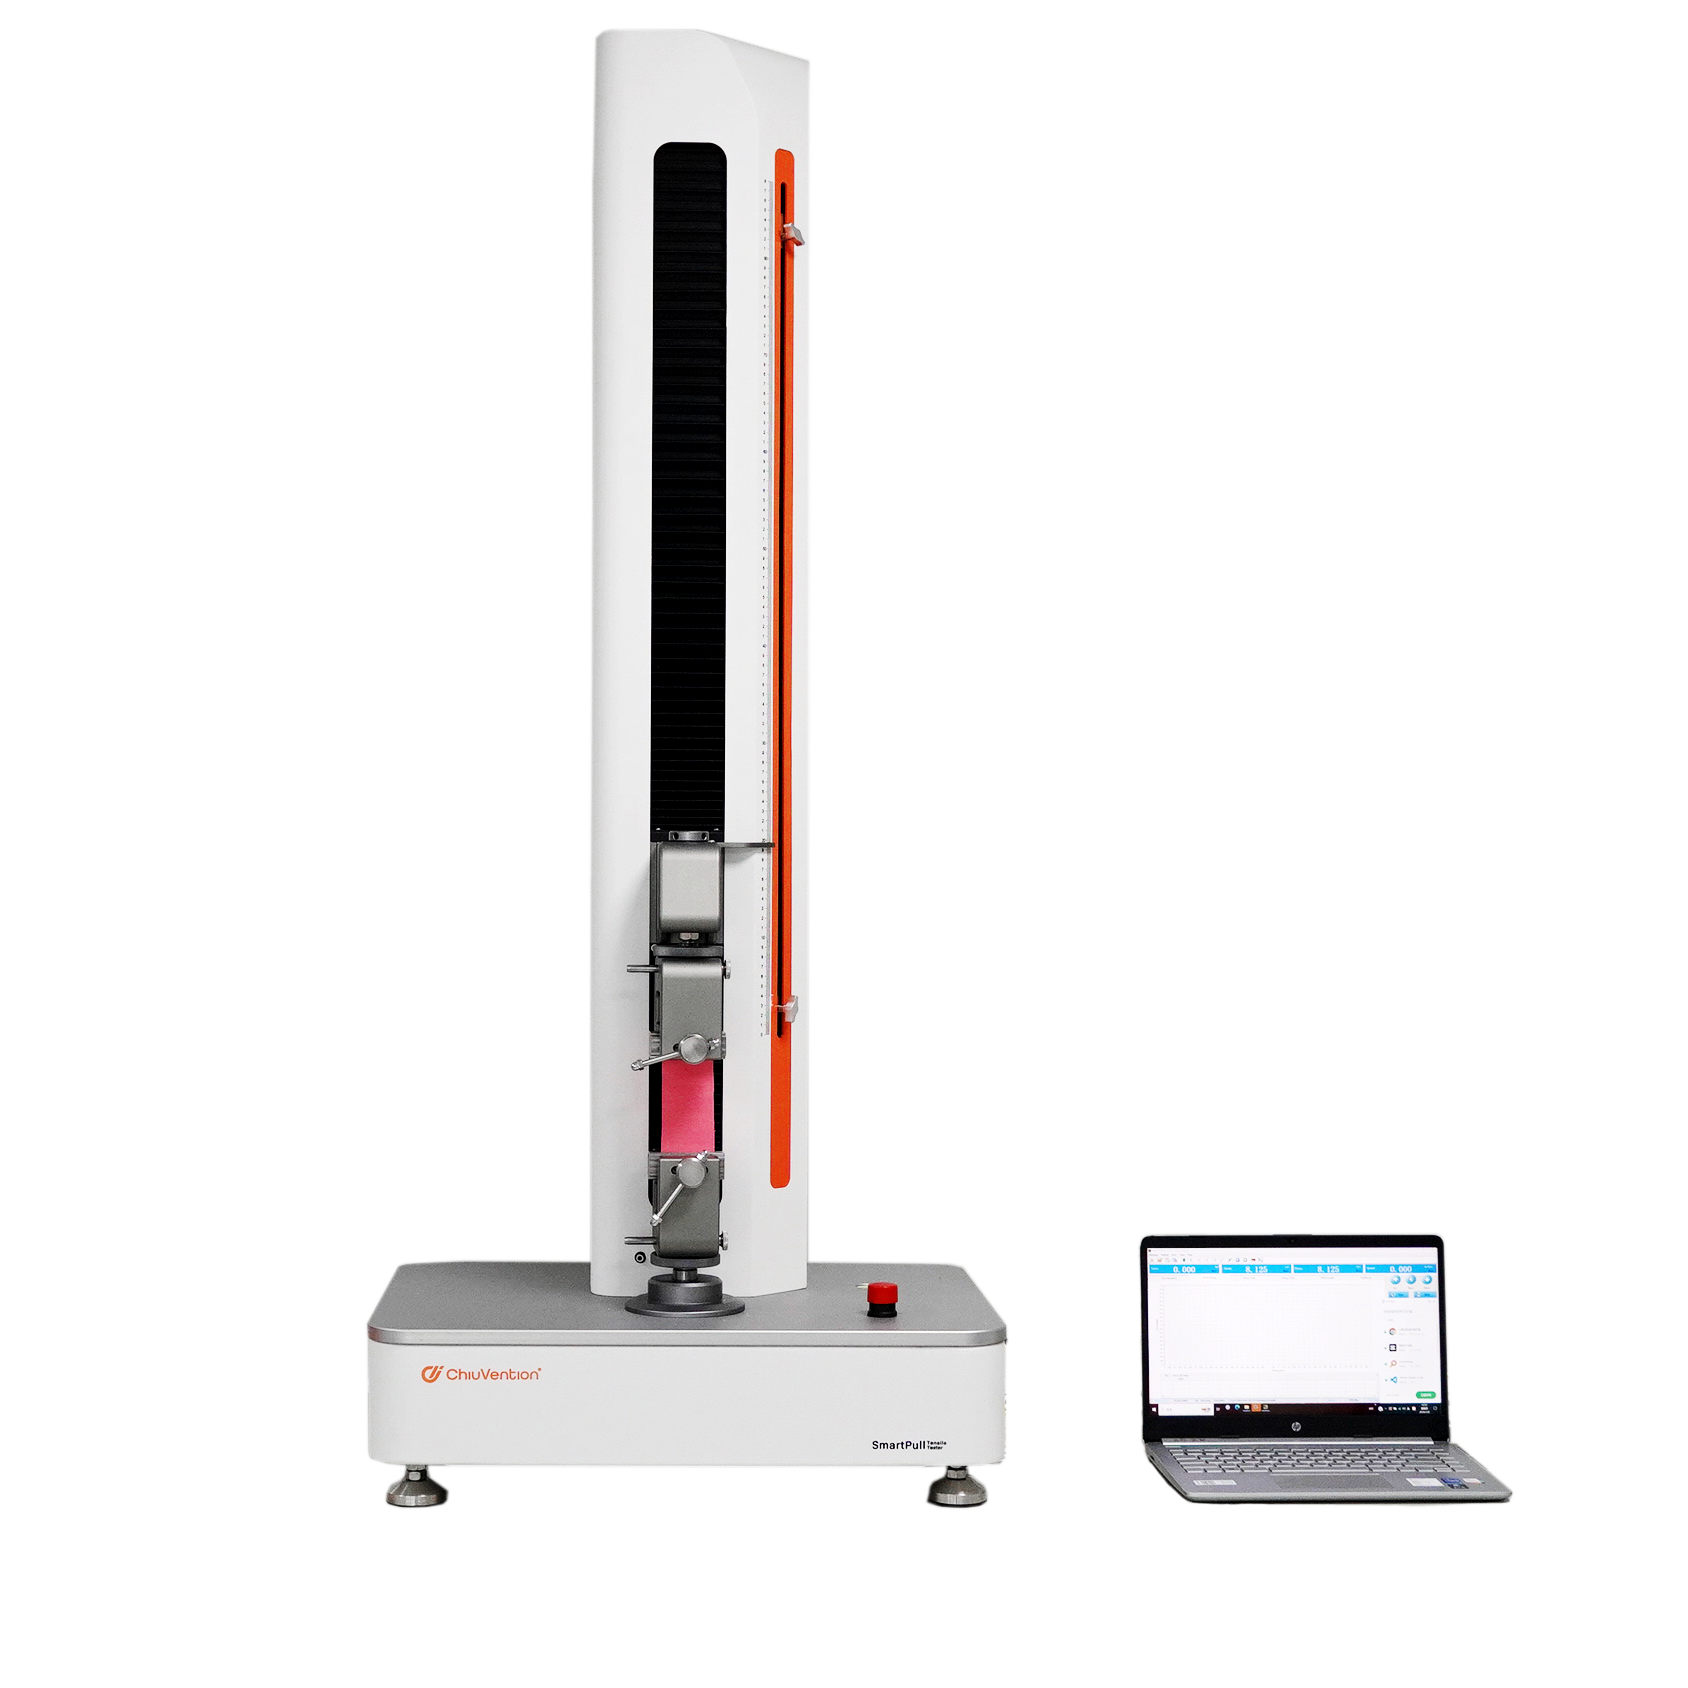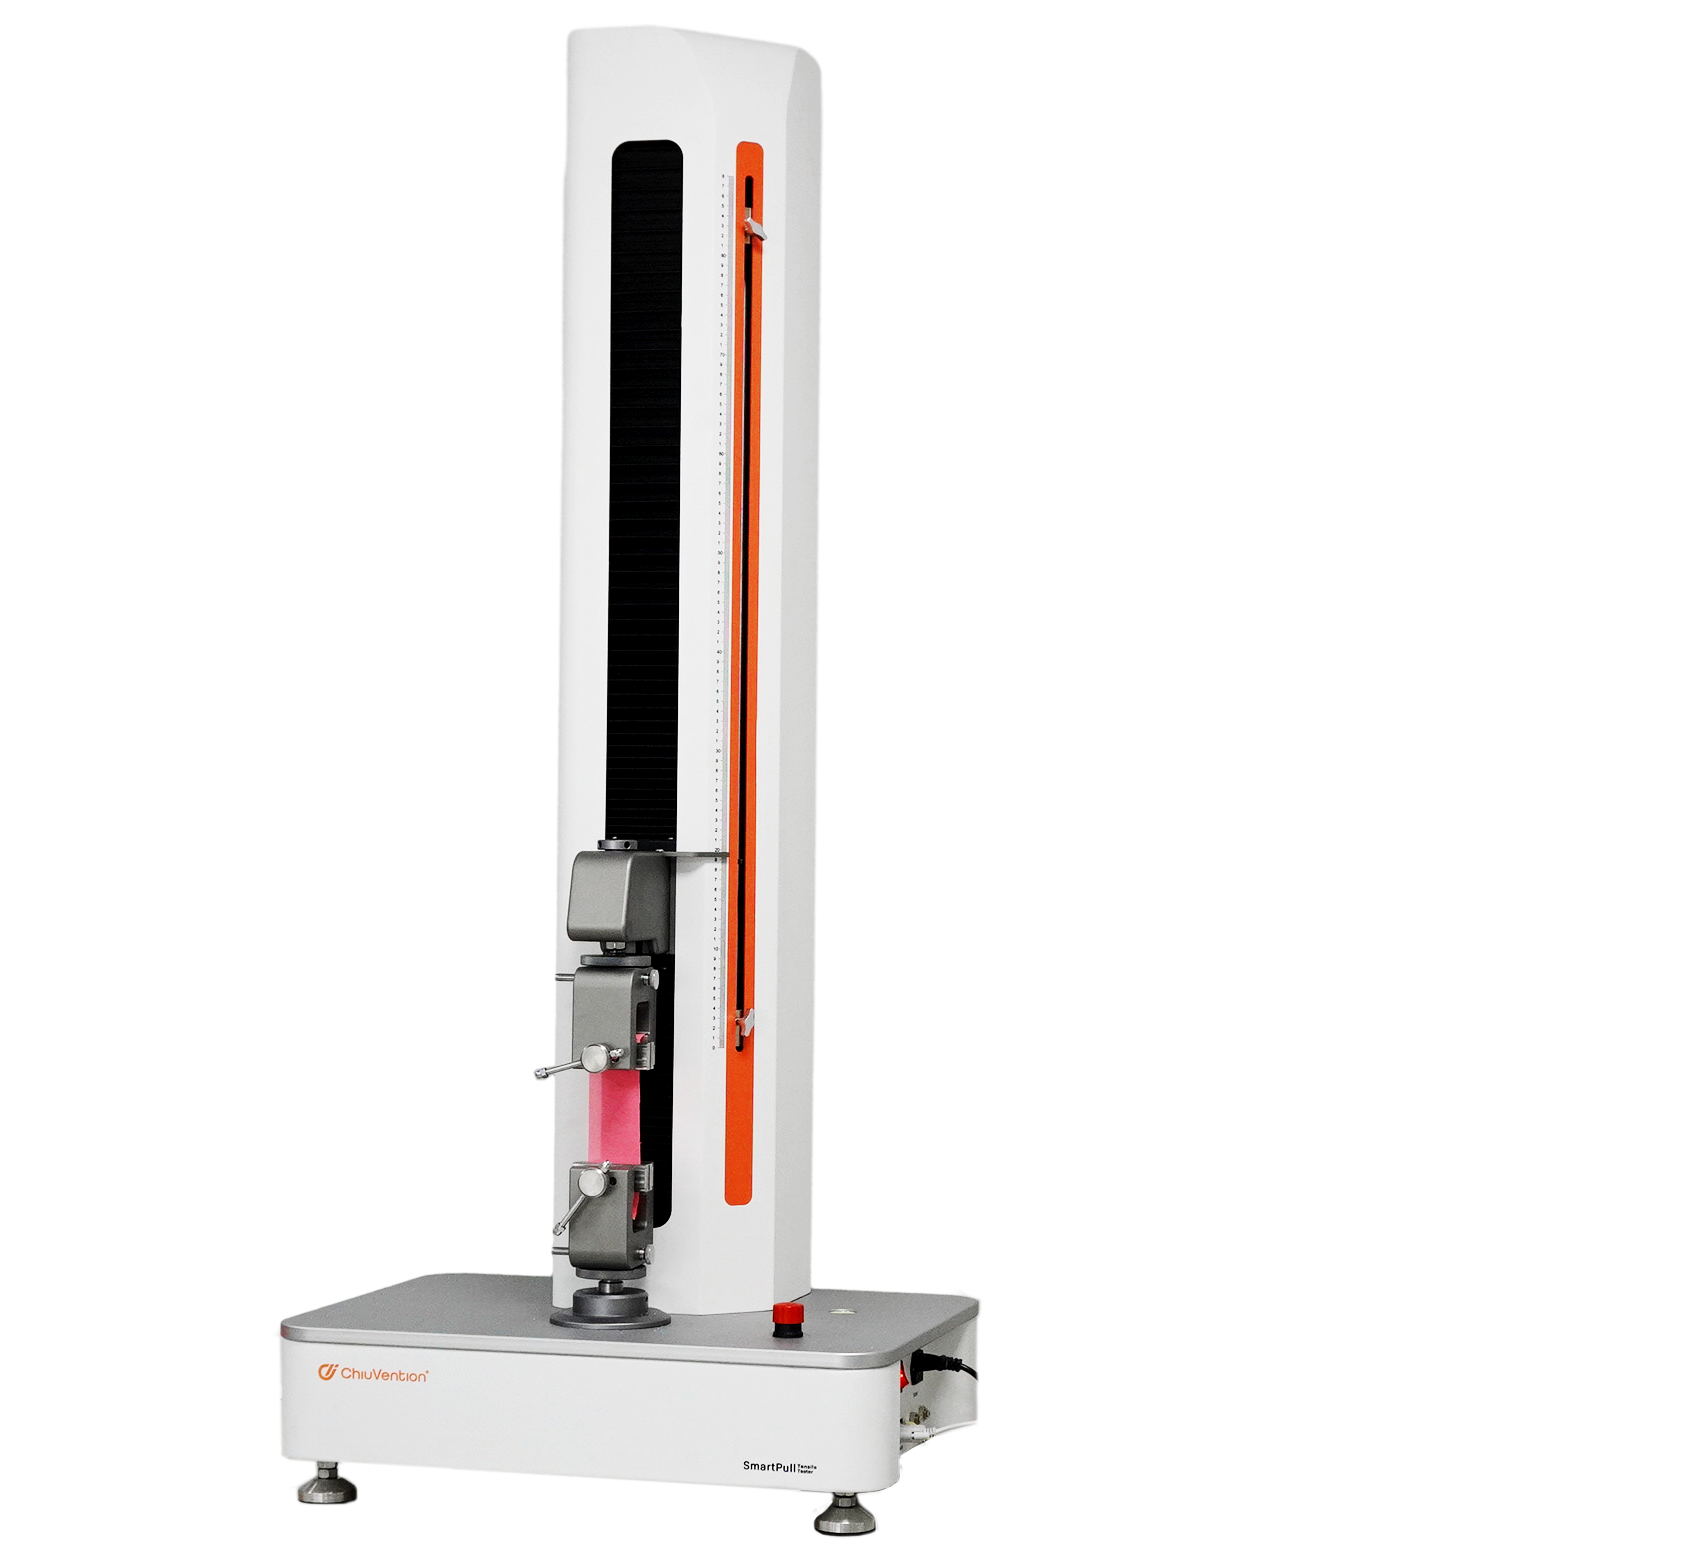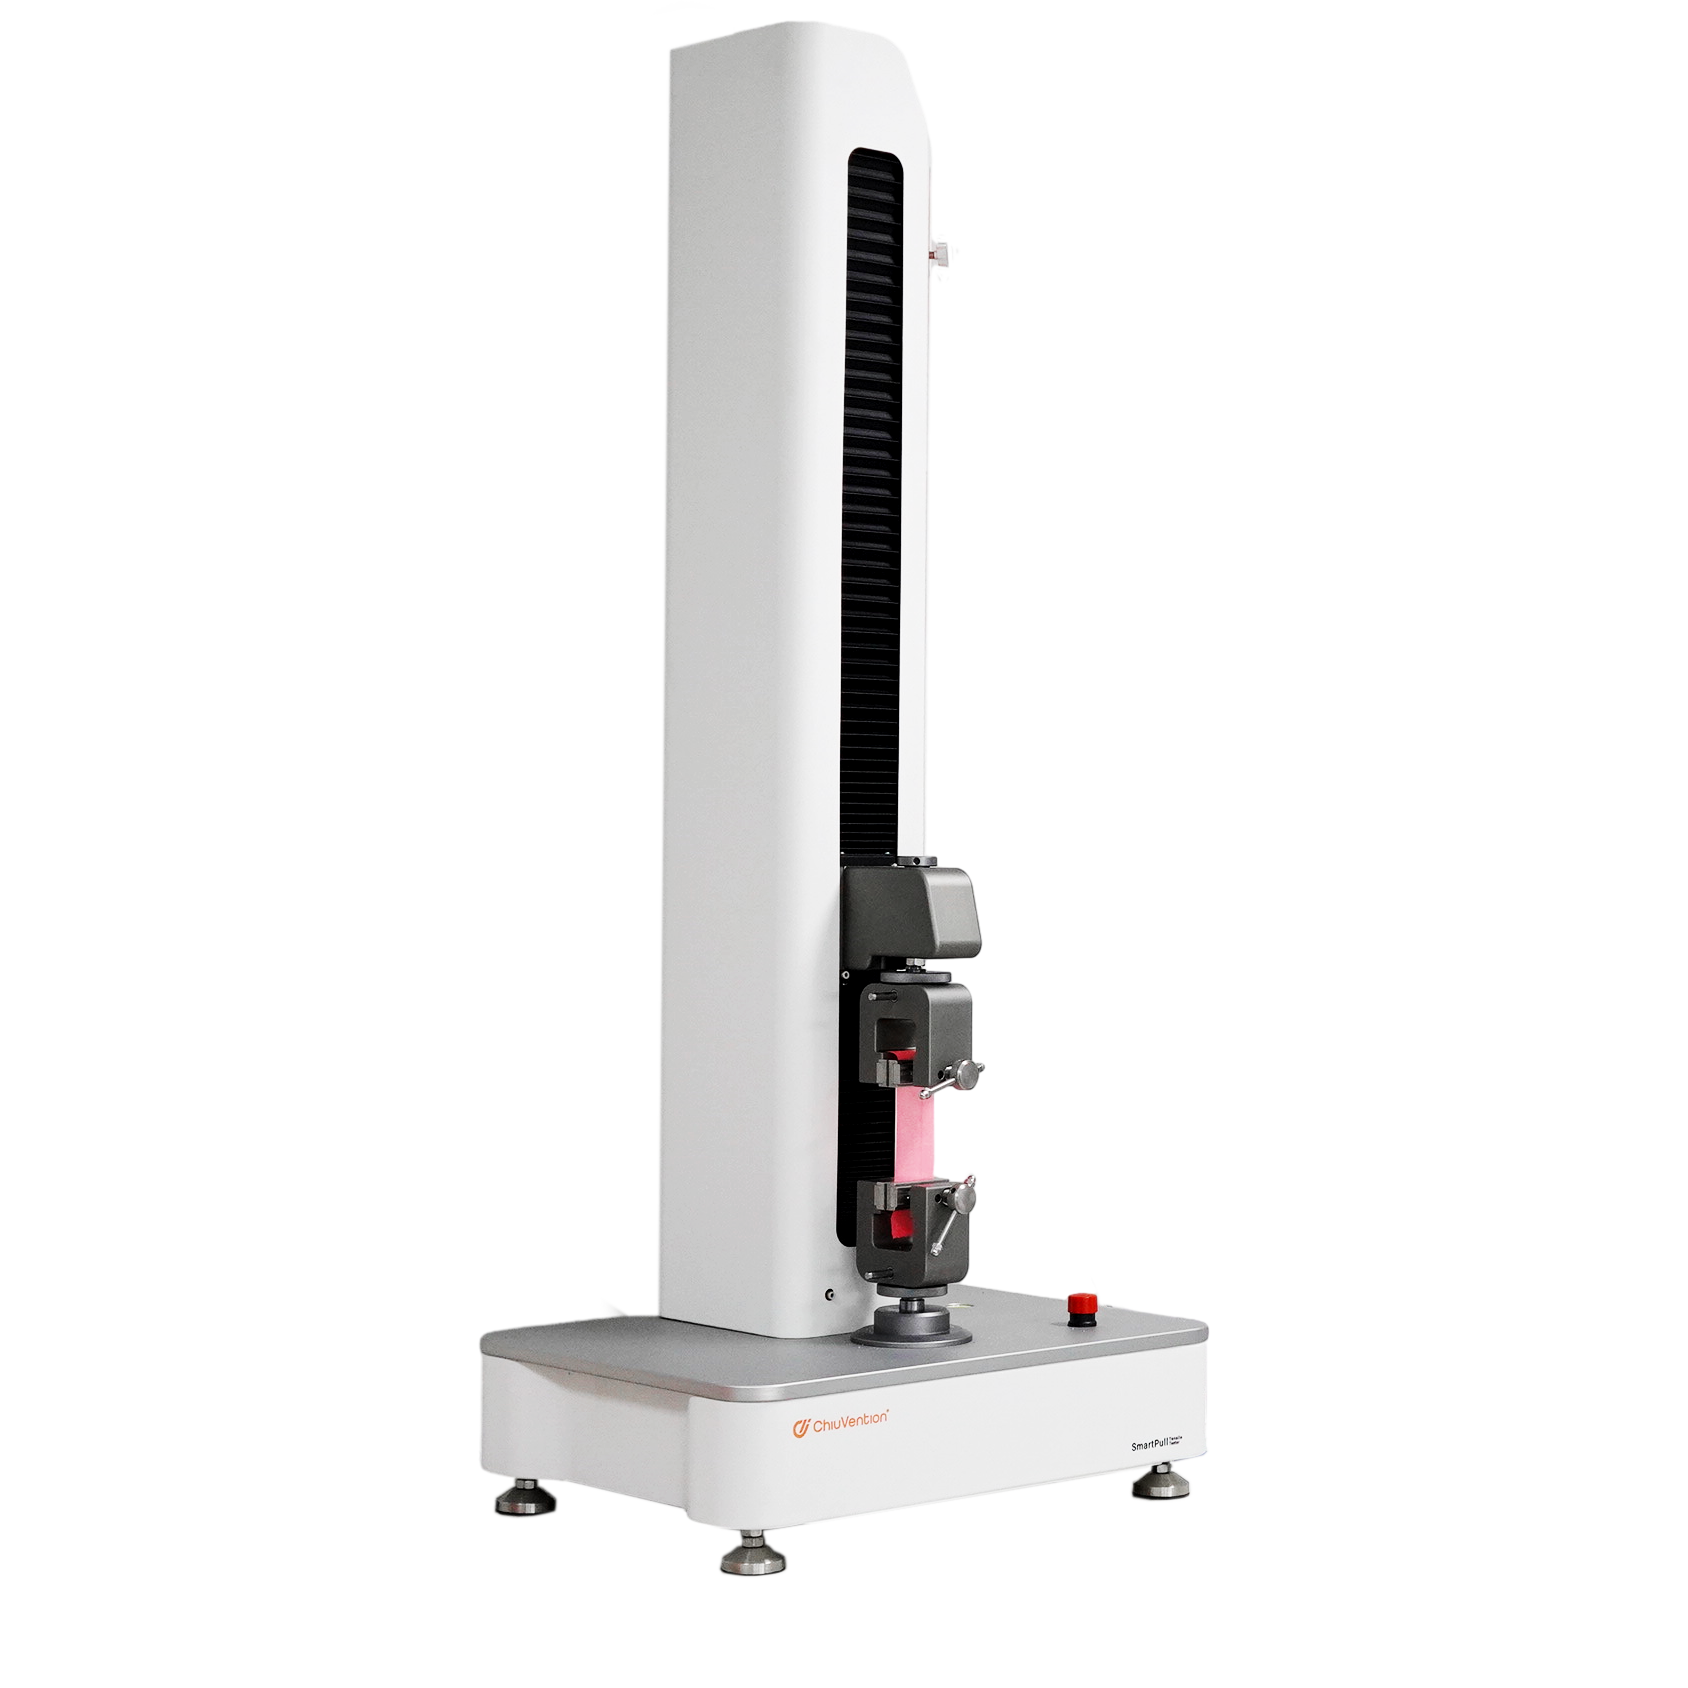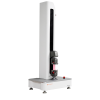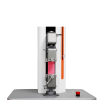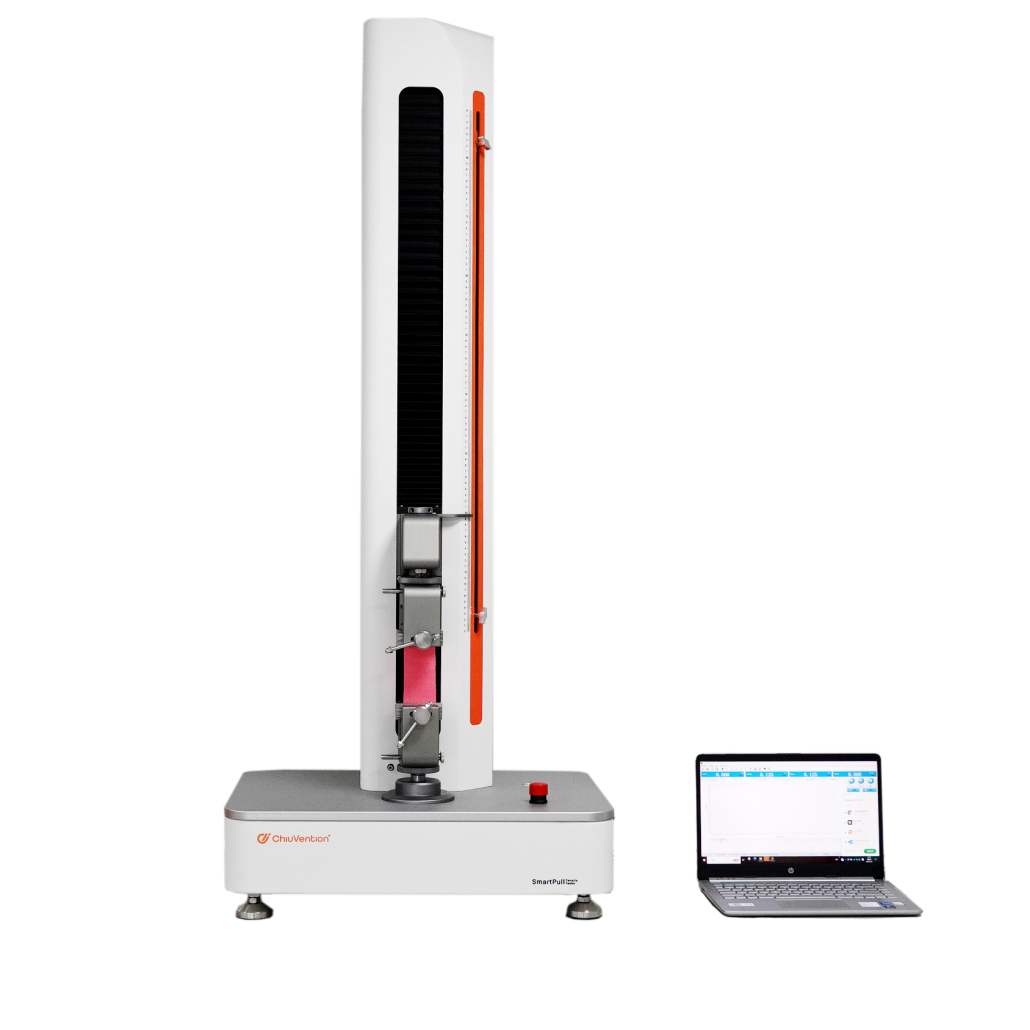
Higher tensile testing accuracy
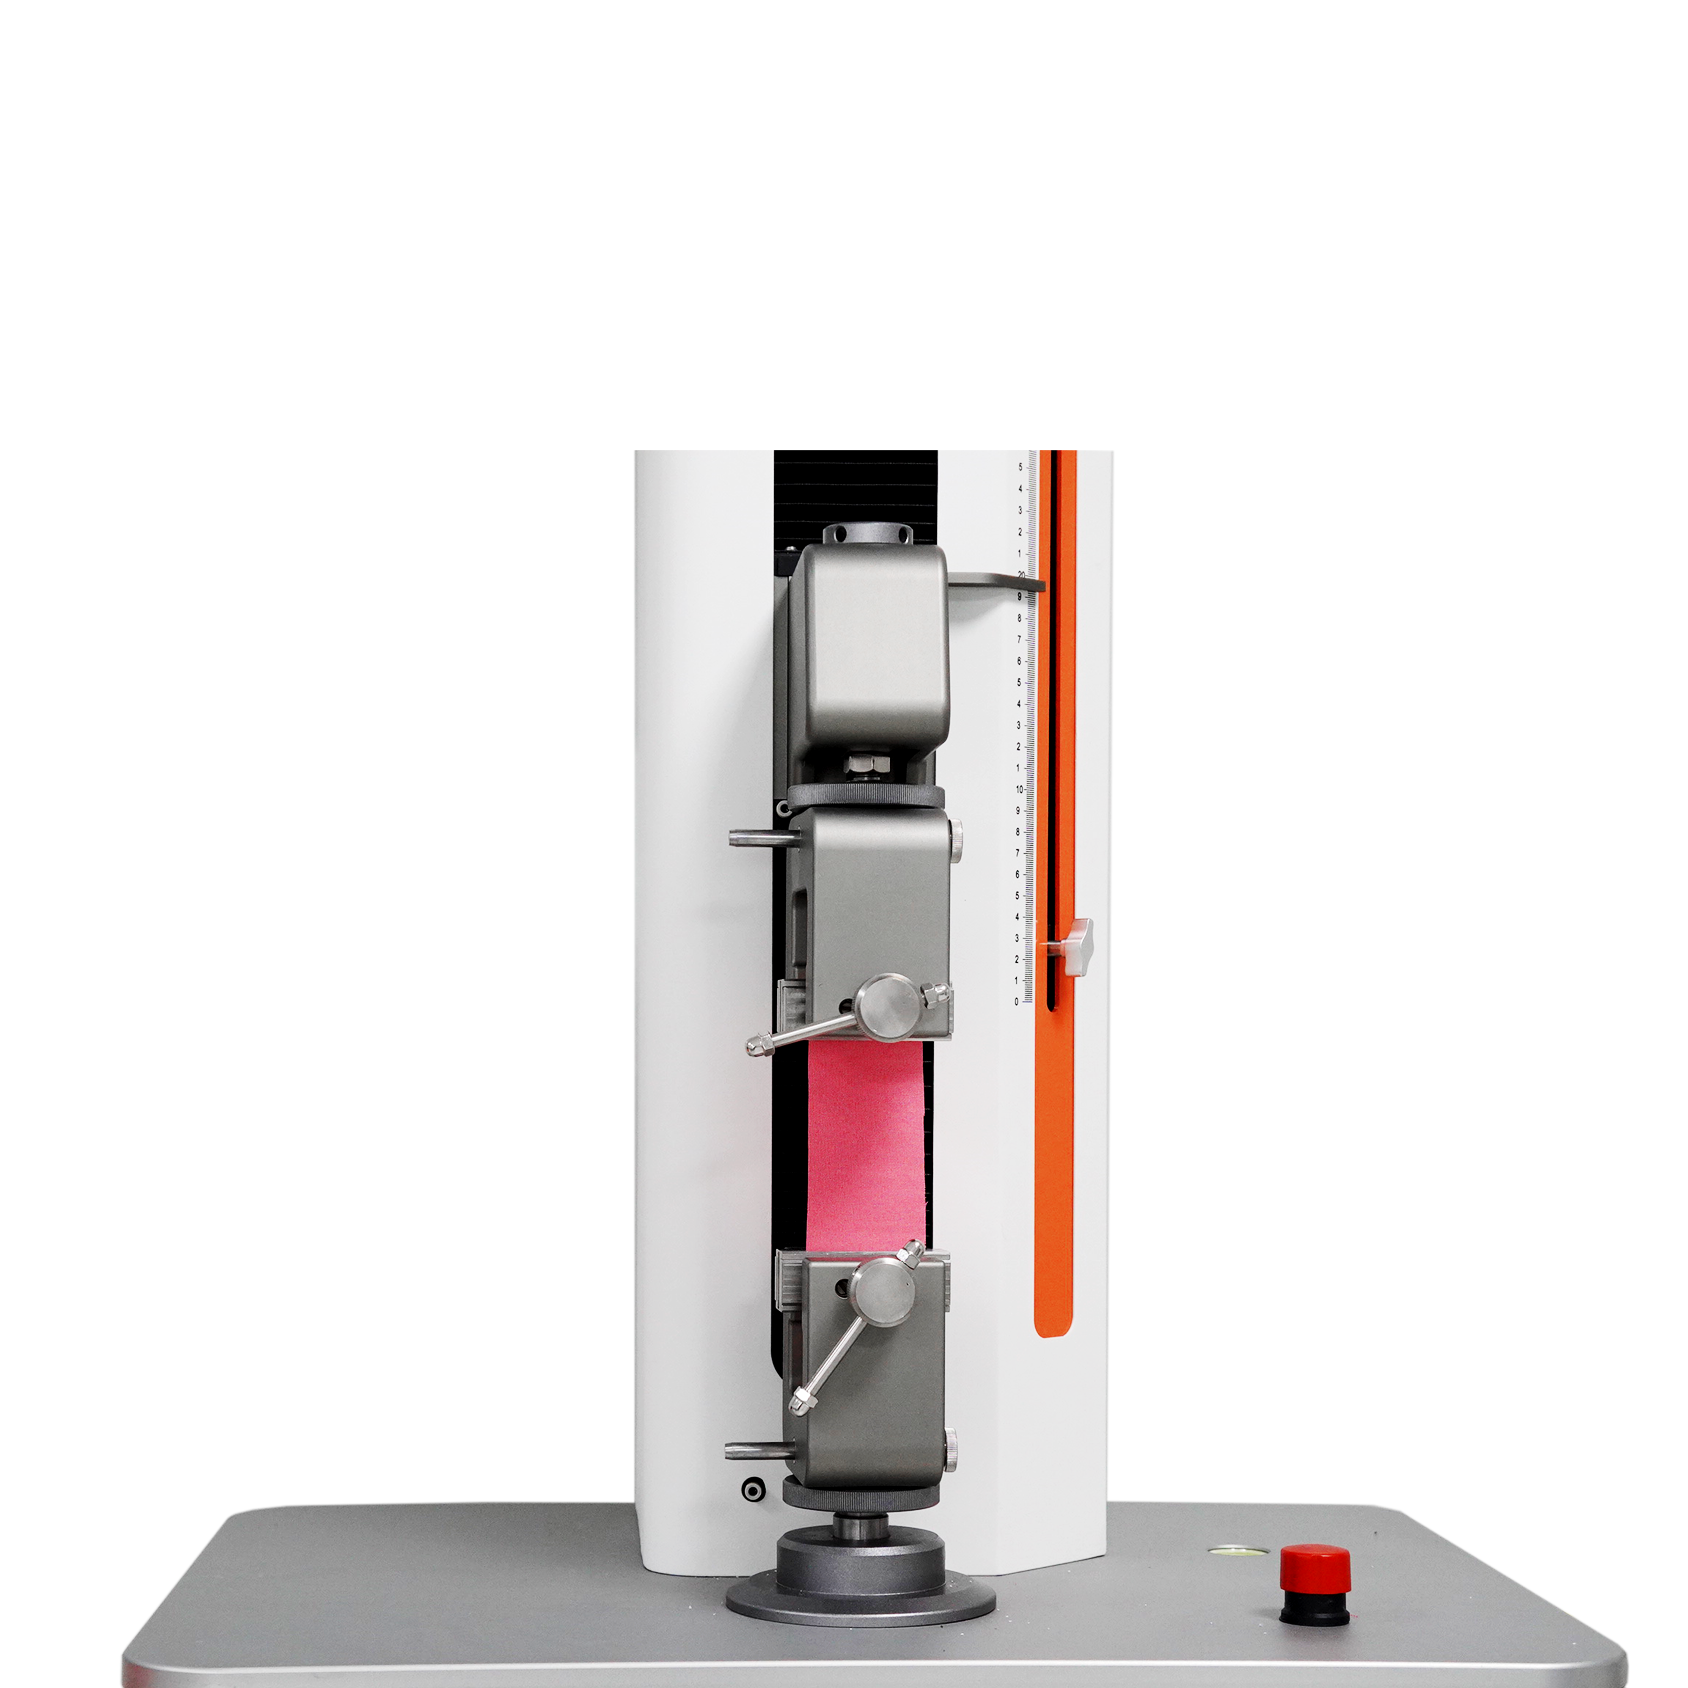
An AC servo drive and ball screw create a stable pulling force. The force is constant and has a tensile test strength accuracy of 1%. This ensures the reliability and repeatability of tensile test results.
Safety guarantee for the whole testing process
The Fabric Tensile Tester has an intelligent and active alarm system. It can detect excessive displacement and torque. It also has an overload and emergency stop device and up and down travel limits. These features keep the tensile testing process safe and stable.
Powerful software
The SmartPull tensile strength tester’s tensile test software works in many languages. It shows the displacement, greatest force, elongation, and stress. It also shows the greatest bending stress, speed, and other test results. That is, getting more comprehensive test indexes to evaluate the quality of textiles.
Applicable up to a series of tensile testing standards
SmartPull tensile tester machine applies to many standards and optional standards such as ISO 3377-2, ISO 13934-1/2, ISO 13937-2/3, ISO 20932-1, ASTM D5034, ASTM D5035, ASTM D5587, GB/T3917.2, FZ/T 01030, ISO 9073-4, ISO13934-1/2, ISO 9073-3, ISO 13937-2/3, ISO 4674-1, GB/T 3917.4, GB/T 3923.1, ISO 2062, ASTM D6797, GB/T 19976.
Easy operation
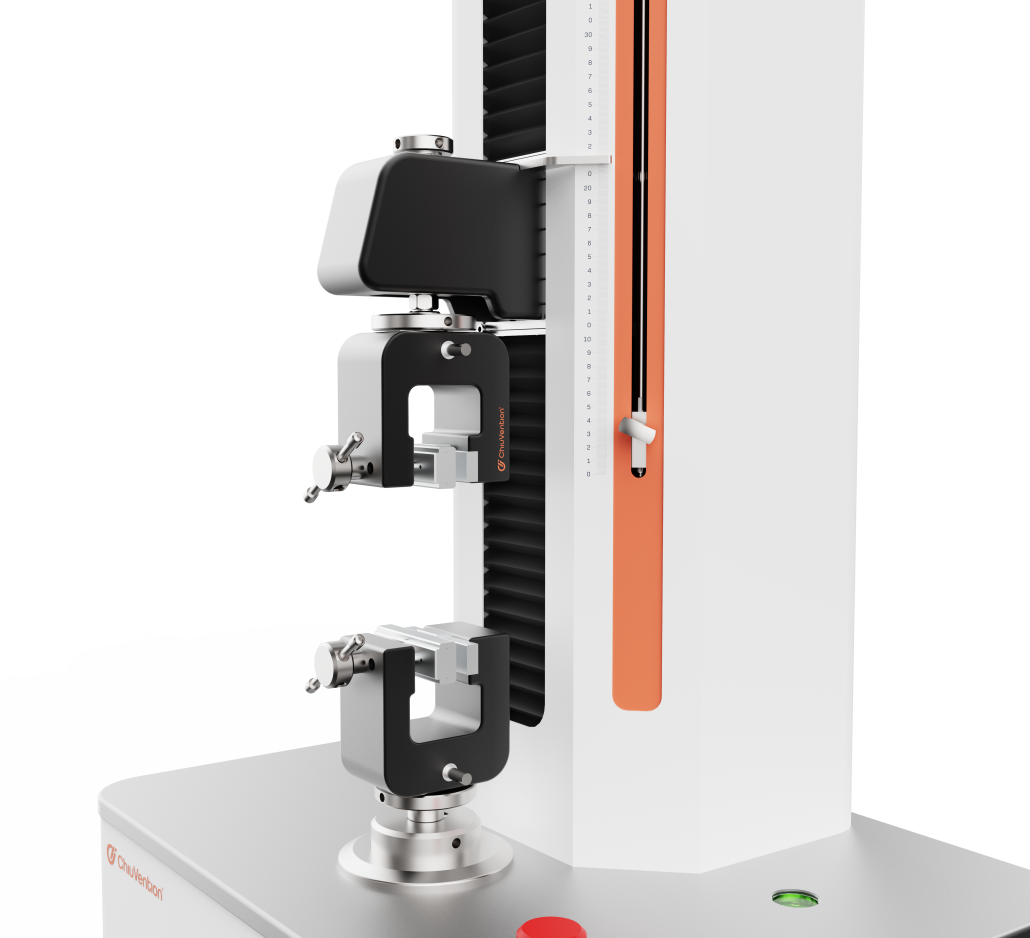
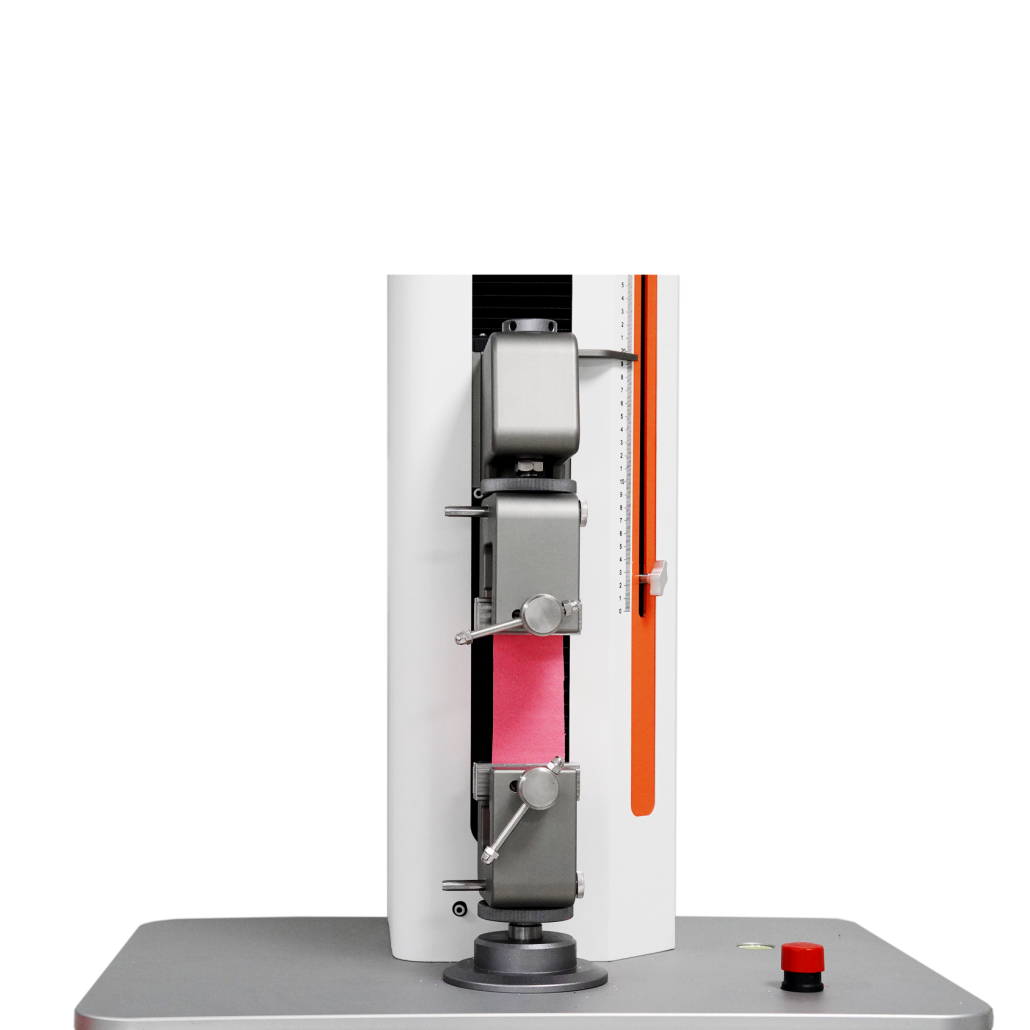
The gripper is multi-functional. It replaces the clips to do different tests. It is easy and quick to replace. Tensile strength tests and top-breaking tests do not need to replace the sensor.
Unique design
The SmartPull Fabric Tensile Tester has a unique appearance. It combines a sense of technology with a tough, scratch-resistant surface. And, it is durable.
User-friendly
This fabric tensile tester has a side-cutting design, saves space, and is more user-friendly. For higher tensile strength tests, you can also choose another type of SmartPull Tensile Tester. It is a double-column type.
Designed in Germany, quality is our life.
All our testing instruments are developed in-house and in cooperation with a team of renowned German industrial designers, which makes our testing instruments of outstanding quality. 100% source factory and factory price.
Application Examples of Tensile Tester

Fabric
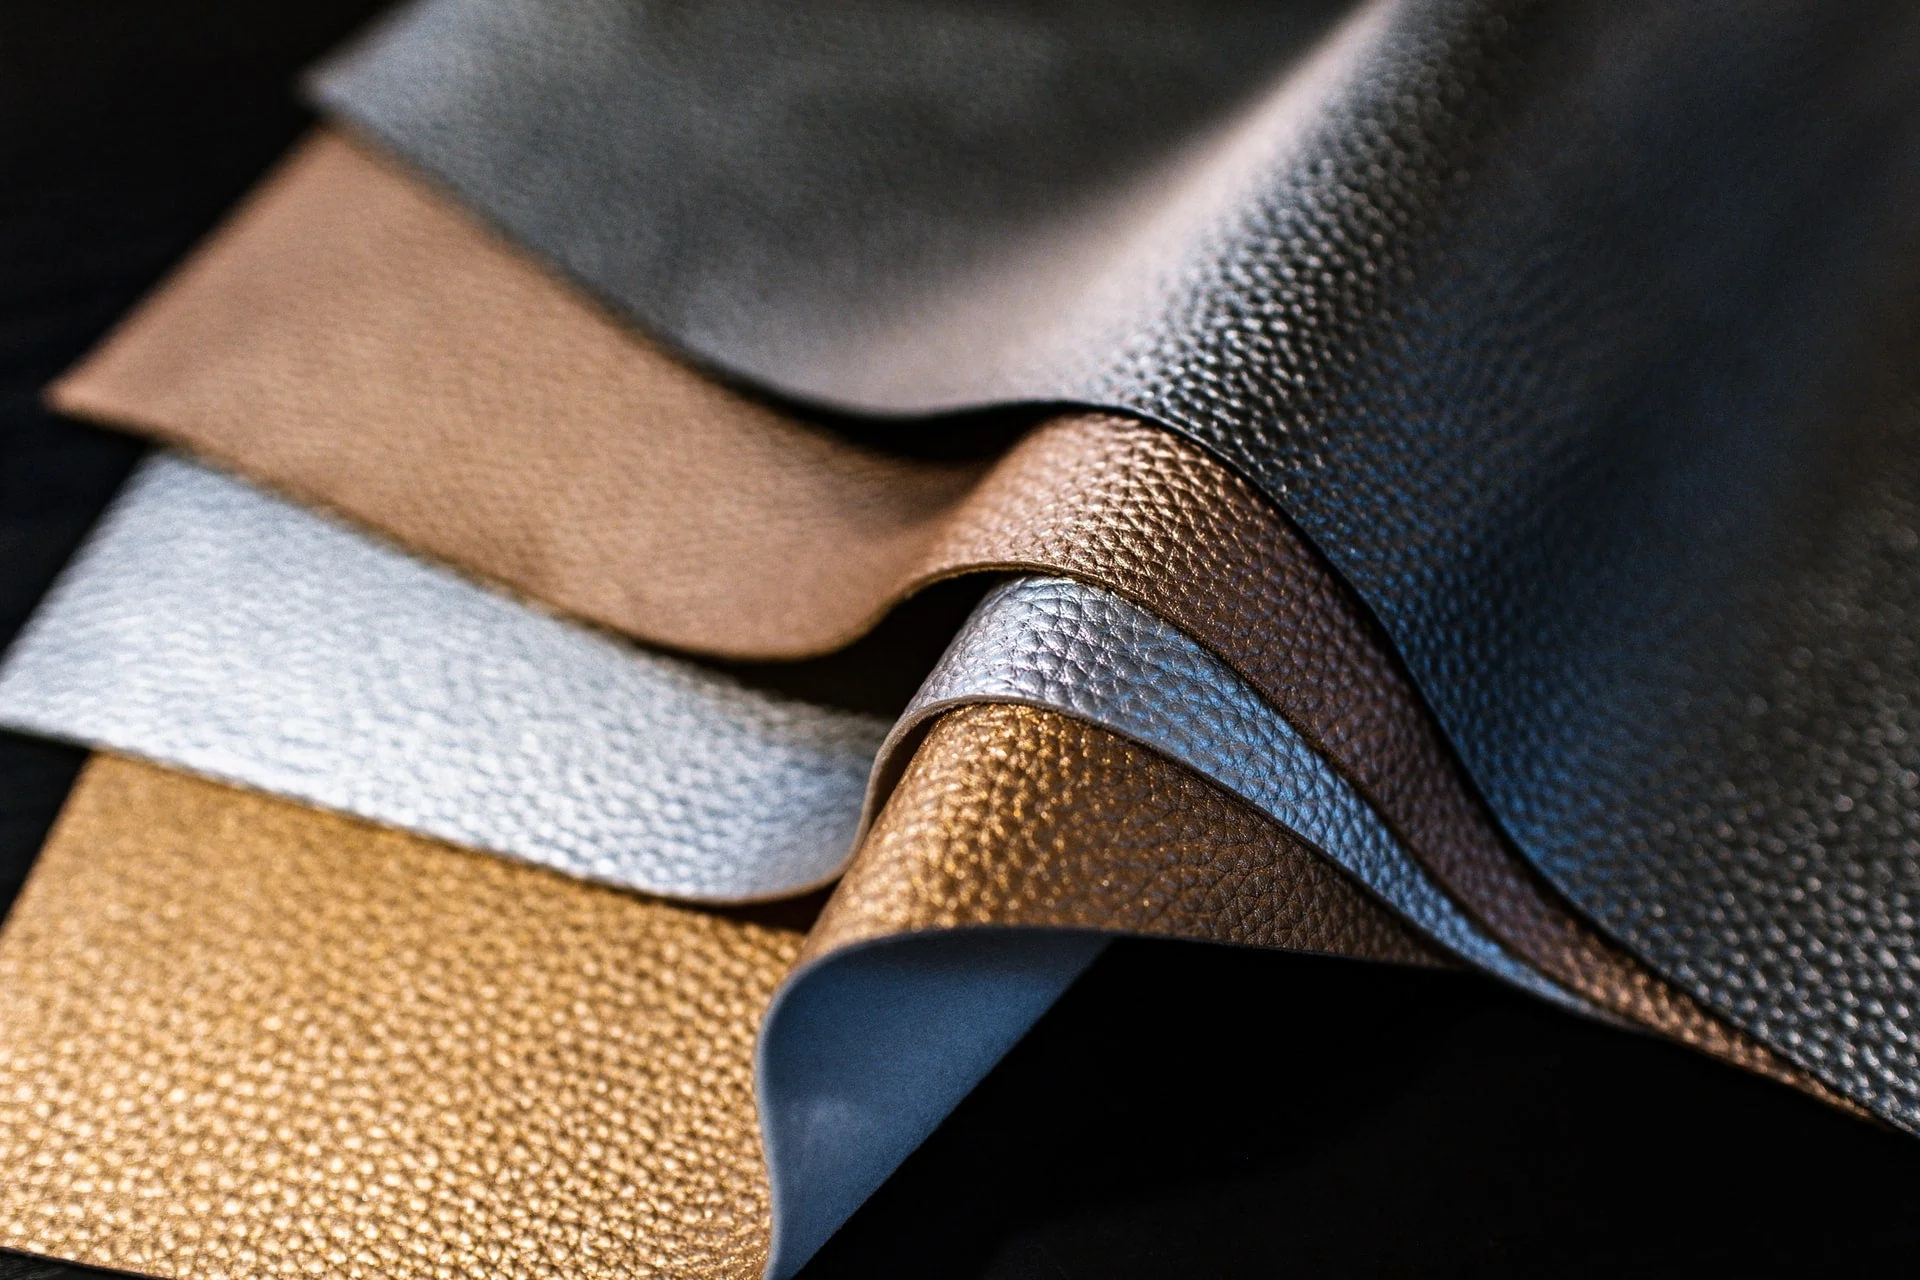
Leather
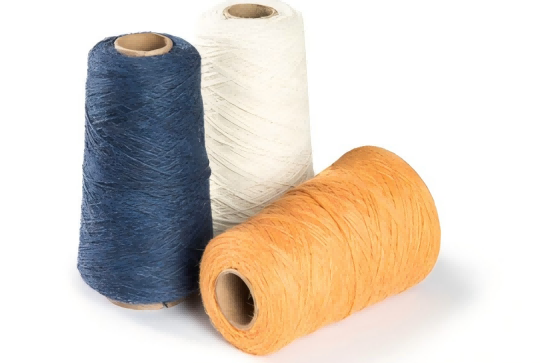
Yarn

Footwear Materials
Customer Feedback
“We purchased the SmartPull Tensile Tester of 250kg. We chose ChiuVention because their agent in Spain communicated well with us. And the service was excellent. Also, ChiuVention offered us the service of testing samples.”
“This tensile machine has a nice design. It is well made. We are already using it and the tensile test results are very reliable!”
The Specification of SmartPull Fabric Tensile Tester
Test capacity 250kg ( 500kg is optional and the appearance will change)
Test level class 1
Max travel 800 mm (without fixture)
Travel accuracy ≤1%
Traverse speed 1mm/min ~ 500mm/min
Speed accuracy ≤1%
Test force range 0.2%~100% FS
Force accuracy ≤1%
Power 220 V 50Hz/60Hz Other voltages require an external transformer
Weight 90kg
Dimension 630*460*1470 mm (D*W*H)
Software configuration (standard) version A of the test system, with a single-step test
Software configuration (optional) version C of the testing system can achieve multi-step test
Fixture and standards
Version A :
ISO 9073-3, ISO 13934-1, ISO 13934-2, ASTM D5034,
ASTM D5035, GB/T 3923.1, GB/T 3923.2
GB/T 13773.1, GB/T 13773.2, GB/T 24218.3
(The standards above are matched with clamps by 25×25 mm, 25×50 mm,
25×75 mm)
Optional Fixture and standards
Clamps by 25×100 mm: ISO 9073-4 GB/T 3917.3
Clamps by 50×75 mm : ASTM D5587
Leather tearing fixture: ISO 3377-2
Top breaking fixture: ASTM D6797 FZ/T 01030 GB/T 19976
Yarn fixture: ISO 2062
Version A+: ISO 13937-2 (Sample 50 mm wide)ISO 13937-3
GB/T 3917.2 (Sample 50 mm wide) GB/T 3917.5
Clams by 25×200 mm: ISO 13937-4 ISO 4674-1 GB/T 3917.4
Version C: ISO 13936-2, ASTM D4964 (U type fixture)
VersionC+: ASTM D434 ASTM D1683 ISO 13936-1
ISO 20932-1( with linear clamps, or choose other fixtures and replace the
clamps)
(The standards above should be programmed according to the test requirements provided by customers.)
Accessory of SmartPull Tensile Strength Tester Machine
Standard accessories: pins, operation manuals, power cords, communication cords, control panels, fuses
Optional accessories: sampling plate
Computer Configuration of SmartPull Tensile Strength Testing Equipment (Optional)
CPU for the Intel Celeron (Celeron) 2GHz or more CPU
Memory at least 512MB, more than 1GB is better
Hard disk space of more than 2GB
Display resolution of 1024 × 768 or more.
If you need output reports, you should use a printer that is compatible with the operating system.
The operating system should be Microsoft’s Windows XP, Windows 7, Windows 8, Windows 10
ChiuVention provides more smart textile testing equipment and you can contact us for more details about textile testing machines.
OUR BROCHURE
FLYER
Frequently Asked Questions
What is a Fabric Tensile Tester, and how does it work?A fabric textile tensile tester is a machine. It measures the strength and stretchiness of fabrics. It works by gripping a strip of cloth or other materials, such as leather, paper, or yarn, on both ends. Then, you pull it until it breaks. Advanced sensors measure the force needed to remove the fabric. They also measure how far it stretches before breaking. This gives quantitative data on the fabric’s tensile properties.
What tool is used to test tensile strength?The most common testing machine used for tensile testing is the universal testing machine(UTM). It features two crossheads: one is adjusted to accommodate the length of the specimen, while the other is driven to apply tension to the test specimen. These testing machines can be either electromechanical or hydraulic.
For accurate testing, the machine must have appropriate capabilities for the test specimen, including sufficient force capacity, speed, precision, and accuracy. Various accessories, such as grips, extensometers, and temperature chambers, are used to adapt the machine for different materials and testing conditions.
What features does the Smartpull Fabric Tensile Tester software have?The SmartPull Fabric Textile Tensile Tester software is easy to use. It presents detailed tensile test results. These include elongation, time, greatest force, and modulus. They also include breaking force and more. It allows you to compare past results. You can also export data and create custom tensile strength test reports.
How to calibrate a Tensile Tester ?Preparation
Check the equipment: Before starting the calibration, make sure that there is no physical damage to the Tensile Strength Tester itself, and that the sensors, fixtures, display, and other parts are working properly.
Ensure leveling: The Tensile Strength Tester must be placed on a level workbench to avoid tilting the machine resulting in inaccurate testing. Use a level or the leveling function that comes with the machine to check.
Calibrate the load cell (force transducer)
Selection of standard weights: Select standard weights of known accurate quality. It is usually necessary to use calibration weights that comply with national or international standards. The range of the weights should cover the operating range of the Tensile Strength Tester.
Hanging weights: Hang the weights on the transducer according to the operating manual of the Tensile Strength Tester. Make sure the weights are hung at the correct position and angle to prevent deviations in the test force values.
Record display readings: After loading the weights, observe and record the force values displayed by the Tensile Strength Tester and compare them with the actual force values of the weights.
Adjust the calibration coefficient: If the force value displayed by the Tensile Strength Tester does not match the actual force value of the standard weights, use the calibration function that comes with the machine or adjust the calibration coefficient through the software until the displayed force value is consistent with the weights.
Displacement sensor calibration
Check the zero point of the displacement sensor: without loading any force, check whether the displacement displayed by the Tensile Strength Tester is zero. If there is deviation, reset the zero point of the displacement transducer.
Measure standard displacement: Using a standard calibration fixture, set the tensioner to move a certain distance (e.g., 10 mm, 50 mm, etc.) and then record the displacement reading displayed by the tensioner.
Adjusting Displacement Calibration: Compare the actual displacement with the displacement displayed by the Tensile Strength Tester. If there is a deviation, adjust accordingly according to the equipment manual.
Speed calibration
Set Speed: Set the tensioner to a known travel speed (e.g. 10 mm/min) and start the tensioner.
Use a stopwatch or other measuring tool: Use a stopwatch to measure the actual distance and time traveled by the fixture or fixture beam and calculate the actual speed.
Adjust the speed parameters: If the actual speed does not match the set speed, make adjustments according to the calibration method of the device to ensure the accuracy of the speed setting.
Verify the calibration
After completing the calibration of the load cell, displacement sensor, and speed, perform the following verification steps:
Repeat the calibration process: Load the weights and measure the displacement and velocity again to verify that the calibration is accurate and stable.
Compare reference equipment: If possible, compare tensile test results with other calibrated reference Tensile Strength Testers to ensure consistency.
Adjustment of environmental conditions
When calibrating, make sure that the environmental conditions are consistent with actual use, including temperature and humidity. These conditions can affect the tensile test results, so ensuring the stability of the environment in which the Tensile Strength Tester is located is a critical part of calibration.
How does the SmartPull Fabric Tensile Tester improve on previous testers?The SmartPull Fabric Textile Tensile Tester weighs 90 kilograms. This is due to its optimized design. So, it’s easier to move and use. This tensile machine uses the latest technology. This includes AC servo motors and precision ball screws. They make force accuracy better. Its improved hardware and software make the testing 20% more reliable.
How is operator safety ensured in the SmartPull Fabric Tensile Tester?It has an emergency stop button and an overload protection system. It also has travel range limits and warns about abnormal torque or issues. Its ergonomic design reduces injury risks.
How do you calibrate the Fabric Tensile Tester before first use?Before using our tensile testing equipment, check the installation guide for environmental needs and machine securing. Connect electricals according to source rating specifications. Initialize when empty and tare the tester. Next, calibrate in ascending and descending order. Use deadweights certified for 20% to 100% of the capacity range. Save calibration results for further use.
What key settings should be verified before testing fabrics?elect matching international test standards based on fabric type. Set suitable grips, jaws, or fixtures. Input the recommended test speed, pre-tension rate, and gauge length as per standard. Specify the allowed elongation percentage without damage. Check if the data recording rate meets the standard. Zero the balance force sensor. Verify the alignment and centering of loaded fabric samples. Start the auto-return on the sample break.
How do you ensure accurate mounting for different fabrics?Use pneumatic grips with rubber coating to hold dense, woven fabrics. Use smooth, lightweight mechanical clamps for light, sheer fabrics to avoid damage. Inspect across the width to check the center while loading. Observe the tensioning display to check for slackness or issues. Start a pre-tension cycle to correct minor orientation deviations.
What are some troubleshooting tips for test deviations?If you see variability, recheck the grip pressure settings. Also, replace worn-out jaws. Recalibrate the load cell if accuracy declines beyond the permissible limit. Confirm that you have pre-conditioned the specimen. Verify that mounted gauge length dimensions are accurate. Increase the sample size or test repeats for more statistical confidence. Compare against certified reference equipment. The room temperature and humidity were stable throughout the entire test duration.
What parts need frequent replacement?People replace consumable parts. These parts include grips, jaws, load cell mounts, couplings, pulleys, and drive belts. They wear out over time. Calibrated spare sensors and load cells can cut potential downtime. Other recommended spares are fuses, cords, and pneumatic component kits. Their typical replacement frequency varies. The frequency of use determines their usage.
A fabric textile tensile tester is a machine. It measures the strength and stretchiness of fabrics. It works by gripping a strip of cloth or other materials, such as leather, paper, or yarn, on both ends. Then, you pull it until it breaks. Advanced sensors measure the force needed to remove the fabric. They also measure how far it stretches before breaking. This gives quantitative data on the fabric’s tensile properties.
The most common testing machine used for tensile testing is the universal testing machine(UTM). It features two crossheads: one is adjusted to accommodate the length of the specimen, while the other is driven to apply tension to the test specimen. These testing machines can be either electromechanical or hydraulic.
For accurate testing, the machine must have appropriate capabilities for the test specimen, including sufficient force capacity, speed, precision, and accuracy. Various accessories, such as grips, extensometers, and temperature chambers, are used to adapt the machine for different materials and testing conditions.
The SmartPull Fabric Textile Tensile Tester software is easy to use. It presents detailed tensile test results. These include elongation, time, greatest force, and modulus. They also include breaking force and more. It allows you to compare past results. You can also export data and create custom tensile strength test reports.
Preparation
Check the equipment: Before starting the calibration, make sure that there is no physical damage to the Tensile Strength Tester itself, and that the sensors, fixtures, display, and other parts are working properly.
Ensure leveling: The Tensile Strength Tester must be placed on a level workbench to avoid tilting the machine resulting in inaccurate testing. Use a level or the leveling function that comes with the machine to check.
Calibrate the load cell (force transducer)
Selection of standard weights: Select standard weights of known accurate quality. It is usually necessary to use calibration weights that comply with national or international standards. The range of the weights should cover the operating range of the Tensile Strength Tester.
Hanging weights: Hang the weights on the transducer according to the operating manual of the Tensile Strength Tester. Make sure the weights are hung at the correct position and angle to prevent deviations in the test force values.
Record display readings: After loading the weights, observe and record the force values displayed by the Tensile Strength Tester and compare them with the actual force values of the weights.
Adjust the calibration coefficient: If the force value displayed by the Tensile Strength Tester does not match the actual force value of the standard weights, use the calibration function that comes with the machine or adjust the calibration coefficient through the software until the displayed force value is consistent with the weights.
Displacement sensor calibration
Check the zero point of the displacement sensor: without loading any force, check whether the displacement displayed by the Tensile Strength Tester is zero. If there is deviation, reset the zero point of the displacement transducer.
Measure standard displacement: Using a standard calibration fixture, set the tensioner to move a certain distance (e.g., 10 mm, 50 mm, etc.) and then record the displacement reading displayed by the tensioner.
Adjusting Displacement Calibration: Compare the actual displacement with the displacement displayed by the Tensile Strength Tester. If there is a deviation, adjust accordingly according to the equipment manual.
Speed calibration
Set Speed: Set the tensioner to a known travel speed (e.g. 10 mm/min) and start the tensioner.
Use a stopwatch or other measuring tool: Use a stopwatch to measure the actual distance and time traveled by the fixture or fixture beam and calculate the actual speed.
Adjust the speed parameters: If the actual speed does not match the set speed, make adjustments according to the calibration method of the device to ensure the accuracy of the speed setting.
Verify the calibration
After completing the calibration of the load cell, displacement sensor, and speed, perform the following verification steps:
Repeat the calibration process: Load the weights and measure the displacement and velocity again to verify that the calibration is accurate and stable.
Compare reference equipment: If possible, compare tensile test results with other calibrated reference Tensile Strength Testers to ensure consistency.
Adjustment of environmental conditions
When calibrating, make sure that the environmental conditions are consistent with actual use, including temperature and humidity. These conditions can affect the tensile test results, so ensuring the stability of the environment in which the Tensile Strength Tester is located is a critical part of calibration.
The SmartPull Fabric Textile Tensile Tester weighs 90 kilograms. This is due to its optimized design. So, it’s easier to move and use. This tensile machine uses the latest technology. This includes AC servo motors and precision ball screws. They make force accuracy better. Its improved hardware and software make the testing 20% more reliable.
It has an emergency stop button and an overload protection system. It also has travel range limits and warns about abnormal torque or issues. Its ergonomic design reduces injury risks.
Before using our tensile testing equipment, check the installation guide for environmental needs and machine securing. Connect electricals according to source rating specifications. Initialize when empty and tare the tester. Next, calibrate in ascending and descending order. Use deadweights certified for 20% to 100% of the capacity range. Save calibration results for further use.
elect matching international test standards based on fabric type. Set suitable grips, jaws, or fixtures. Input the recommended test speed, pre-tension rate, and gauge length as per standard. Specify the allowed elongation percentage without damage. Check if the data recording rate meets the standard. Zero the balance force sensor. Verify the alignment and centering of loaded fabric samples. Start the auto-return on the sample break.
Use pneumatic grips with rubber coating to hold dense, woven fabrics. Use smooth, lightweight mechanical clamps for light, sheer fabrics to avoid damage. Inspect across the width to check the center while loading. Observe the tensioning display to check for slackness or issues. Start a pre-tension cycle to correct minor orientation deviations.
If you see variability, recheck the grip pressure settings. Also, replace worn-out jaws. Recalibrate the load cell if accuracy declines beyond the permissible limit. Confirm that you have pre-conditioned the specimen. Verify that mounted gauge length dimensions are accurate. Increase the sample size or test repeats for more statistical confidence. Compare against certified reference equipment. The room temperature and humidity were stable throughout the entire test duration.
People replace consumable parts. These parts include grips, jaws, load cell mounts, couplings, pulleys, and drive belts. They wear out over time. Calibrated spare sensors and load cells can cut potential downtime. Other recommended spares are fuses, cords, and pneumatic component kits. Their typical replacement frequency varies. The frequency of use determines their usage.
GET A QUOTE
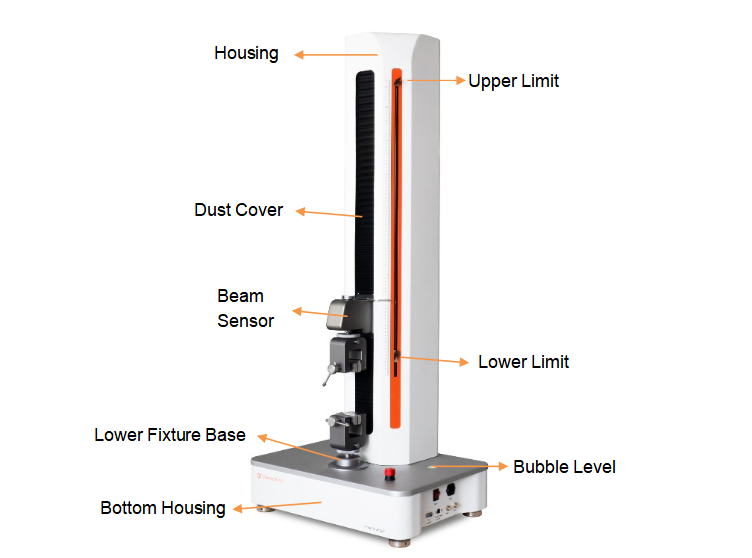
A tensile tester measures tensile strength and elongation. It is also called a universal testing machine (UTM). The test principle involves pulling a specimen until it fails. This allows measurement of its mechanical properties. Here is an overview. It covers the key ideas and parts in a tensile test.
Key Principles
Specimen Preparation:
We prepare a standardized test specimen. Its shape and size can vary based on the material and the standards being followed (e.g., ASTM, ISO).
Clamping:
The specimen is securely clamped between two grips or fixtures. One grip is usually stationary, while the other is attached to a movable crosshead.
Application of Force:
A uniaxial tensile force is gradually applied to the specimen by the crosshead. You can control the application rate. Test standards often set the rate.
Measurement:
During the test, we measure several parameters.
Force Load: The amount of force that someone applies to the specimen.
Extension (Displacement): The change in length of the specimen as it’s stretched.
Measurements are captured through load cells and extensometers in each case.
Data Acquisition:
The test records load and displacement data. This data makes a stress-strain curve. This curve is crucial for analyzing material properties.
Key Components
Load Frame:
The main structure that supports the grips, crosshead, and other components. It is designed to withstand the forces generated during testing.
Crosshead:
It is driven by a servo motor or hydraulic system. It applies the tensile force to the specimen.
Grips/Fixtures:
Devices used to hold the specimen in place. They must be strong enough to prevent slipping or damage to the specimen during testing.
Load Cell:
A sensor that measures the force applied to the specimen. The system reads an electrical signal that converts the mechanical force.
Extensometer:
An instrument used to measure the change in length (extension) of the specimen. It provides data necessary to calculate strain.
Control and Data Acquisition System:
The software and hardware control the test parameters. They capture data from the load cell and extensometer. They also generate the stress-strain curve.
Stress-Strain Curve
The results of a tensile test show a stress-strain curve. It gives key information about how a material behaves under tensile loads, including:
Material deforms reversibly in the elastic region, returning to its original shape.
The Yield Point is when the material starts to deform plastically. This deformation is irreversible.
Ultimate Tensile Strength (UTS): The largest stress the material can withstand before failure.
Fracture Point: The point at which the material ultimately fails and breaks apart.
Elongation at Break is the total strain the material experiences when it fails.
The SmartPull Tensile Tester can perform tension, compression, bending, tearing, shearing, peeling, and top-breaking tests. Here we introduce 2 types of tension tests. The process follows standardized test methods to ensure consistency and accuracy.
Standardized Test Methods
Common standards for fabric tensile testing include:
- ASTM D5034: Standard Test Method for Breaking Strength and Elongation of Textile Fabrics (Grab Test).
- ASTM D5035: Standard Test Method for Breaking Force and Elongation of Textile Fabrics (Strip Method).
- ISO 13934-1: Textiles – Tensile Properties of Fabrics – Part 1: Determination of Maximum Force and Elongation at Maximum Force Using the Strip Method.
- ISO 13934-2: Textiles – Tensile Properties of Fabrics – Part 2: Determination of Maximum Force Using the Grab Method.
Test Method Overview
Specimen Preparation:
Strip Method: Cut specimens to a specified length and width, usually with a length that is several times the width.
Grab Method: Cut specimens with wider dimensions, but the gripping is done at a narrower central section.
Conditioning:
Precondition the specimens in a controlled environment (typically 21°C ± 1°C and 65% ± 2% relative humidity) for a specified period (often 24 hours).
Mounting the Specimen:
Strip Method: Clamp the entire width of the specimen in the grips.
Grab Method: Clamp only the central section of the specimen, leaving the edges free.
Setting Up the Tensile Tester:
Ensure the tensile tester is calibrated according to the manufacturer’s instructions and relevant standards.
Set the gauge length (the initial distance between the grips) as specified by the test standard.
Applying the Force:
Start the test by applying a tensile force at a specified constant rate of extension (CRE) or constant rate of load (CRL) until the specimen breaks.
Recording Data:
Measure and record the breaking force (maximum force the specimen withstands before breaking) and the elongation at break (the increase in length before failure).
Calculating Results:
Compute the tensile strength by dividing the breaking force by the cross-sectional area of the specimen (for the strip method).
For fabrics, the force is often reported as force per unit width (e.g., Newtons per centimeter).
Reporting Results:
Report the tensile strength and elongation values, and if necessary, provide the mean and standard deviation if multiple specimens were tested.
Detailed Steps for ASTM D5034 (Grab Test)
Specimen Dimensions:
Cut specimens are typically 100 mm wide by 150 mm long.
Gripping:
Clamp the specimen in the grips such that the 25 mm from each edge is free, and the central 50 mm is gripped.
Gauge Length:
Set the initial gauge length to 75 mm.
Test Speed:
Apply force at a rate of 300 mm/min.
Data Recording:
Record the peak load and the elongation at the point of failure.
Detailed Steps for ASTM D5035 (Strip Test)
Specimen Dimensions:
Cut specimens typically 50 mm wide by 200 mm long.
Gripping:
Clamp the entire 50 mm width in the grips.
Gauge Length:
Set the initial gauge length to 75 mm.
Test Speed:
Apply force at a rate of 300 mm/min.
Data Recording:
Record the peak load and the elongation at the point of failure.
Calibrating a fabric tensile tester is essential. It ensures accurate and reliable test results. Calibrating the tensile tester involves checking and adjusting its parts. These include the load cell, extensometer, and grips. Here’s a step-by-step guide on how to calibrate a fabric tensile tester:
Step-by-Step Guide to Calibrating a Fabric Tensile Tester
Preparation
Read the ChiuVention SmartPull Tensile Tester’s Manual. Get to know the tensile tester’s user manual and its calibration procedures.
Gather calibration tools. You need certified weights. You also need a standard gauge block or displacement device. You also need calibration software, if needed.
Inspect the tester.
Inspect visually. Look for any damage or wear on the grips, load cell, extensometer, and other parts.
Clean the Universal Tensile Machine
Ensure all parts, especially the grips and the load cell, are clean and free from debris.
Calibrate the load cell.
Warm-Up: Turn on the tensile tester and let it warm up for at least 15 to 30 minutes to stabilize the electronics.
Zero the Load Cell. With no load, set its reading to zero using the universal tensile machine’s controls or software.
Apply Calibration Weights
Attach certified calibration weights to the load cell incrementally.
Record Readings
Note the readings displayed by the tester for each weight.
Adjust the calibration if the readings don’t match the known weights.
Follow the SmartPull’s instructions. Use them to adjust the settings. Do this until the readings match the weights within acceptable tolerance.
Calibrate the extensometer.
Zero the extensometer. Make sure it reads zero when it’s resting (zero displacement) position.
Use a standard gauge block. Place a gauge block or a known displacement device between the extensometer arms.
Check the readings. Verify the displacement matches the gauge block’s known value.
Adjust Calibration: Adjust the extensometer settings if there is a discrepancy. Do this until the readings are accurate.
Calibrate the crosshead speed.
Set a standard speed. Program the tensile tester to move the crosshead at a set speed. For example, 100 millimeters per minute.
Measure the speed. Use a stopwatch and ruler. Measure the actual speed of the crosshead’s movement over a set distance.
Check and change. Compare the measured speed to the programmed speed. Change the universal tensile machine settings if needed.
Software Calibration
Calibration Software: follow the on-screen instructions. They’re for calibrating the load cell, extensometer, and crosshead speed.
Update the firmware. Make sure the tester’s firmware is up to date. Updates may improve calibration.
Verification
Test with standard samples. Run tests on them. They have known tensile properties. This will verify the accuracy of the calibration.
Compare Results: Compare the results with the known values. If there are significant discrepancies, recheck the calibration steps.
Documentation
Record Calibration Data. Document the calibration process. This includes the weights used, readings, adjustments, and verification results.
Create a calibration schedule. Keep to a schedule that’s recommended by ChiuVention or industry standards.
Need to clean up after each test. Keep the equipment clean.
After using the fixture, coat it with anti-rust oil for storage.
Replace the sensor or plug and unplug the cable after turning off the power. If the sensor’s connection is suspended, static electricity can easily damage the amplifier. It can also harm the AD circuit.
The instrument needs to calibrate the load cell often. This ensures the accuracy of the measured value.
Apply lubricant to moving parts at consistent intervals.
If the instrument fails, professionals or the manufacturer should repair it. You must replace spare parts according to the original model.
