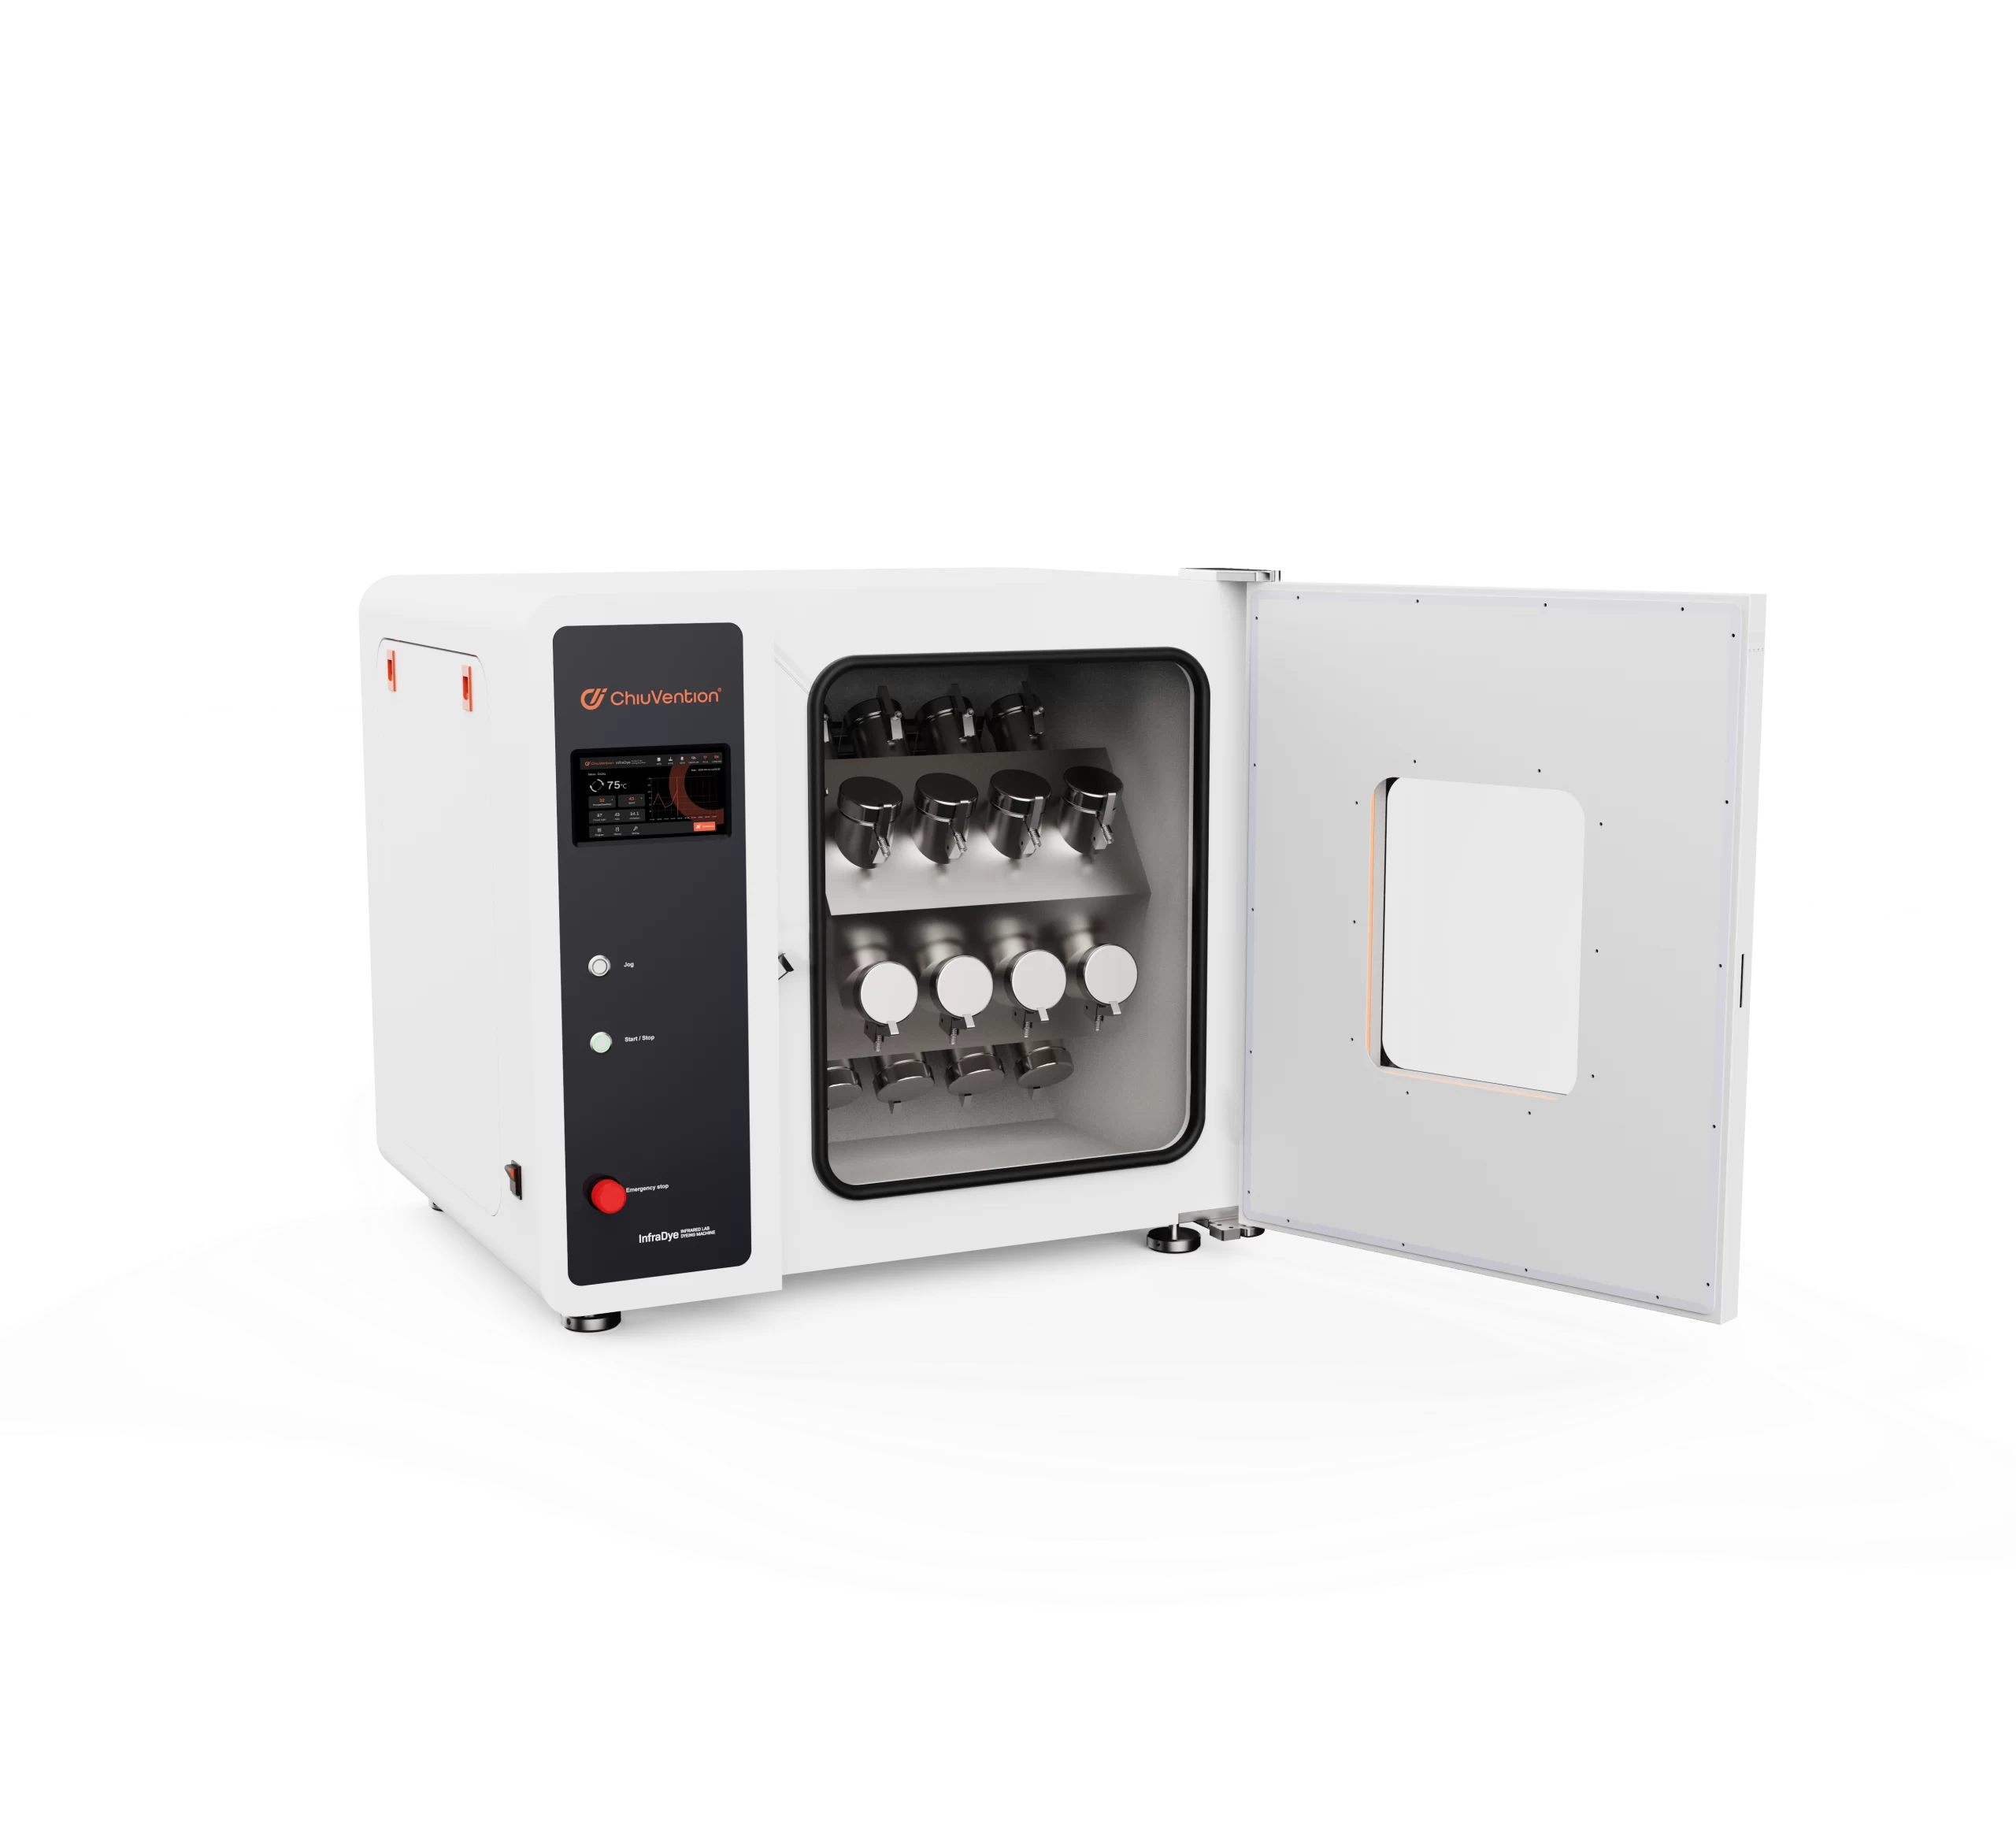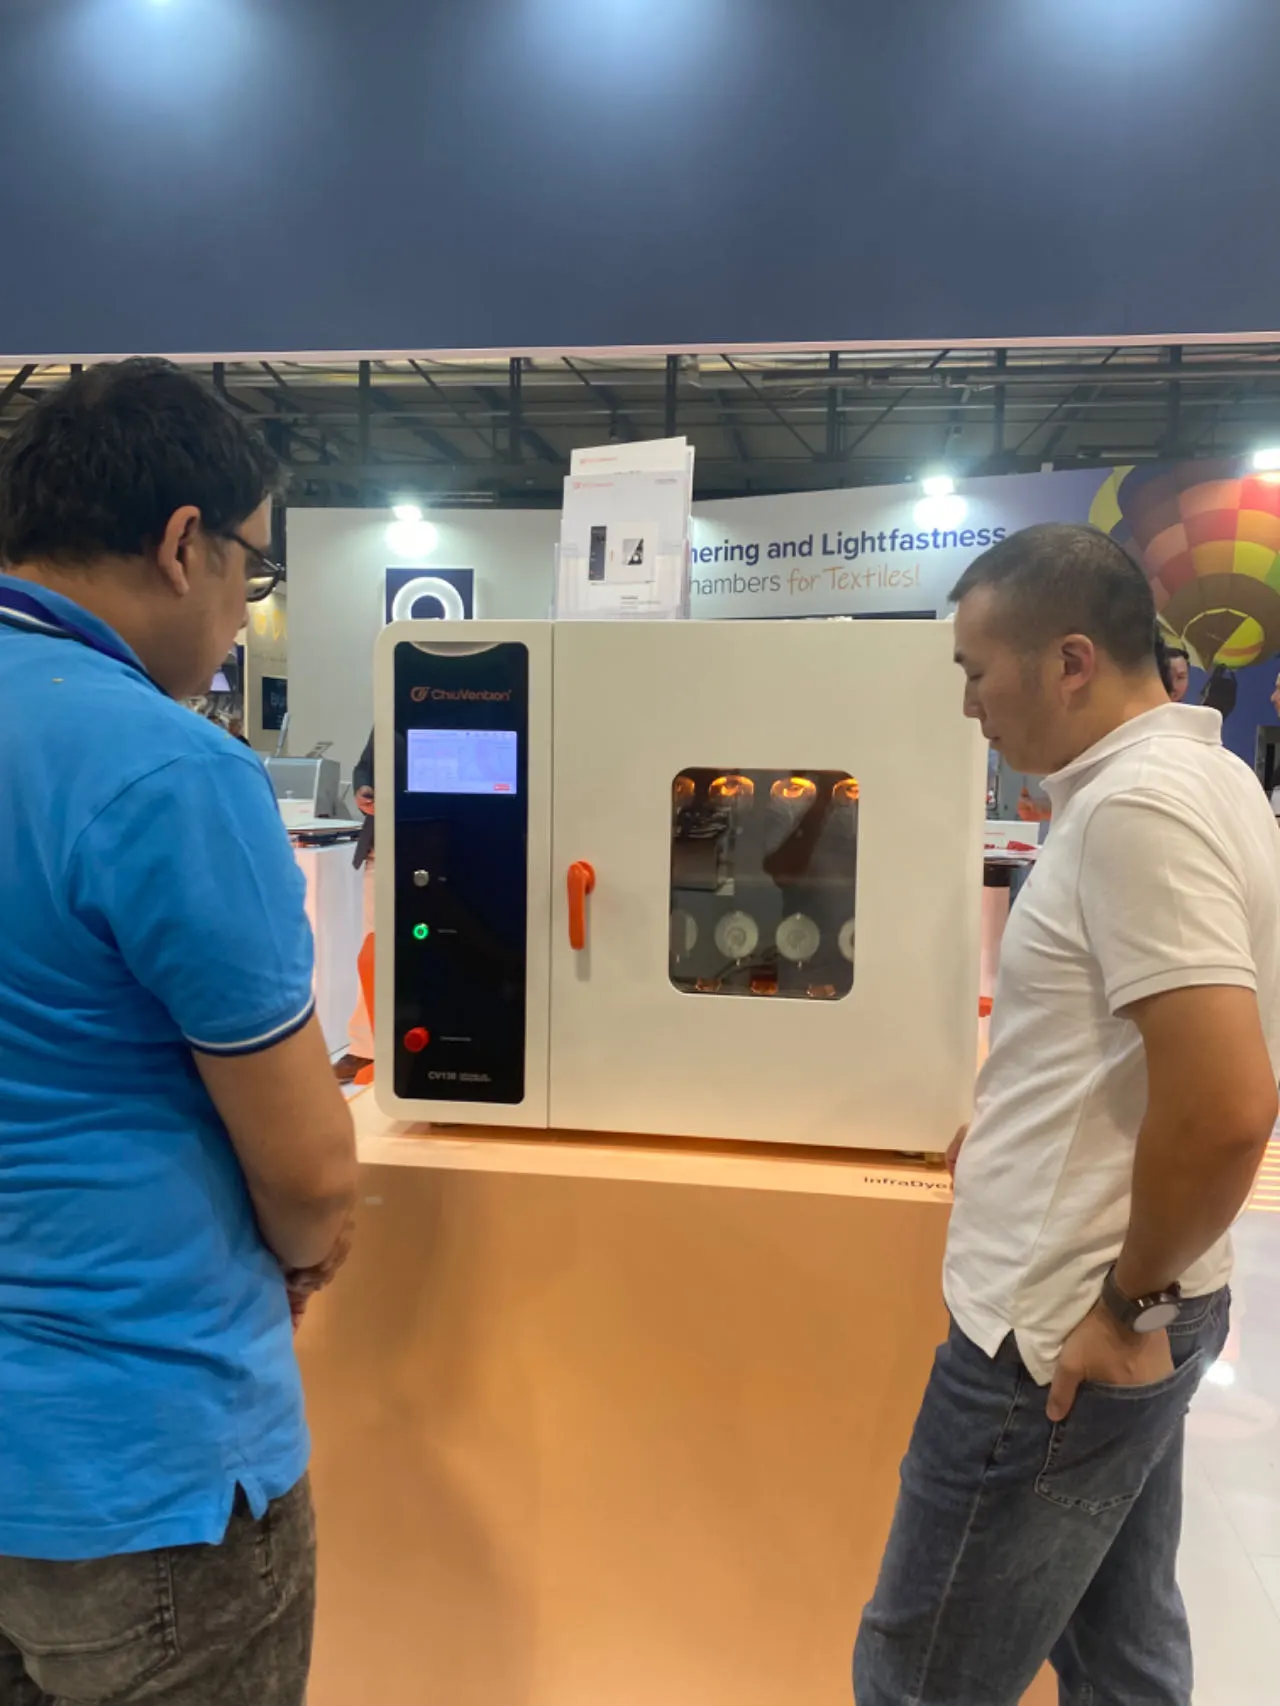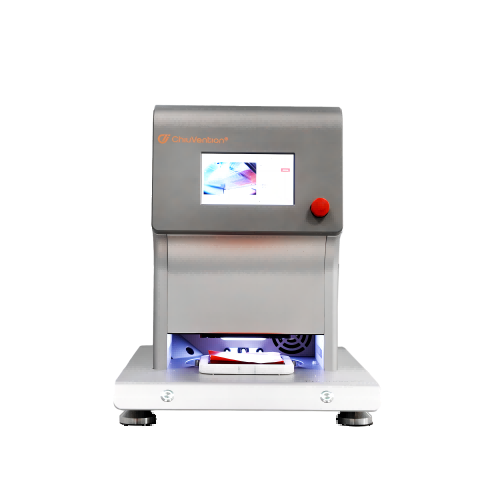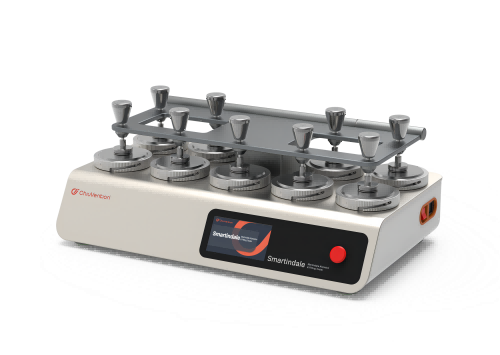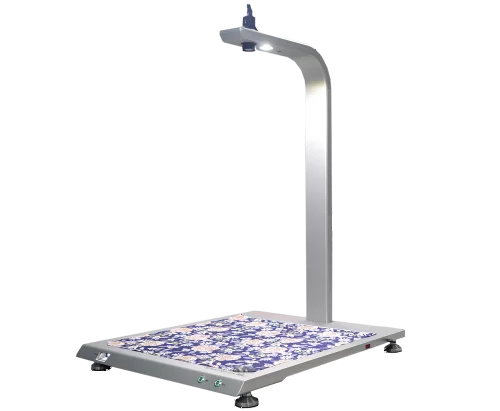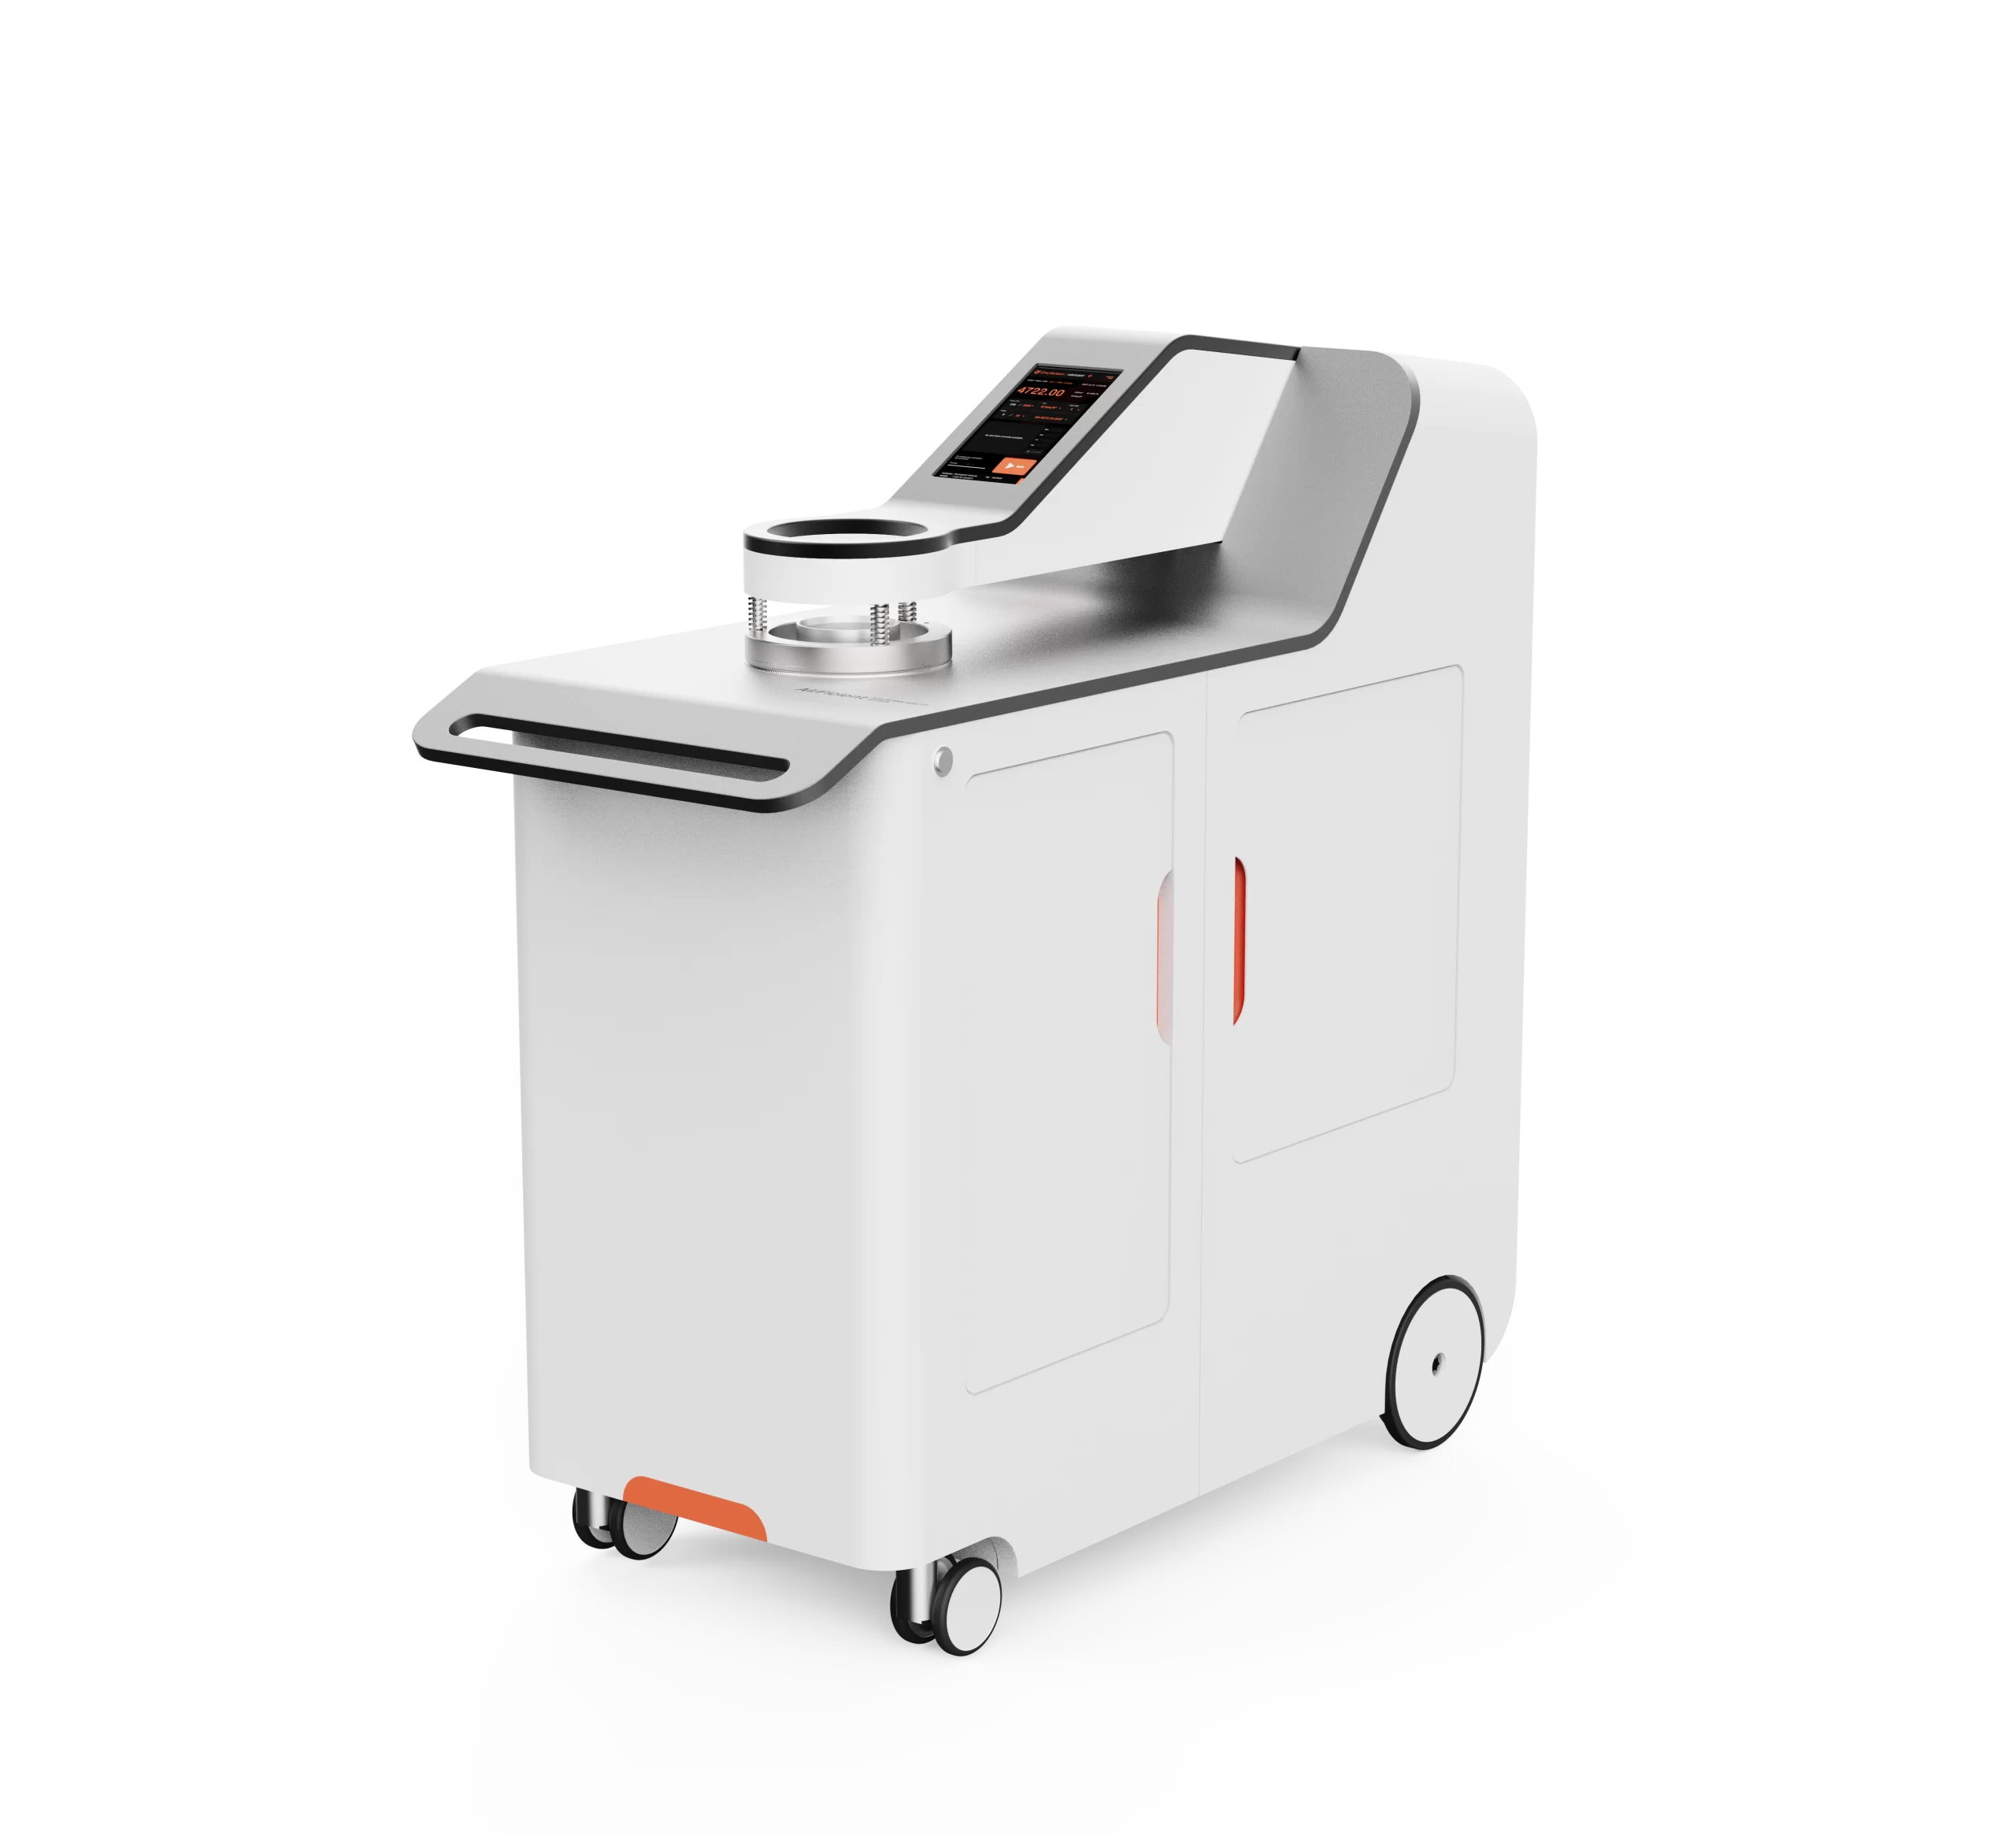
Smart and faster sample dyeing, more efficient quality management.
Before the dyeing.
Samples can be identified by scanning a code. Sample info will be recorded in the system.
During the dyeing.
After installing the sample, the sample dyeing machine sets up the program and starts the dyeing.
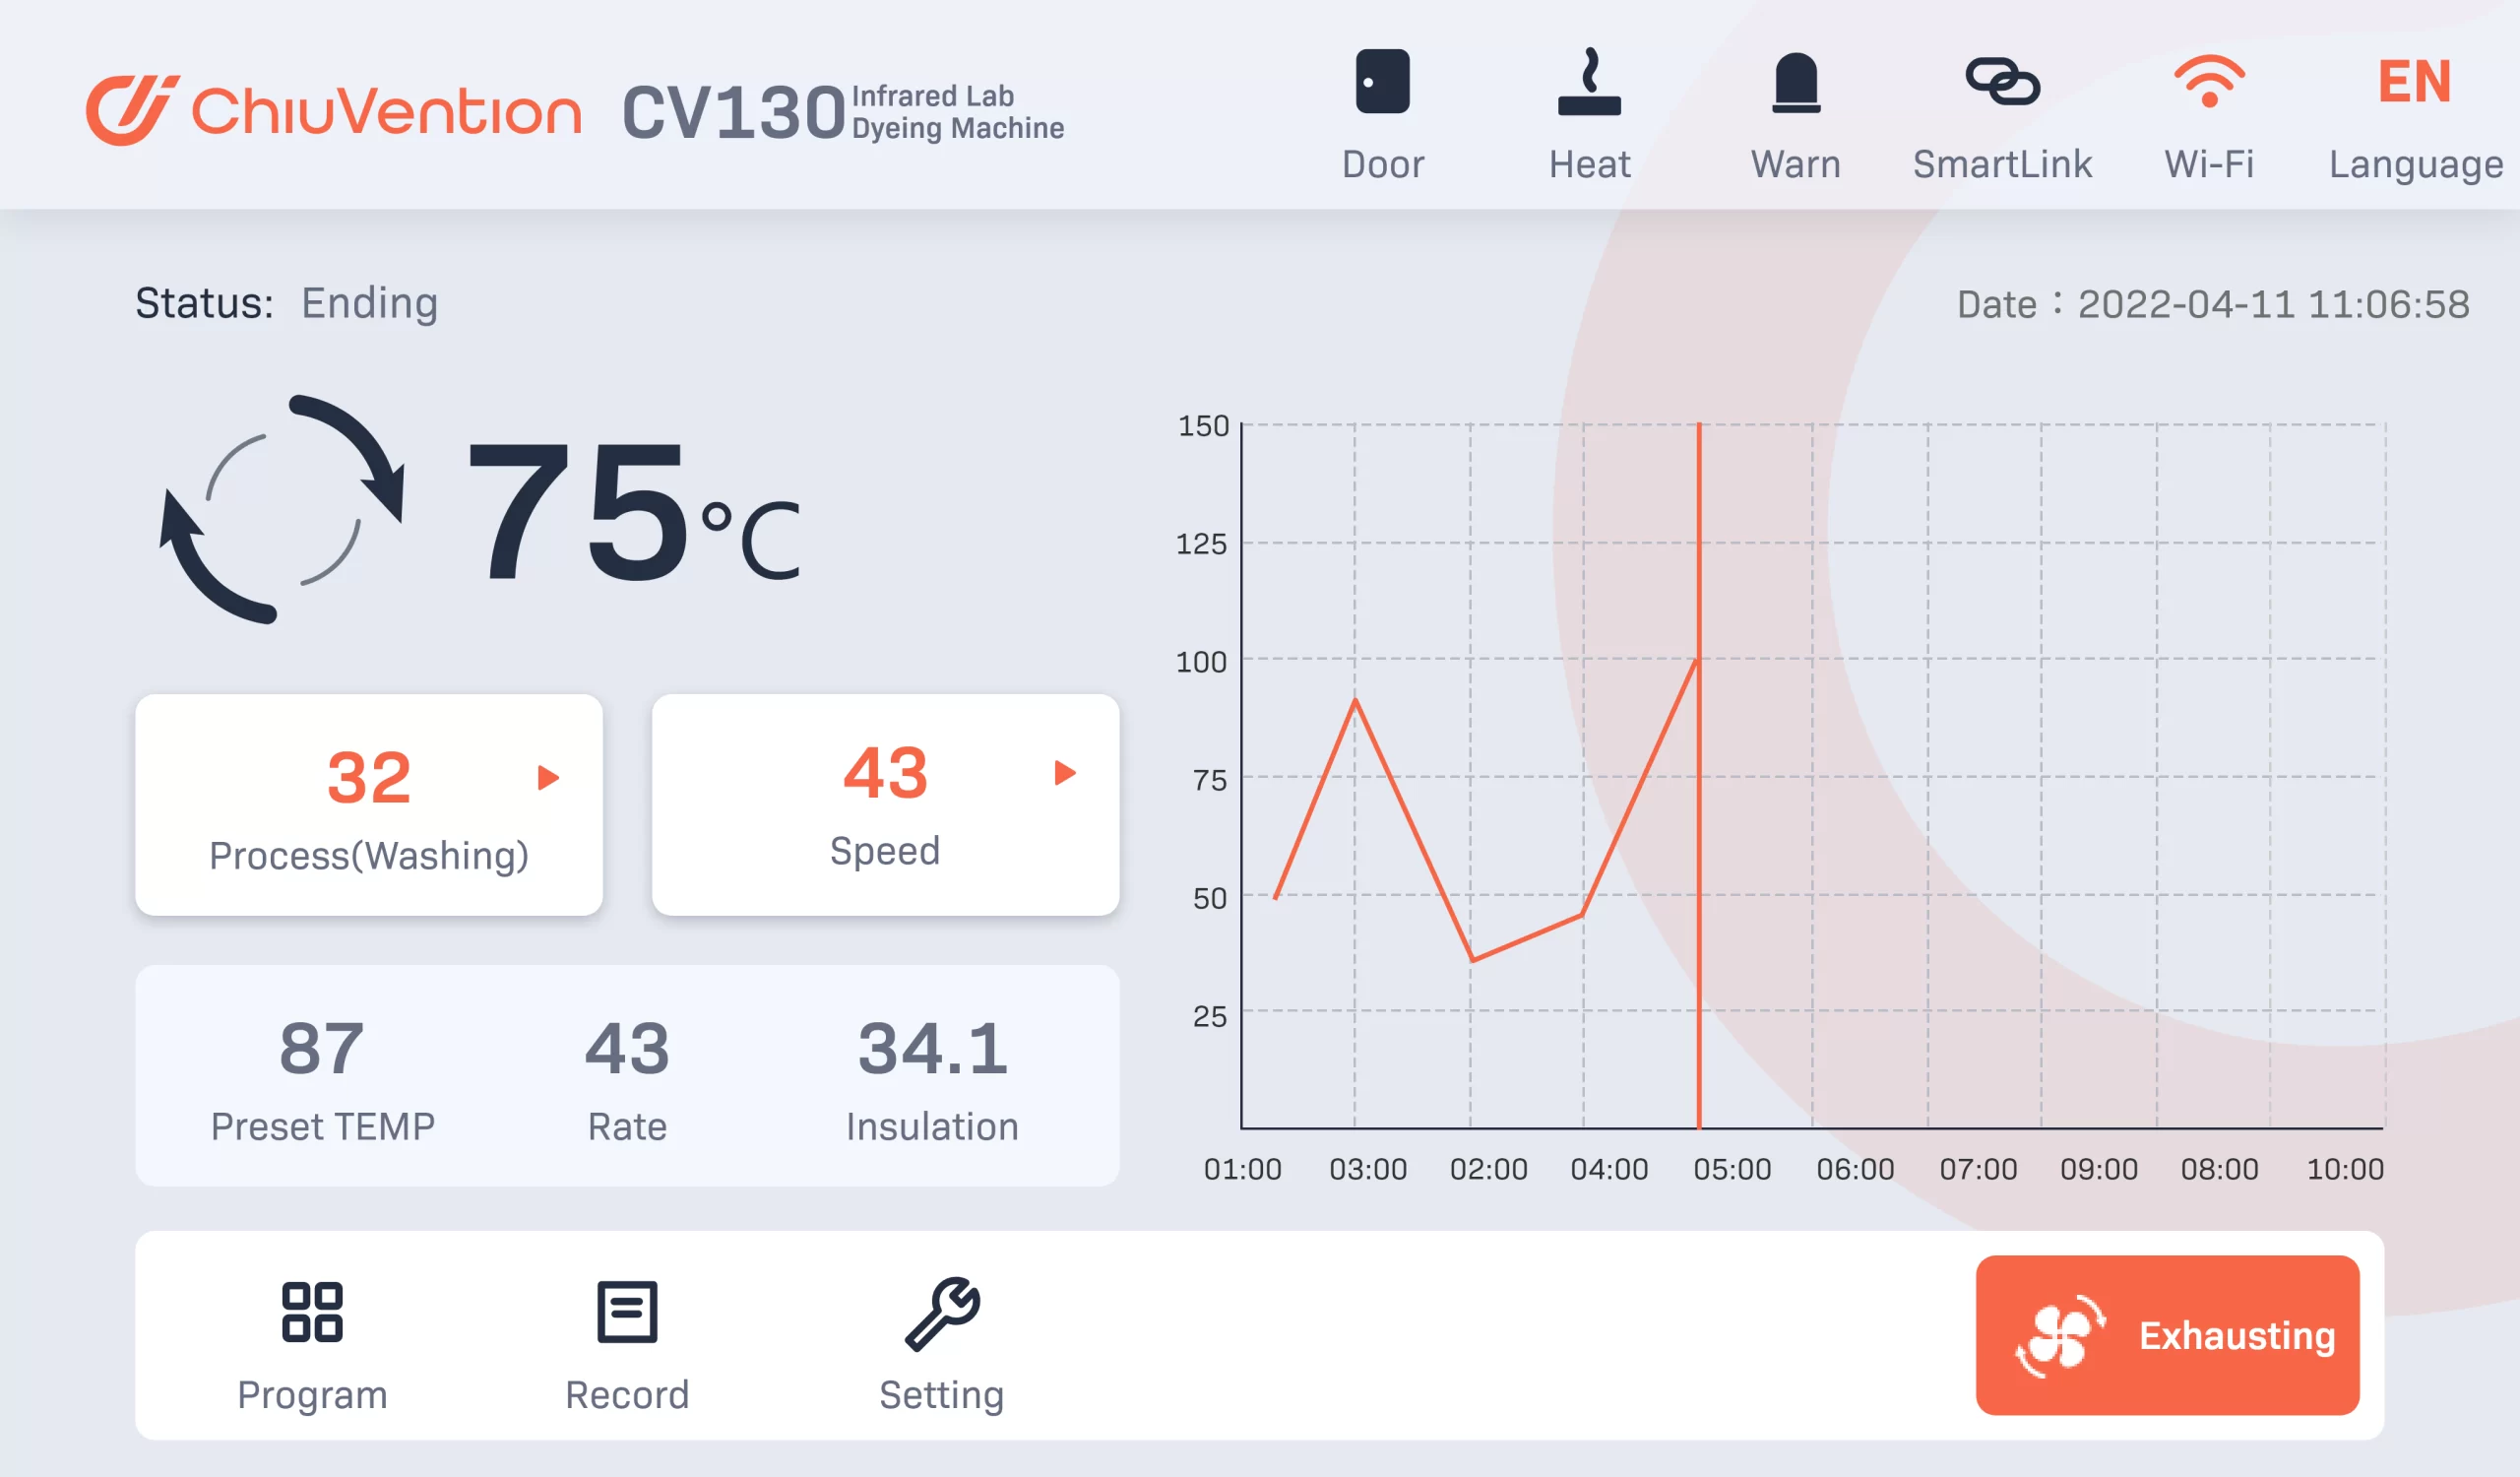
You can also connect the Sample Dyeing Machine to the SmarTexLab App (made by ChiuVention). It lets you set parameters, monitor the sample dyeing, and control the instrument from afar.
Test men can leave the Dyeing Lab Equipment. They will get a reminder on their smartphone before the end. It will show “The dyeing is about to end, welcome to the next process”.
After the dyeing.
The Lab Dyeing Machine uploads all the info about the sample and the dyeing process to the SmarTexLab system. After inputting the dyeing results, it will summarize and make the dyeing report. It can also combine with the test results of other instruments to form a total fabric performance report. Also, APP SmarTexLab is connected with ERP or LIMS. Enterprises or customers can view the test reports in real time on their smartphones or computers.
Also, on the SmarTexLab system on your smartphone, you can communicate with ChiuVention after-sales staff for quick support. You can also get reminders for calibrating, maintaining, and replacing parts for your IR Lab Dyeing Machine.
Smart temperature control algorithm
The InfraDye Sample Dyeing Machine can reach different test temperatures. It is good for dyeing both at room temperature and at high temperatures.
Multiple sample dyeing solutions
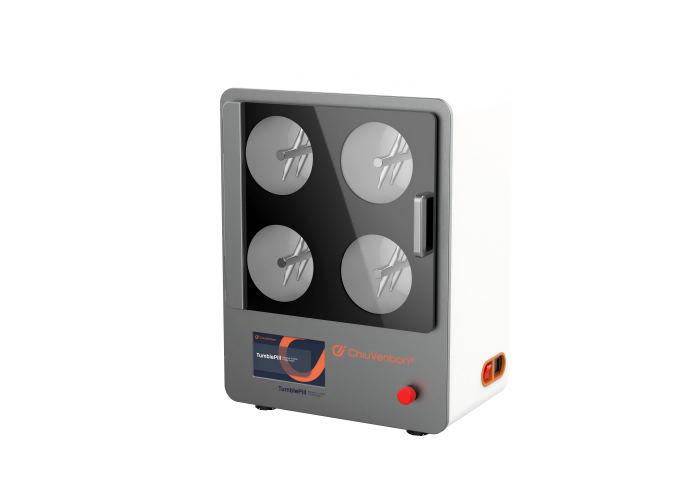
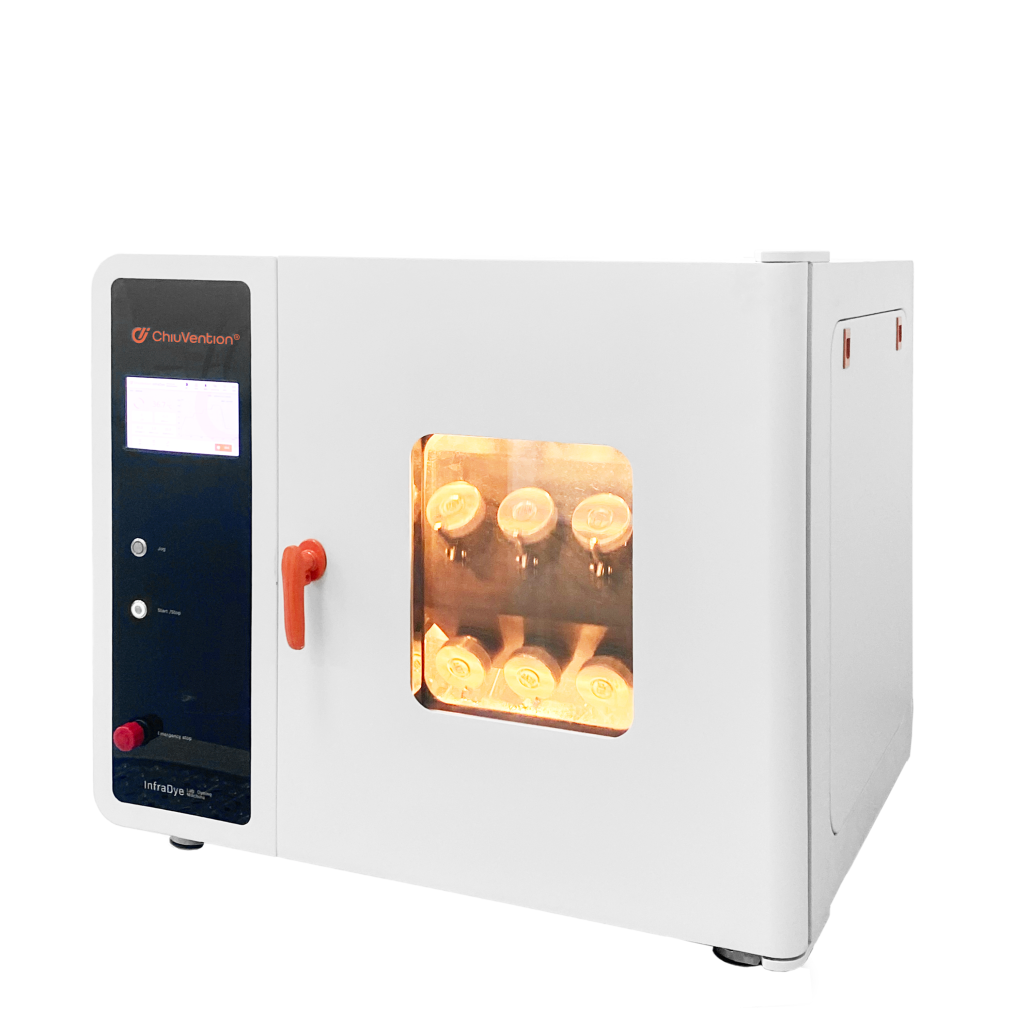
This IR Sample Dyeing Machine can be applied to many dyeing methods. It has many dyeing cups. You can dye various specimens in separate cups.
User-friendly, convenient, and efficient
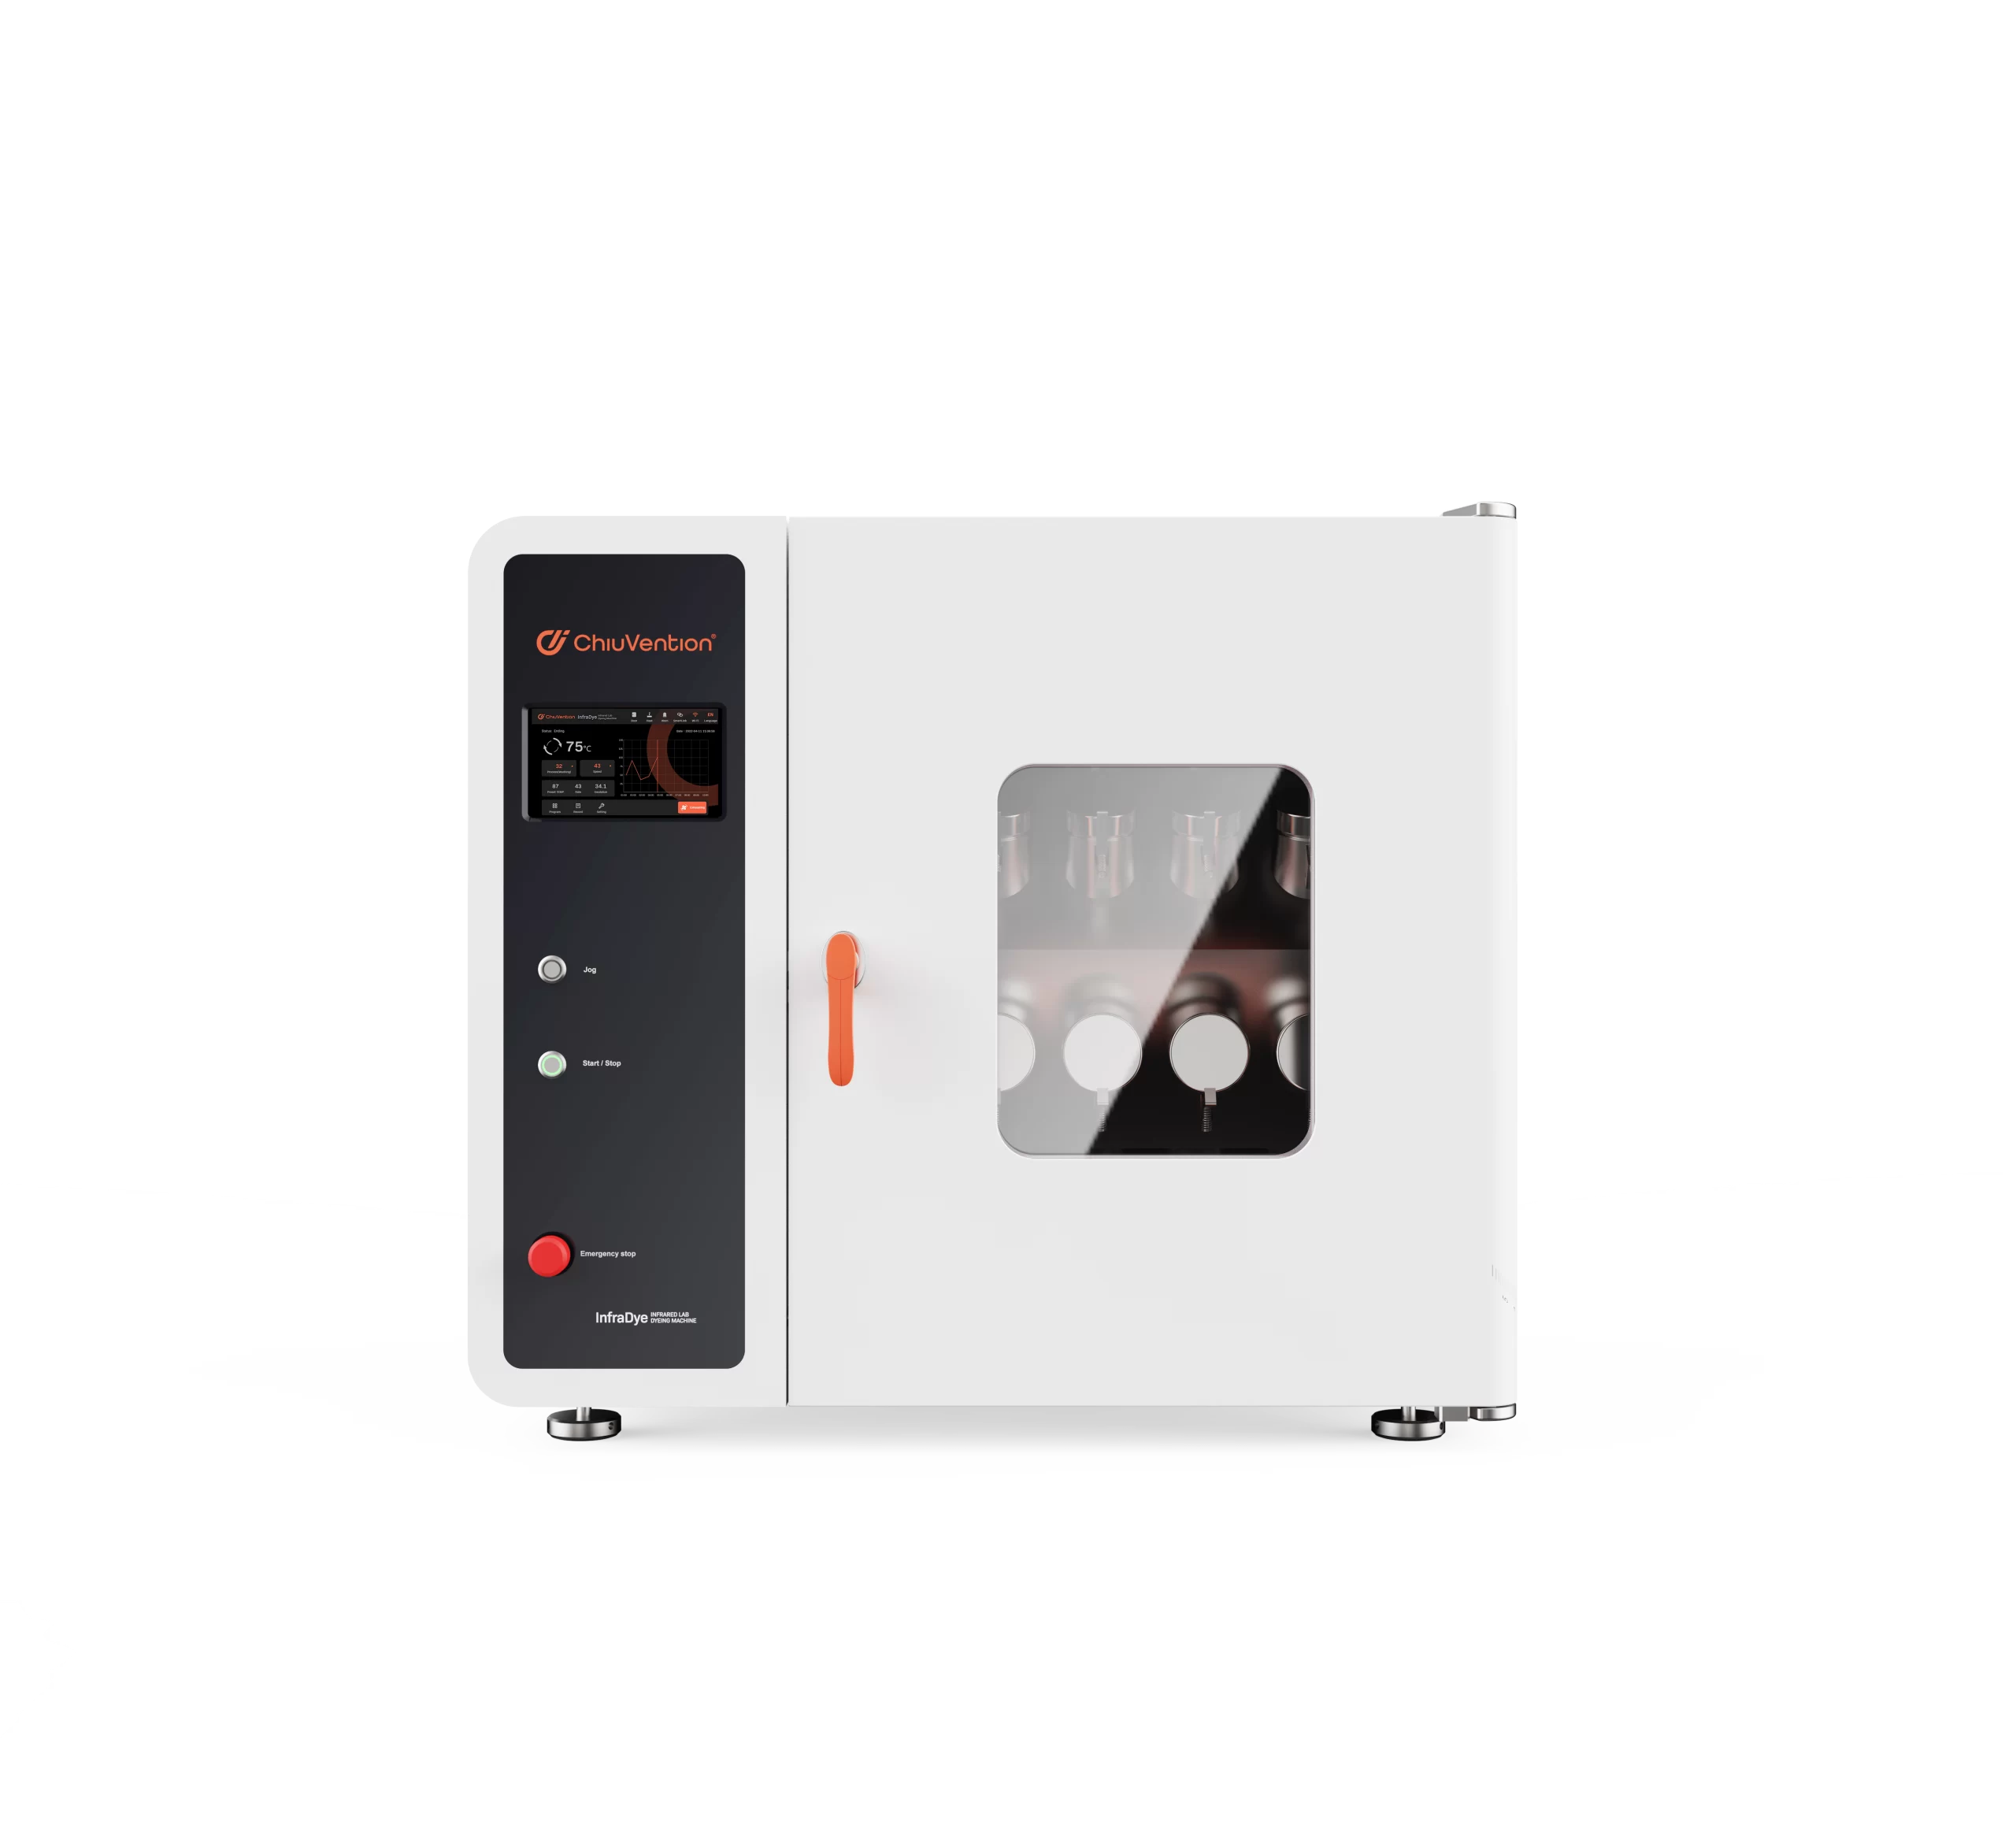
The InfraDye Sample Dyeing Machine is microcomputer controlled. It has a simple operation. This Lab Dyeing Machine saves the current data if power fails. You can edit the running process. The buzzer of this Sample Dyeing Machine alerts after the dyeing test.
Stable, durable, and noiseless
ChiuVention team upgraded the Infrared Dyeing Machine to rotate mode. So this Sample Dyeing Machine is more stable, durable, and quiet.
Many safety protections
The Lab Dyeing Machine has an overheating alarm. Besides, If you open the door by mistake, it will stop the cup holder. We always provide you with good-quality infrared sample dyeing machines.
Temperature calibration function
With a temperature calibration function, this Infrared Lab Dyeing Machine can avoid temperature differences.
Longer service life
Solid state relay control electric heating, no mechanical contact, long service life. The Sample Dyeing Machine has a shell made of stainless steel with a powder coating. High-quality SUS304 stainless steel makes up the mechanical inside. ChiuVention makes the dyeing cup out of durable SUS316.
Designed in Germany, quality is our life.
All our textile lab instruments are developed in-house and in cooperation with a team of renowned German industrial designers, which makes our textile lab instruments of outstanding quality. 100% source factory and factory price.

Customer Feedback
“ChiuVention’s InfraDye Infrared Sample Dyeing Machine provides high-quality dyeing results. Dyed samples are excellent in color fastness, color uniformity and color difference control.”
“This machine is infrared heated for fast heating. It improves the overall dyeing efficiency. And there is an IoT technology, I can see the progress of dyeing on my phone, it’s very convenient, and it runs stably.”
The Specification of InfraDye Infrared Sample Dyeing Machine
Test temperature range: room temperature (greater than 0 ° C) 0 ~ 140 ° C
Temperature control range: room temperature (greater than 0 ° C), 25 ° C ~ 140 ° C
Heating temperature control speed: 0.1 ℃ / min ~3 ℃ / min
Temperature control accuracy: Isothermal state ± 0.5℃/min
Temperature control mode: optimized automatic control
Rotational speed: 0 ~ 50 rpm (adjustable)
Standard Accessories of Infrared Sample Dyeing Machine
Test cup volume300±20ml 24pcs
T-socket wrench 1pc
Stainless steel copy wrench 1pc
Fuse 4pcs
Gloves 1pc
Optional Accessories
Heating tube
Power 230V 50Hz 32A Other voltages require an external transformer
Weight 145kg
Dimension 710*840*750mm (D*W*H)
You can also click and learn about how textile sample dyeing works in the dyeing labs.
ChiuVention offers more smart textile testing equipment. You can contact us for details about textile testing machines.
OUR BROCHURE
FLYER
GET A QUOTE
Frequently Asked Questions of Fabric Sample Dyeing Machine
Precise control of temperature and time
The core advantage of an infrared dyeing machine lies in the accuracy of temperature control, so the temperature and dyeing time should be set reasonably:
Temperature rise rate: Make sure the temperature rise rate matches the dye type and fabric, different dyes may have different sensitivity to temperature. Different dyes may have different temperature sensitivities. Setting the right temperature profile will help the dye adhere more evenly to the fabric.
Constant temperature time: ensure that the constant temperature during the dyeing process is sufficient to ensure that the dyestuff can fully penetrate and fix into the fabric fibers.
Cooling rate: control the cooling rate of the sample dyeing, too fast cooling may lead to uneven fixation of dyes, affecting the final color effect.
Evenly placed samples
Sample placement will directly affect the uniformity of dyeing. To avoid uneven dyeing or color differences:
Sample Distribution: Ensure that samples are evenly distributed within the dye bath, avoiding stacking or overlapping to ensure that each section receives uniform infrared heating and dye action.
Stirring or turning: If supported by the lab dyeing equipment, use the automatic stirring function or turn the samples periodically during the manual dyeing process to ensure that the dye is evenly distributed in the dye bath.
Optimize dye formulation
Different dyestuffs interact with different fibers in their own way, so the dye formulation should be optimized according to the dyeing needs:
Dye concentration: Reasonable configuration of dye concentration to avoid too much or too little dye, which will affect the color saturation and uniformity.
Auxiliary addition: According to the type of dye and fiber characteristics, add appropriate dyeing auxiliaries (such as wetting agents, dispersants, pH adjusters, etc.) to help the dye adsorb more uniformly onto the fibers.
Use of an appropriate dyeing process
Different fibers and dyestuffs require different dyeing processes, so choosing the right process parameters is crucial:
Dye type selection: Ensure that the dye matches to the fiber is used (e.g. reactive dyes, acid dyes, disperse dyes, etc.), as different fibers have different affinities for dyes.
Dyeing bath ratio: Ensure that the ratio of dyeing liquid to sample is reasonable. An insufficient amount of dyeing liquid may lead to an uneven distribution of dyes and affect the dyeing effect.
Regular cleaning and maintenance of equipment
The IR dyeing sample machine needs regular cleaning and maintenance to ensure its heating efficiency and uniformity:
Clean the dye residue: After dyeing, clean the inside of the lab dyeing equipment in time to prevent the dye residue from affecting the next dyeing.
Check the infrared lamps: Check the performance of the infrared lamps regularly to make sure that the heating is even and not damaged to avoid uneven dyeing caused by equipment failure.
Pre-treatment and post-treatment
In order to further improve the sample dyeing effect, you can also pay attention to the pre-treatment and post-treatment of the samples:
Pre-treatment: Ensure that the fabric has been adequately pre-treated before dyeing, such as desizing, bleaching and other steps to improve the adsorption capacity of the fiber to the dye. Post-treatment: The treatment, such as fixing and washing after dyeing, can improve the durability and fastness of dyeing and prevent fading or dye loss.
Experimental records and optimization
Record the temperature, time, dye formula and other parameters of each dyeing, and continuously adjust and optimize according to the experimental results to find the best process combination, so as to ensure the consistency and stability of the dyeing effect.
The Consistency and Reproducibility of Dyeing
Infrared Sample Dyeing Machine can provide higher sample consistency and experimental reproducibility due to its uniform heating and precise temperature control. Glycerin dyeing sample machines are not uniformly heated, which can lead to inconsistent dyeing results from batch to batch.
Save time and efficiency
Infrared dyeing prototypes use infrared heating technology to reach the desired dyeing temperature more quickly, shortening the time required for heating up and cooling down. Glycerin dyeing machines, on the other hand, have slow heating and cooling speeds, making the experiment less efficient.
Besides, infrared heating is more energy efficient than glycerin heating. Glycerin can evaporate or leak, potentially contaminating equipment and the experimental environment and increasing the frequency of cleaning and maintenance.
Infrared Lab Dyeing Machine is safer. Glycerin is dangerous at high temperatures and can cause safety hazards such as oil leakage or overheating. The IR Dye Machine is safer to operate because it uses non-contact heating and there is no risk of spillage or leakage of the medium.
Our infrared Sample Dyeing Machine in addition to the common advantages, such as temperature calibration, uniform dyeing effect, but also can be connected to a smartphone and enterprise ERP or LIMS system through the IoT technology. So you can remotely master the sample dyeing test situation, and you can enter the fabric sample dyeing effect report into the system, then it can directly be sent to the relevant staff or departments. ChiuVention InfraDye Dyeing Lab Equipment is a true digital intelligent instrument, effectively improving work efficiency!
The machine generates infrared radiation that penetrates the fabric, raising its internal temperature. This increased temperature facilitates better dye absorption and helps achieve consistent dyeing results compared to traditional methods.
The Infrared Fabric Sample Dyeing Machine allows precise control over temperature and time during the dyeing process. Maintaining stable conditions it minimizes variations in color between samples and larger production batches.
The Infrared Fabric Sample Dyeing Machine allows precise control over temperature and time during the dyeing process. Maintaining stable conditions it minimizes variations in color between samples and larger production batches.
Many modern infrared dyeing machines come equipped with IoT technology, such as the ChiuVention Sample Dyeing Machine, allowing users to monitor the test status in real-time by smartphone and receive alerts for any abnormalities during the dyeing process.
ChiuVention provides customer support services, including technical assistance, maintenance guidance, and troubleshooting help. You can just contact us by the App-SmarTexLab, and we can chat with you quickly. Of course, you can contact us by email or phone.
